Update 29.09.2024 This post features a proof of concept and was an experimental project leveraging not supported ways of achieving what was presented. It looks like Microsoft has made changes to the Send an HTTP request to SharePoint and tightened the security around it. Some of the actions outlined in this blog post are no longer possible and now throw an Unauthorized error. While it was nice to be able to do these things, I fully believe that Microsoft is doing the right thing by adding more security to their services. If you want to be able to opt in/out another user on their behalf, I recommend to use the now available Queues app in Teams.
History Lesson
Up until now, it hasn’t been possible for a queue manager to opt in or opt out other agents on their behalf. Opting in or out of a queue was always an action that had to be done by agents themselves. This changes with the Queues app which is currently still in private preview. If you’re reading this blog, I doubt that this is the first time that you’re hearing of this but nevertheless, I’m still going to add a couple of links to this blog post.
You can read the official announcement of the Queues app here and you’ll find the official support article here. On this page you can see an interactive demo of the queues app.
While this will finally make it possible to change the opt in status on someone else’s behalf, it comes at a price. The Queues app will be part of Teams Premium and thus increase your monthly license costs. At this point, I don’t think it’s confirmed if only a supervisor can have a Teams Premium license and still be able to change the opt in status of others, or if all the members of a queue will require a Teams Premium license. My best guess is that every member of the queue will require an additional license but please don’t take my word for it.
Since this was one of the most requested features of Teams Phone customers, I already experimented with creating something that would allow somebody to change an agent’s opt in statuses remotely in the past. I blogged about this here. I don’t think that this method still works today but it did work at the time. However, this never made it past a proof of concept because it required the username, password and potentially an MFA secret for the user account for which the opt in status needed to be changed.
Today, I’m presenting a different solution. It’s still very much a proof of concept and not very scalable but at least it doesn’t need user credentials anymore. But most importantly, it doesn’t need any additional licenses.
Inspiration from the Community
I initially got the idea from fellow MVP Loryan Strant. In this blog post, he explains how you can leverage the Send an HTTP request to SharePoint in Power Automate to make web requests to other end points. In his case, he’s targeting the endpoint which is used to update a user’s work location. Unknowingly at that time, I worked on my own way of programmatically setting my work location using PowerShell and AADInternals. I’ll soon be writing something new about this too but today’s issue is all about call queues and changing opt in statuses.
My next step was to look at the browser dev tools in Edge to see if anything had changed in how the Teams web client handles an opt in change. I already used this method in my first proof of concept over two years ago and I learned how you can effectively use the browser dev tools to see what’s going on under the hood from Alexander Holmeset in this blog post. On that note I want to point out that I’ll forever be grateful for that post. Acquiring this skill has helped me achieve something so many times already!
In V1 of this PoC the request used to update an agent’s opt in status looked like this and the call queue Id was referenced in the payload.
|
|
Today, this request looks like this and the call queue Id is now part of the URI:
|
|
I have no idea what DLX stands for. The only thing I could find was this reference.
The challenge with these web requests is that you still need to provide a valid access token in the authorization header. In PowerShell, there’s no way around user credentials to obtain a token. This is different in Power Automate though.
Setting up the Prerequisites
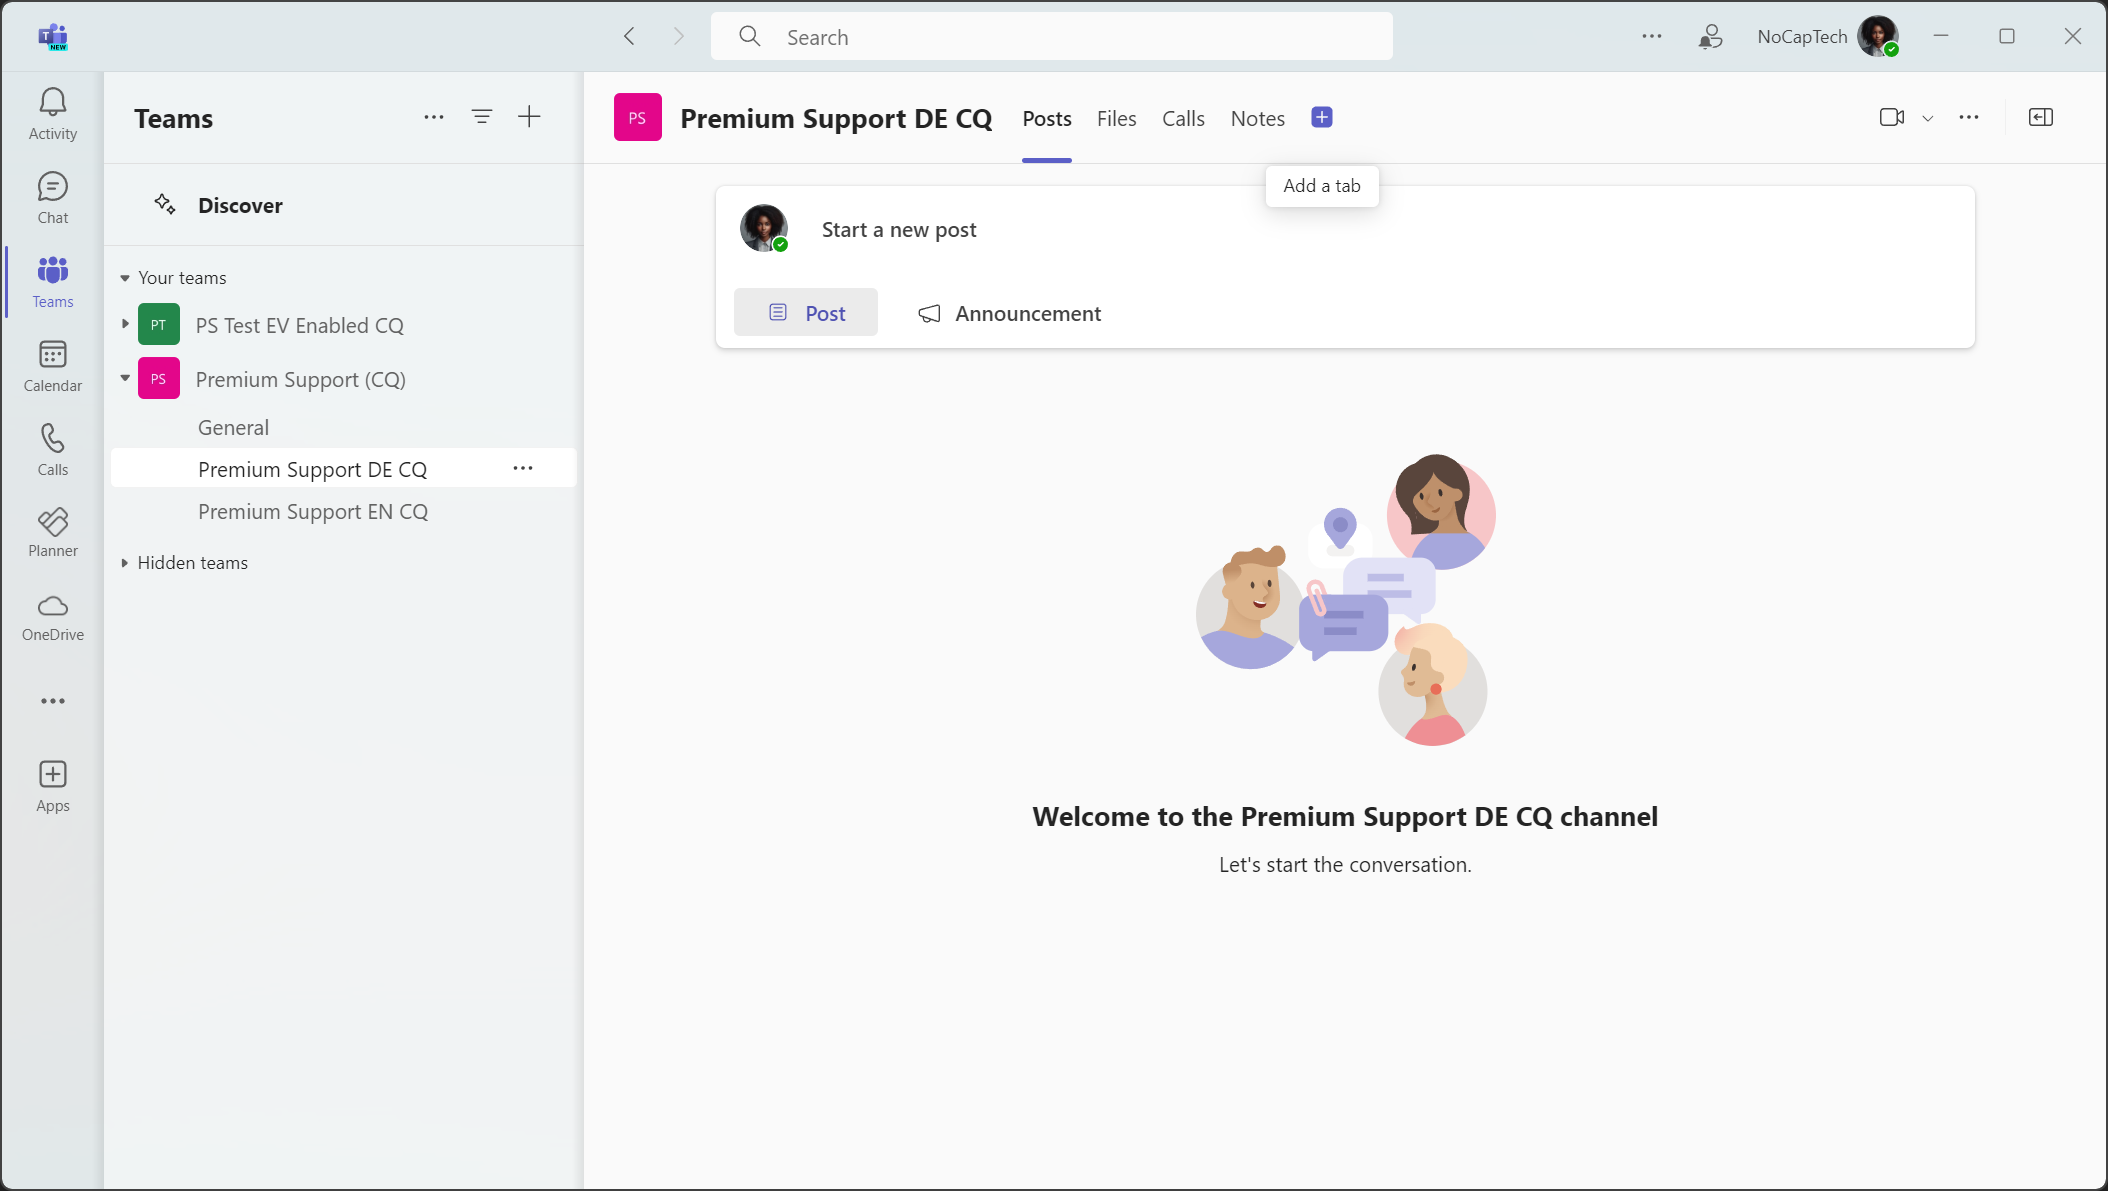
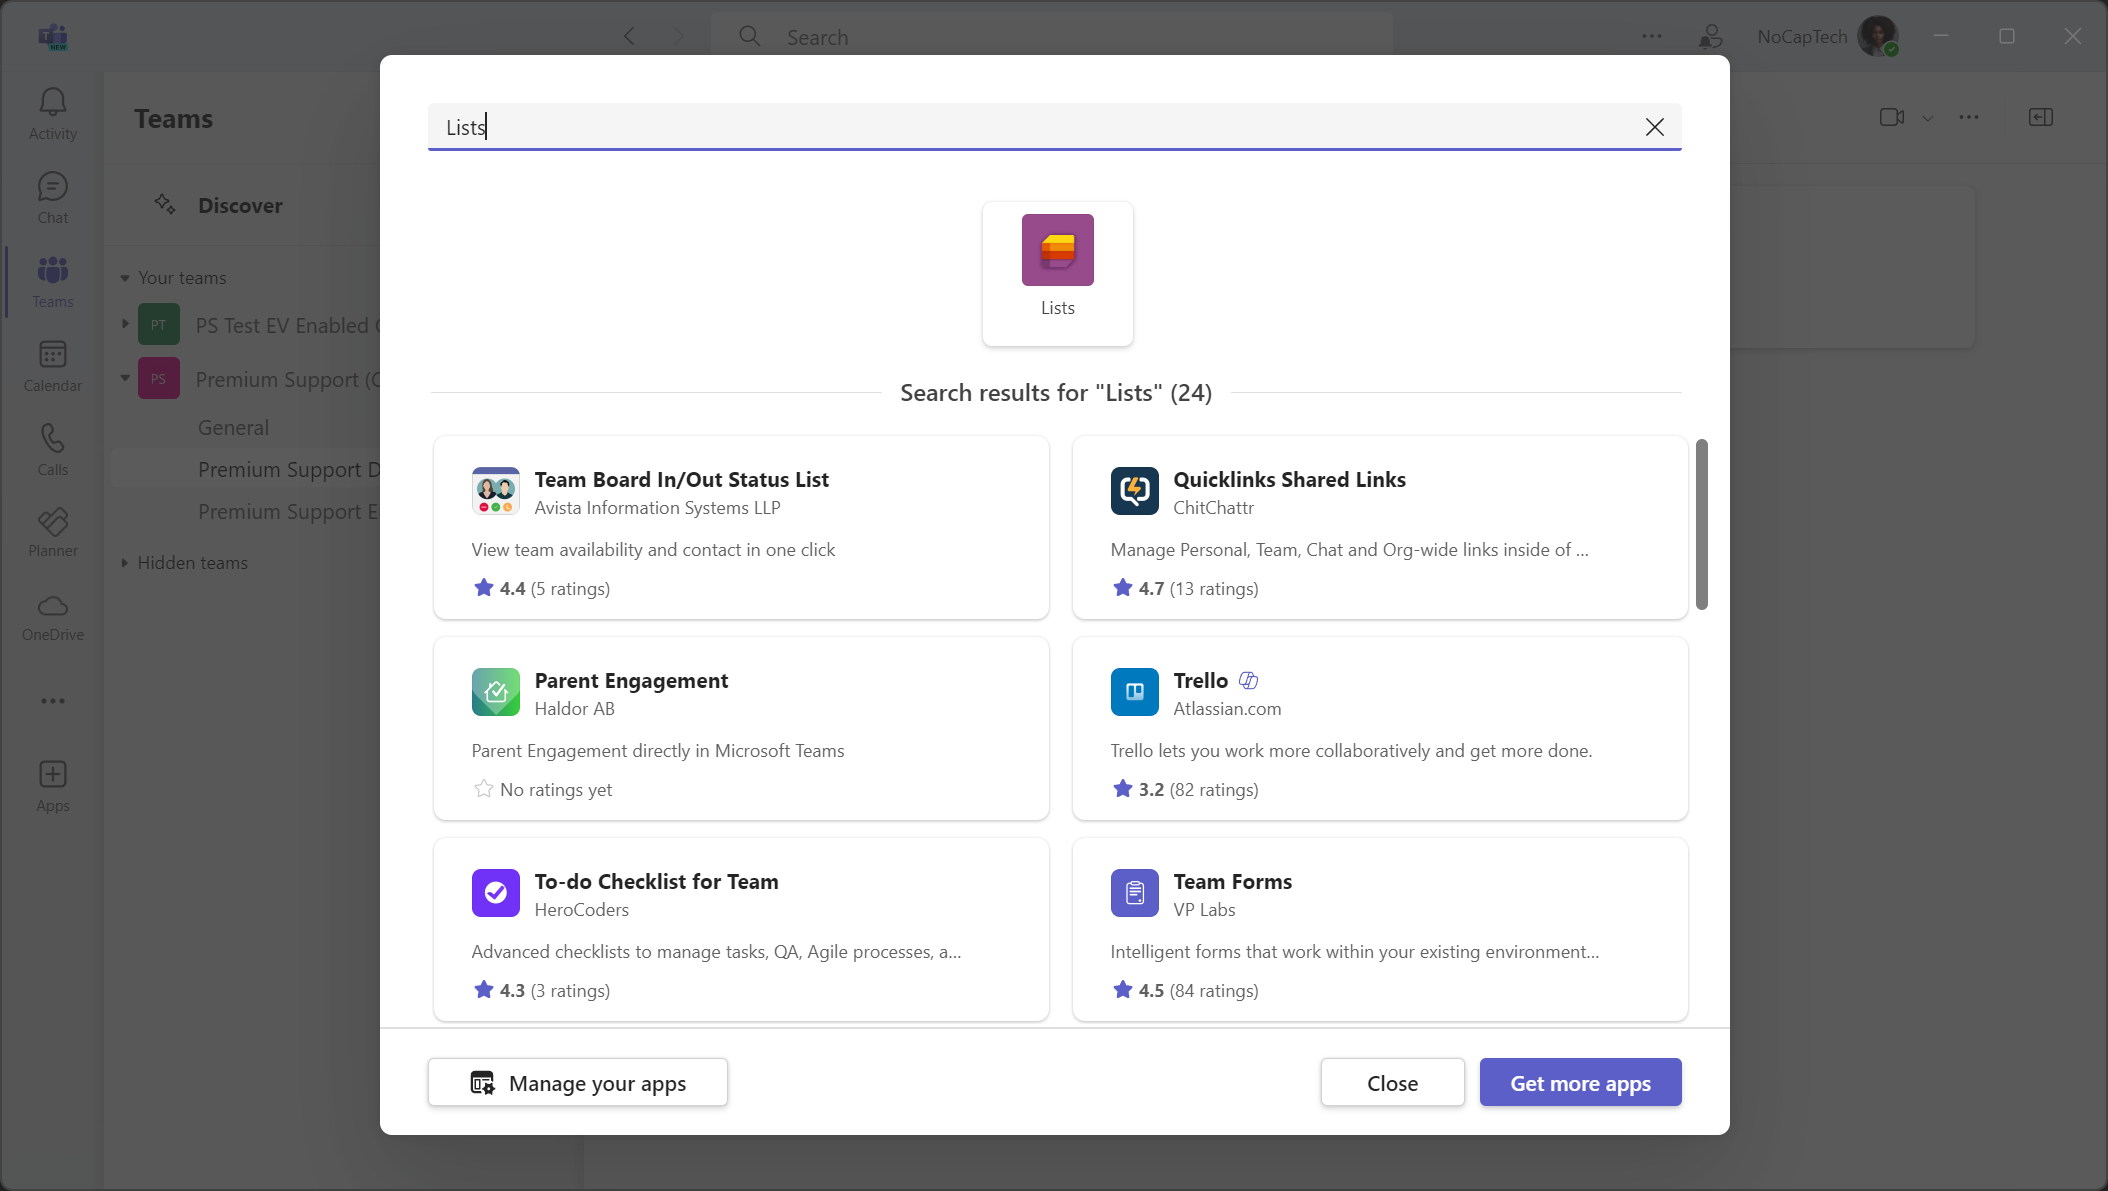
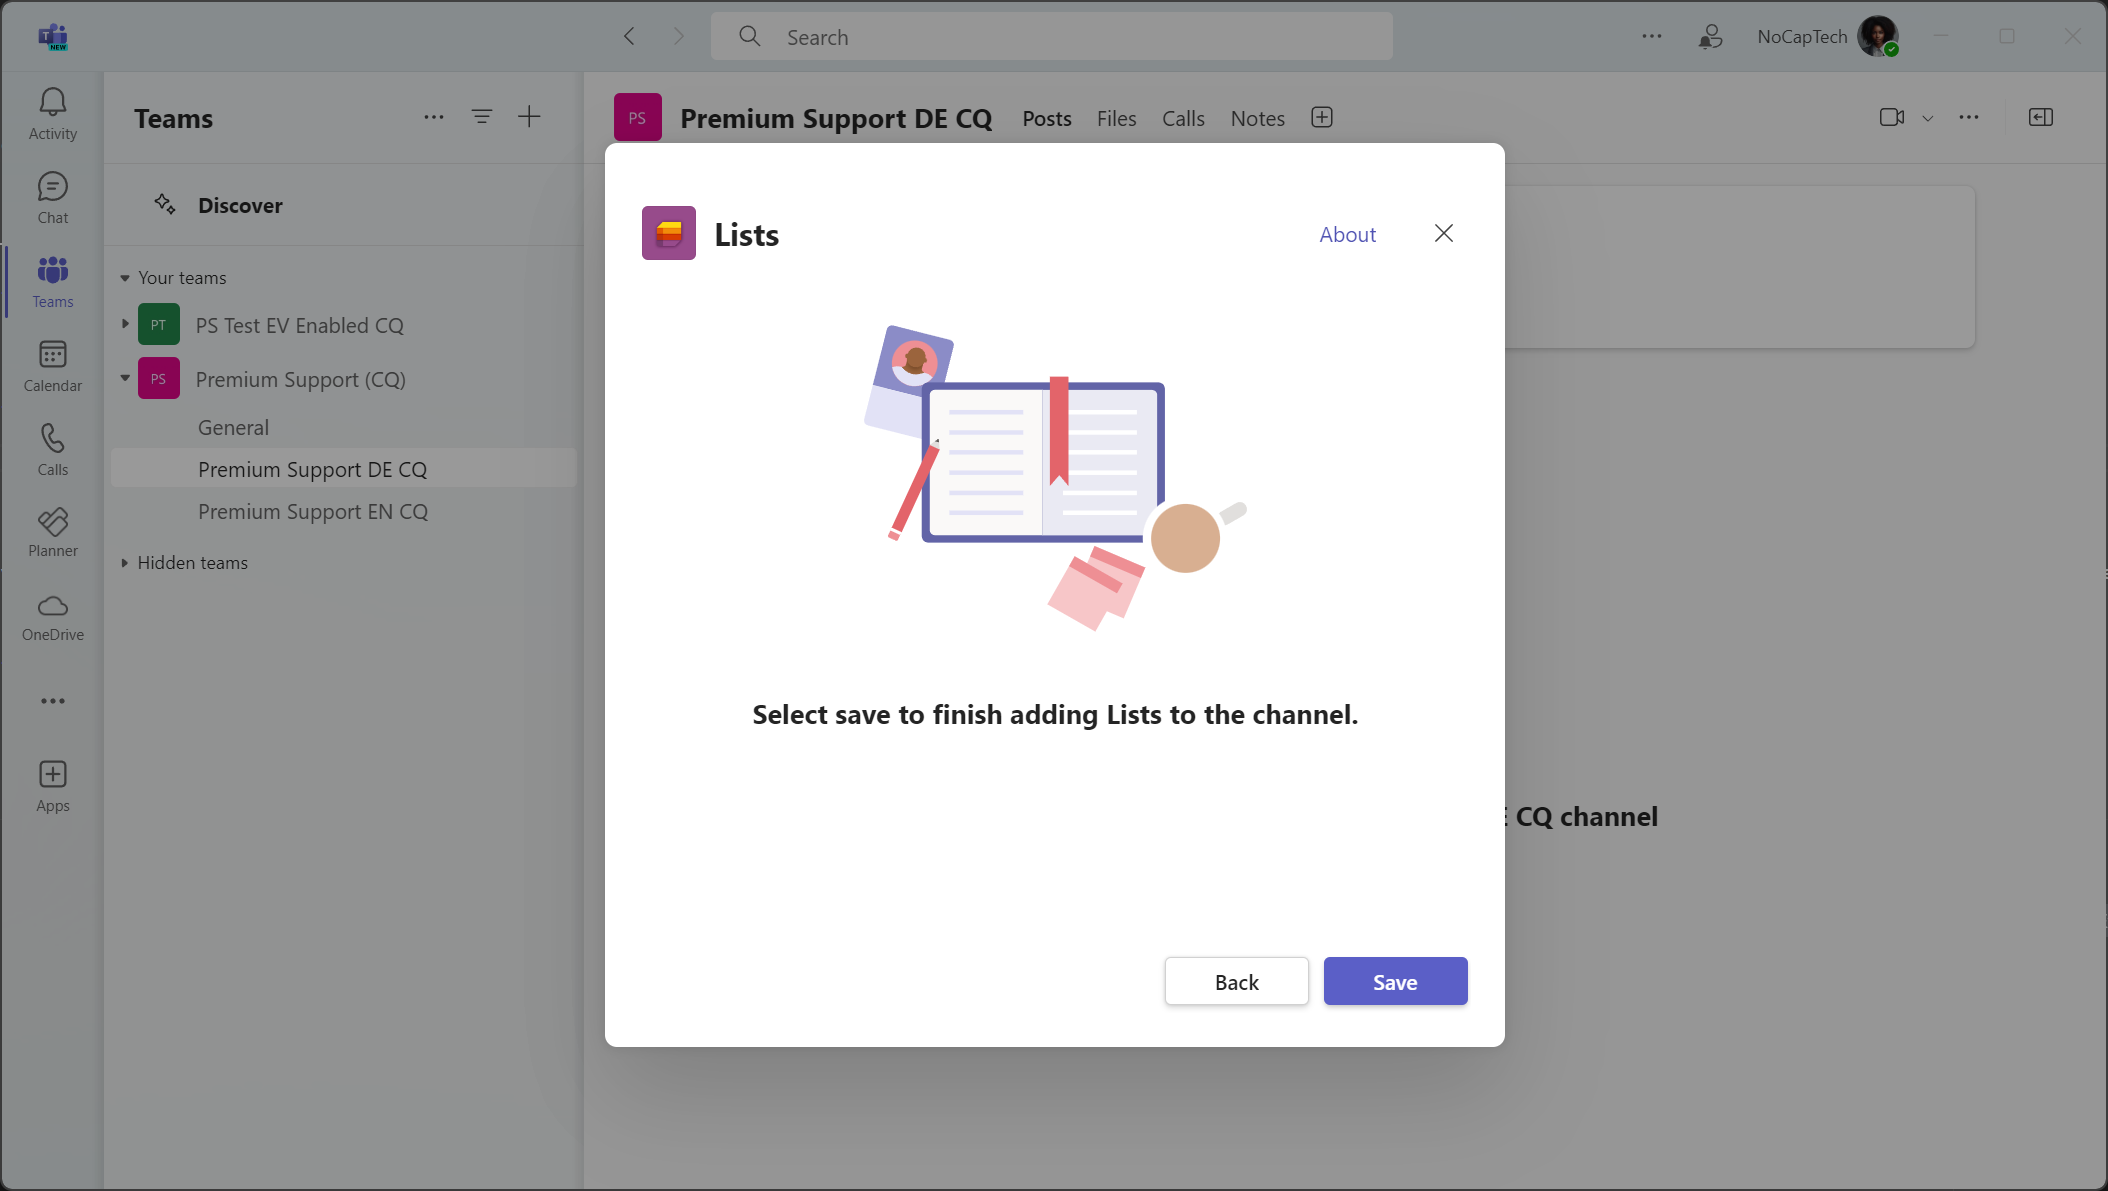
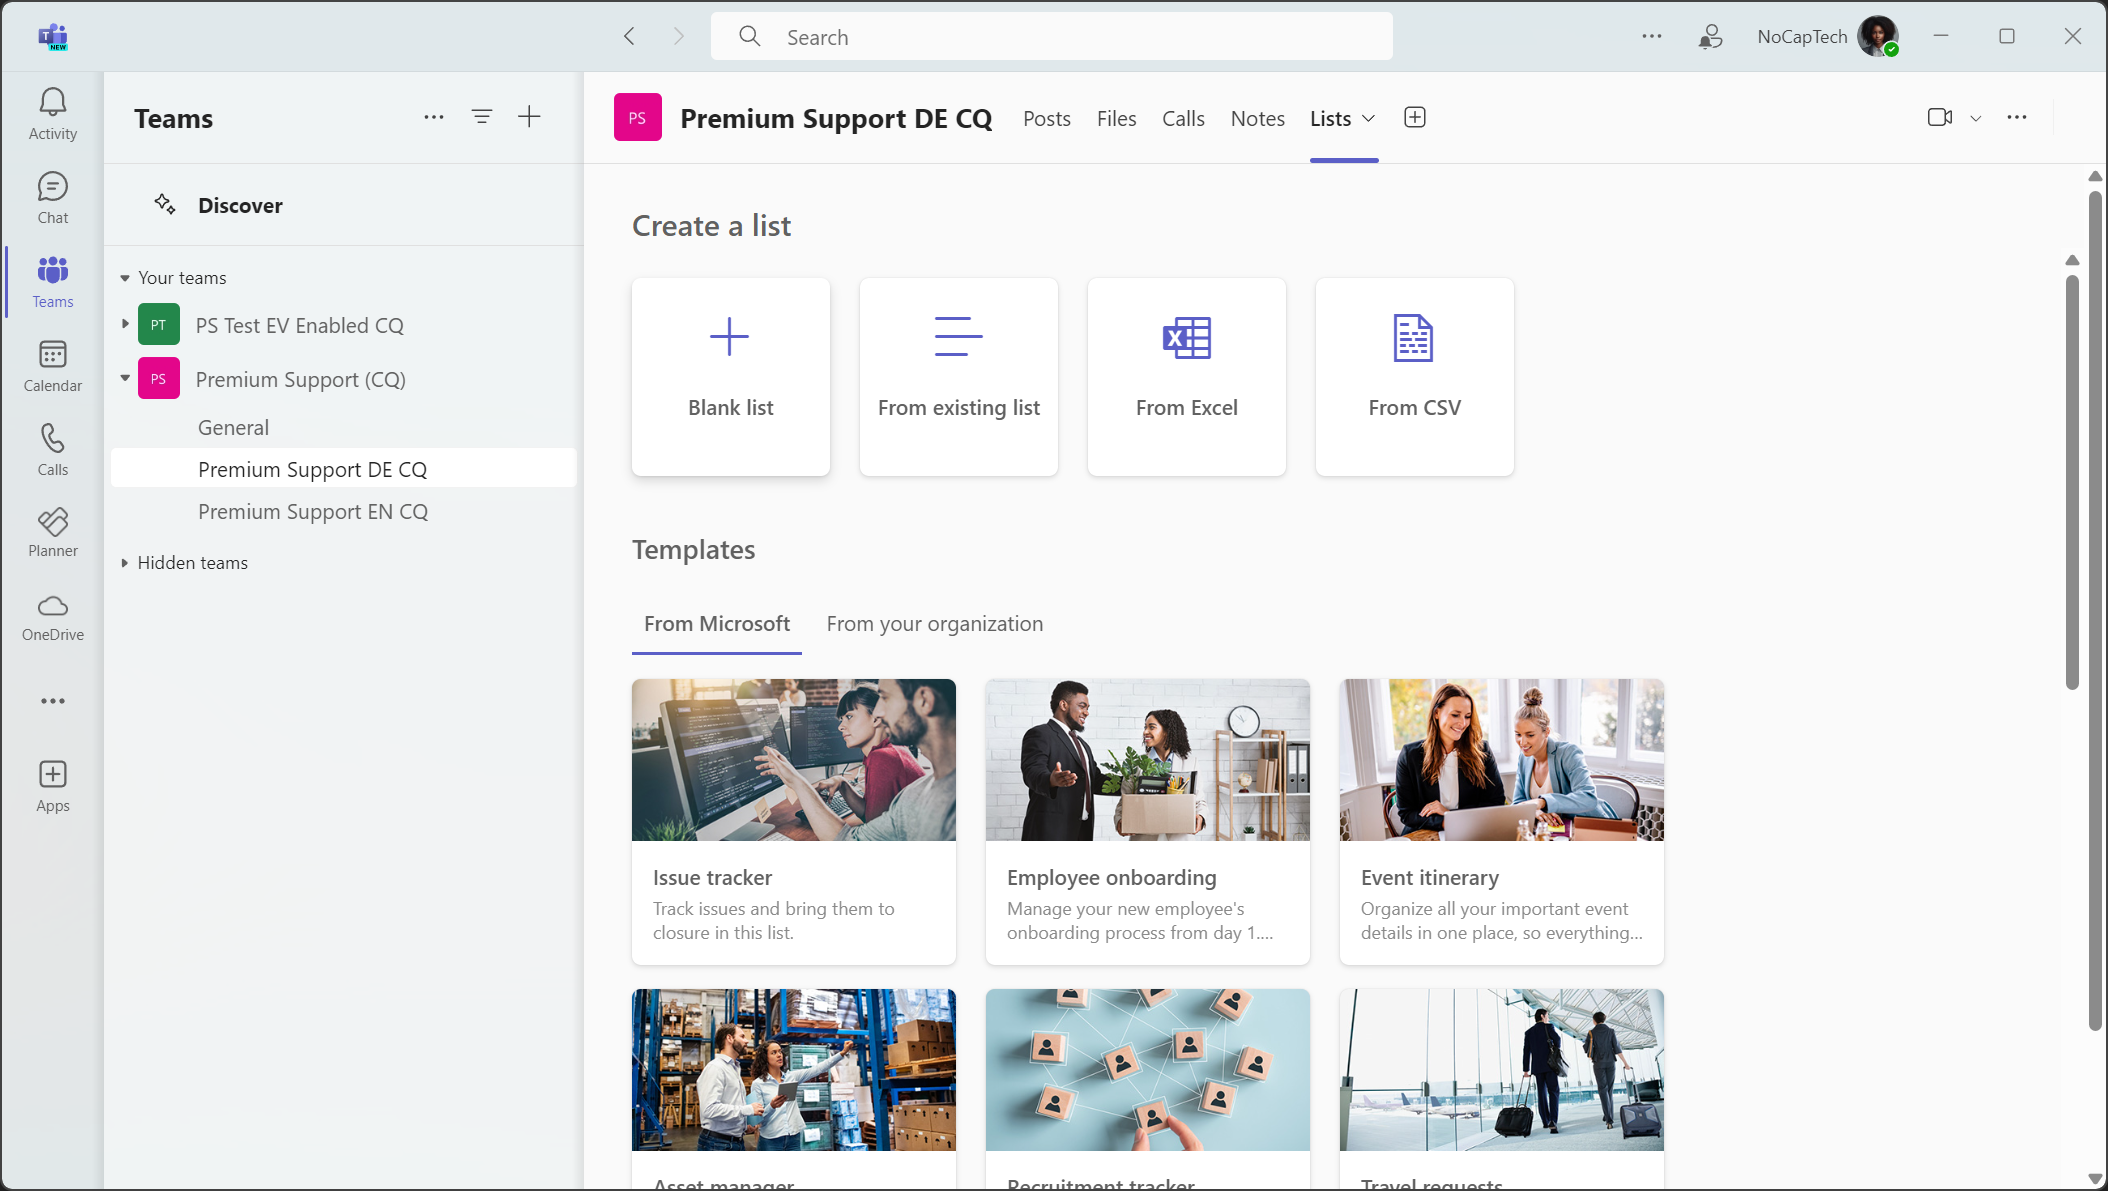
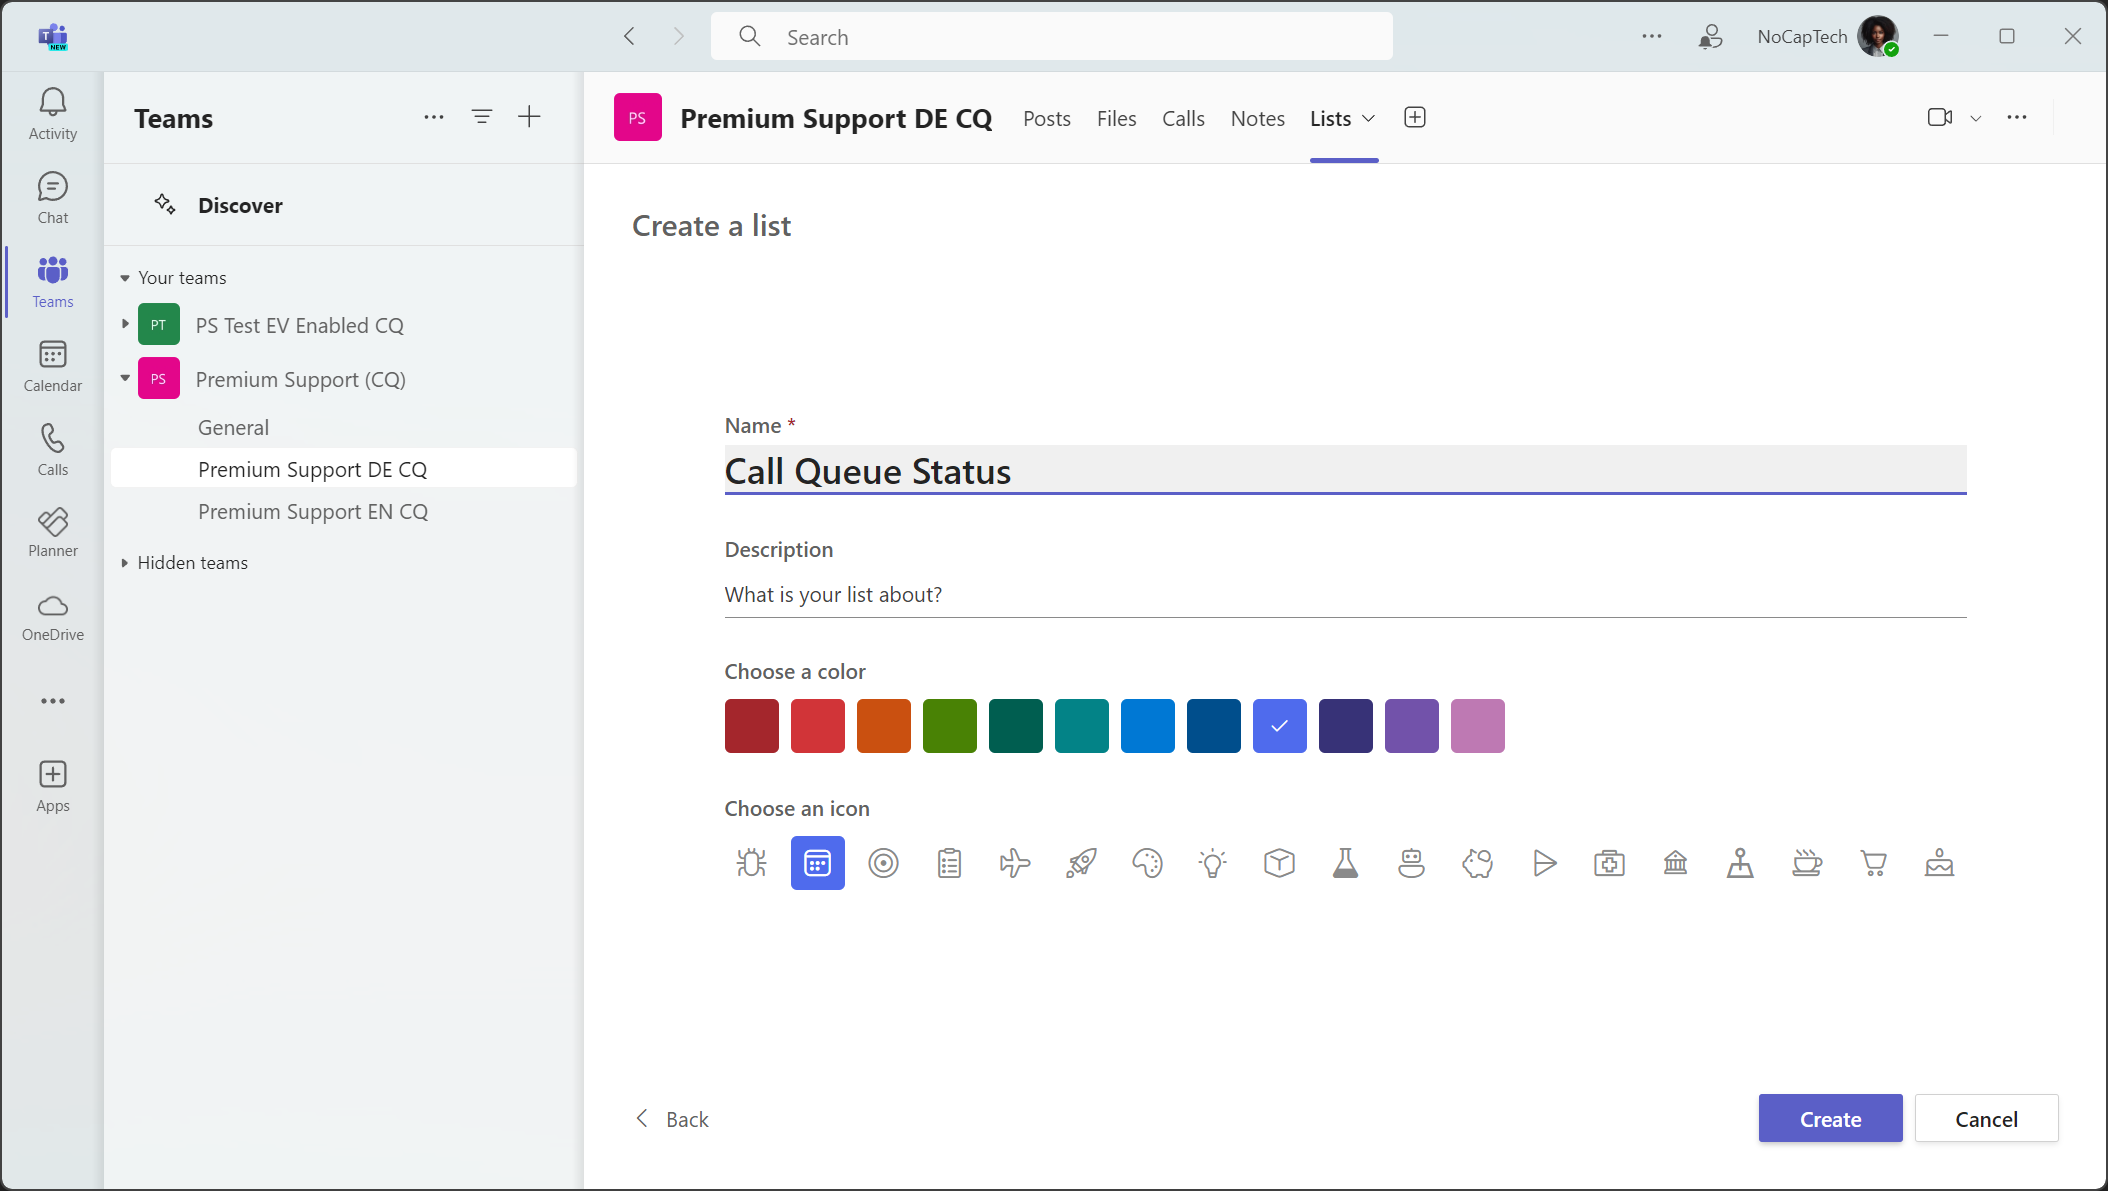
Before we build the Flow, we’ll need something to trigger it. The best and easiest thing I could think of was to create a SharePoint list and add it as a tab to the Teams channel that’s linked to the call queue. If you don’t already know how to do that, follow the steps below.
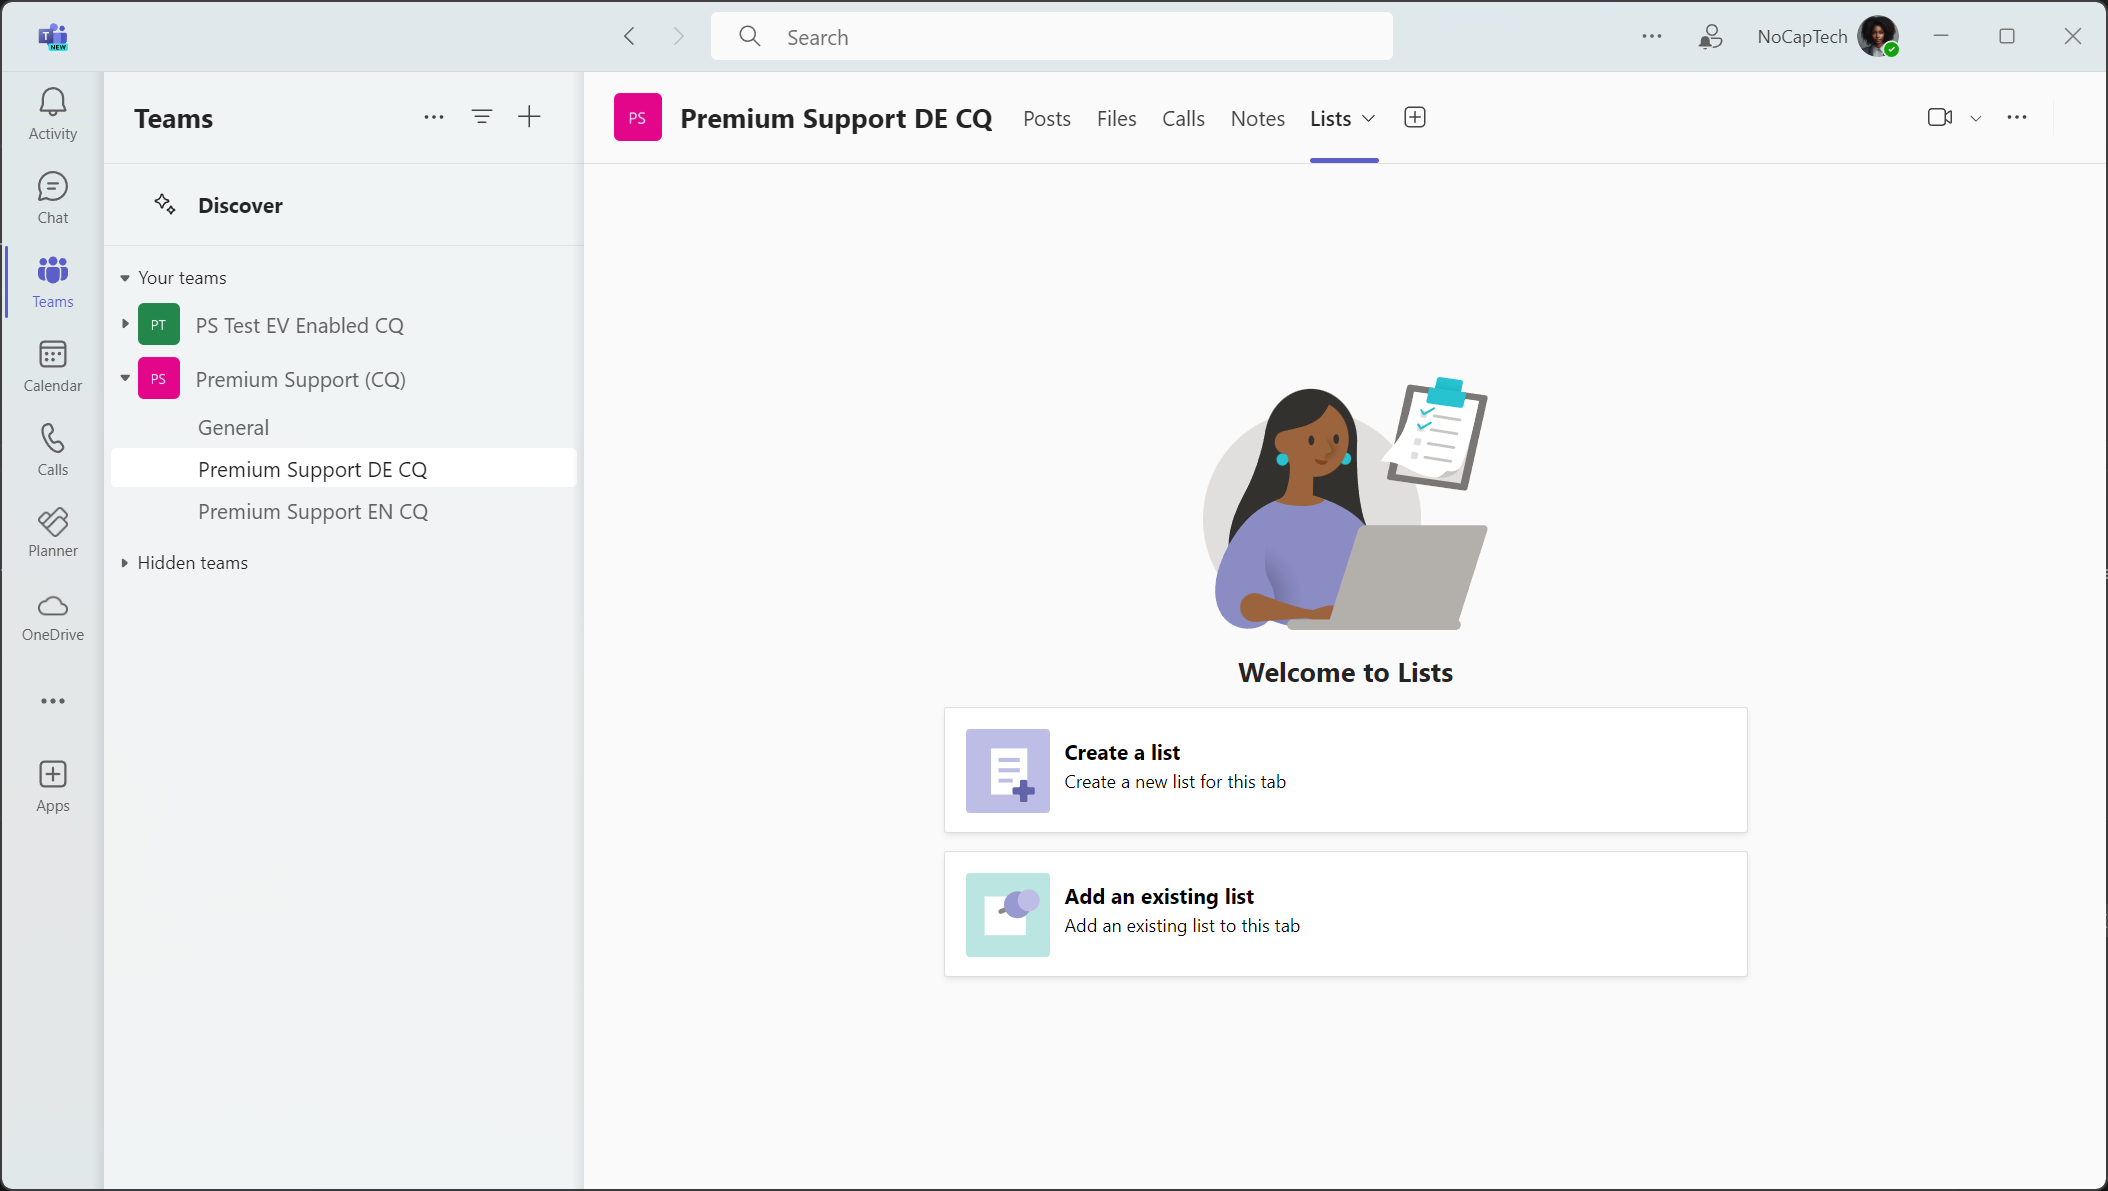
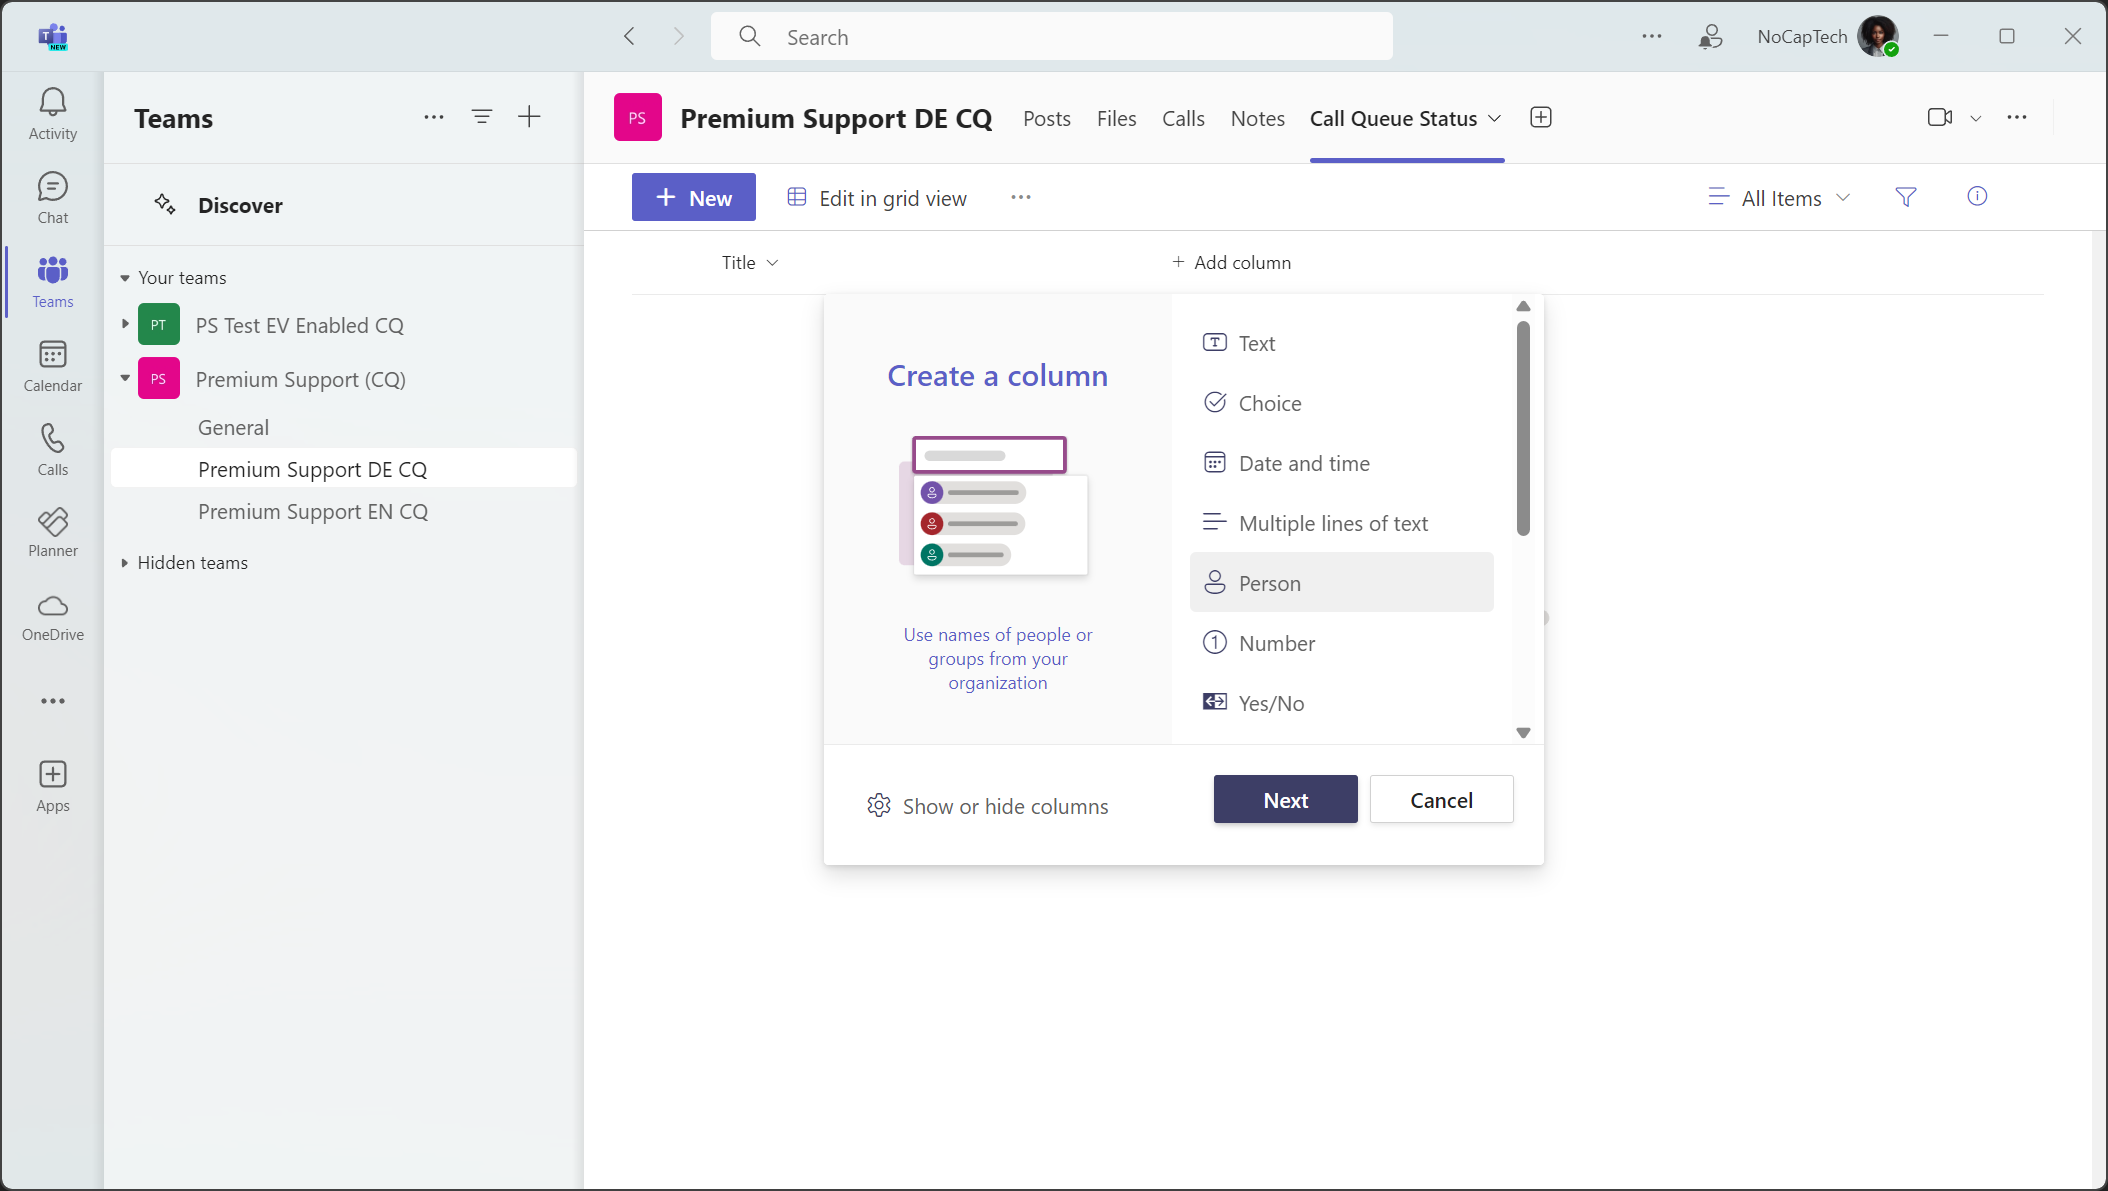
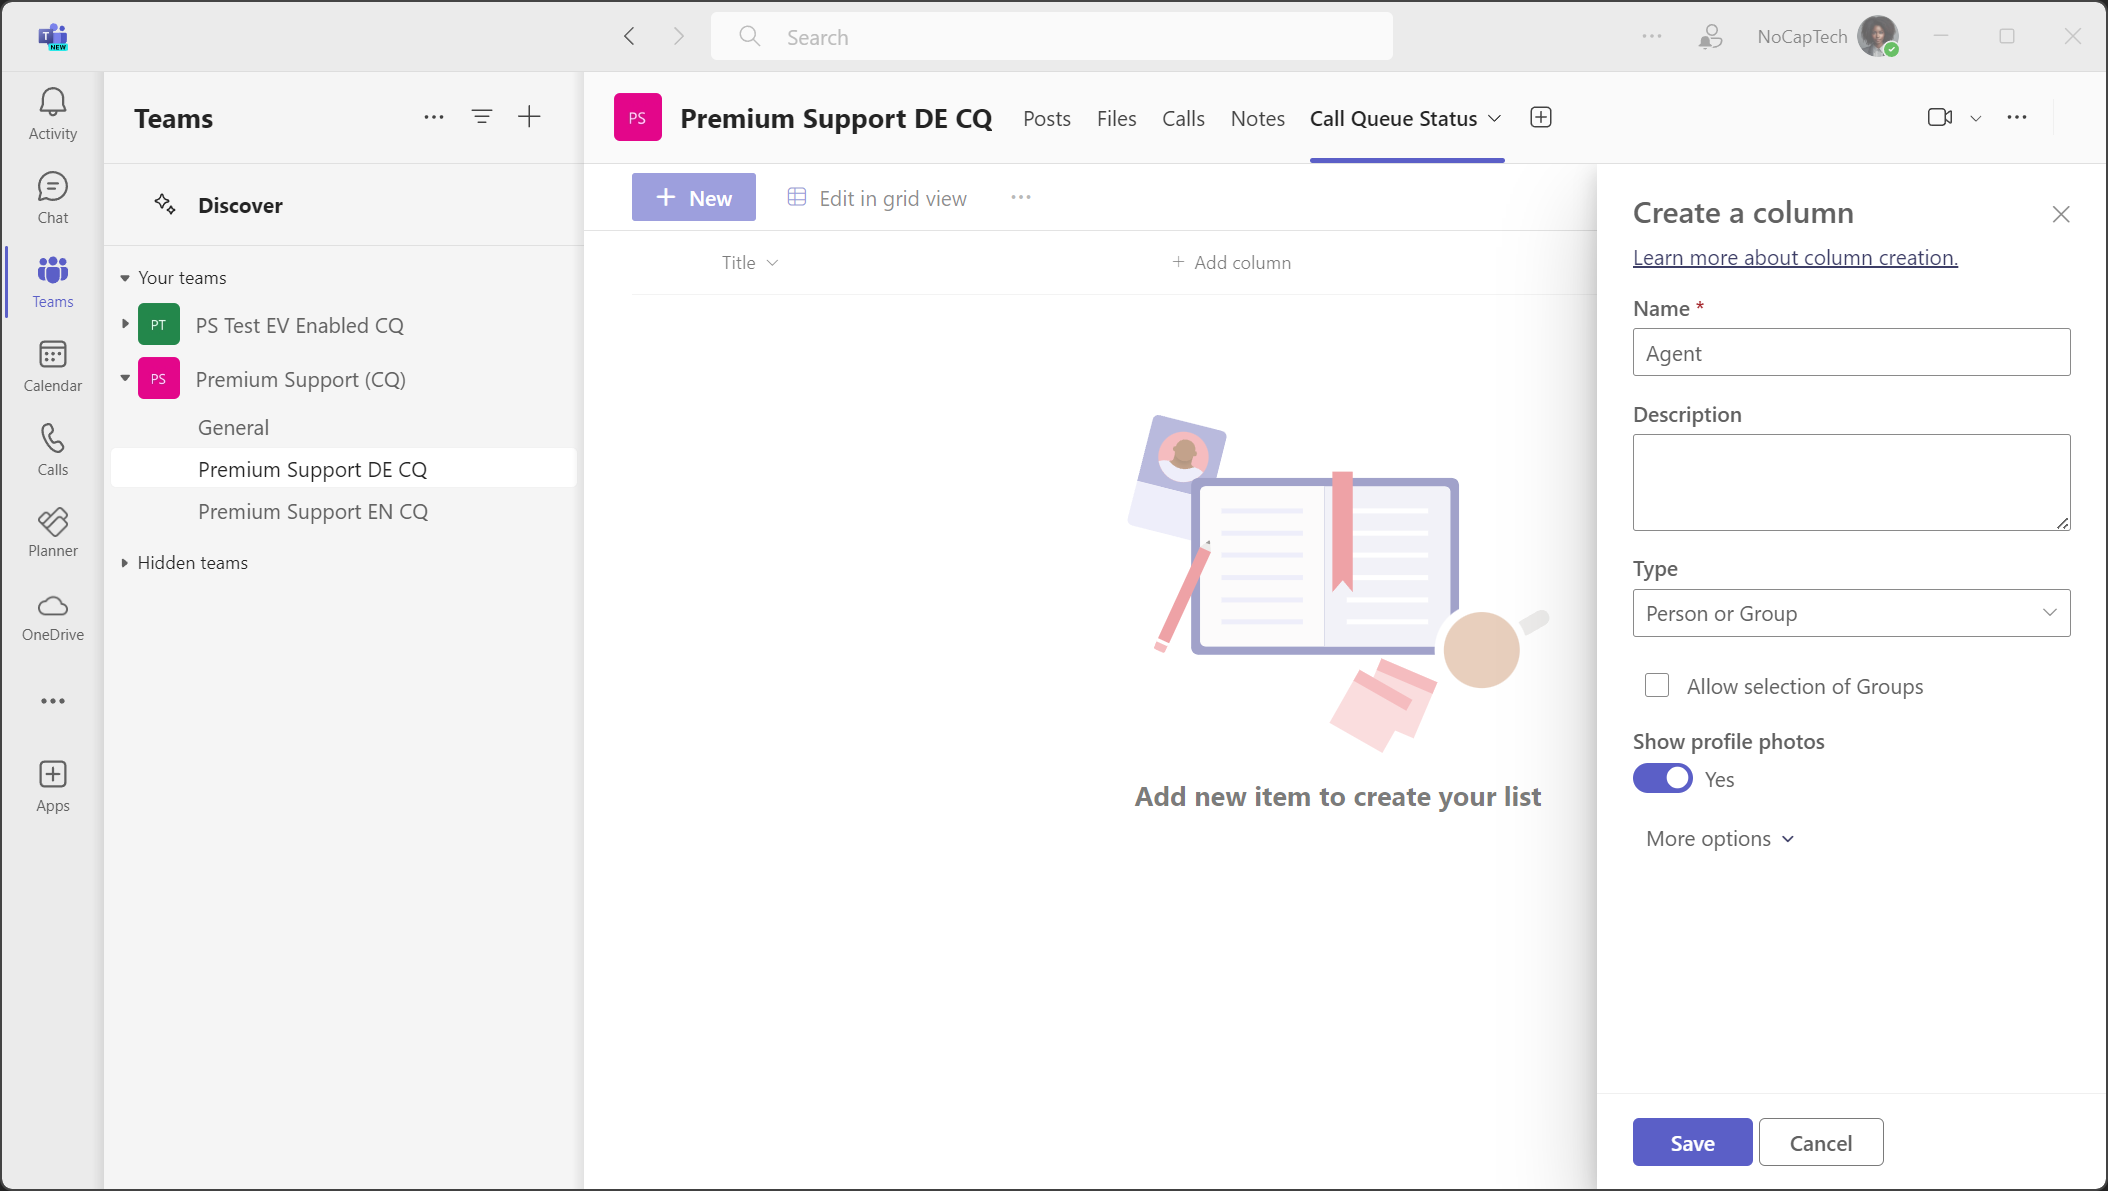
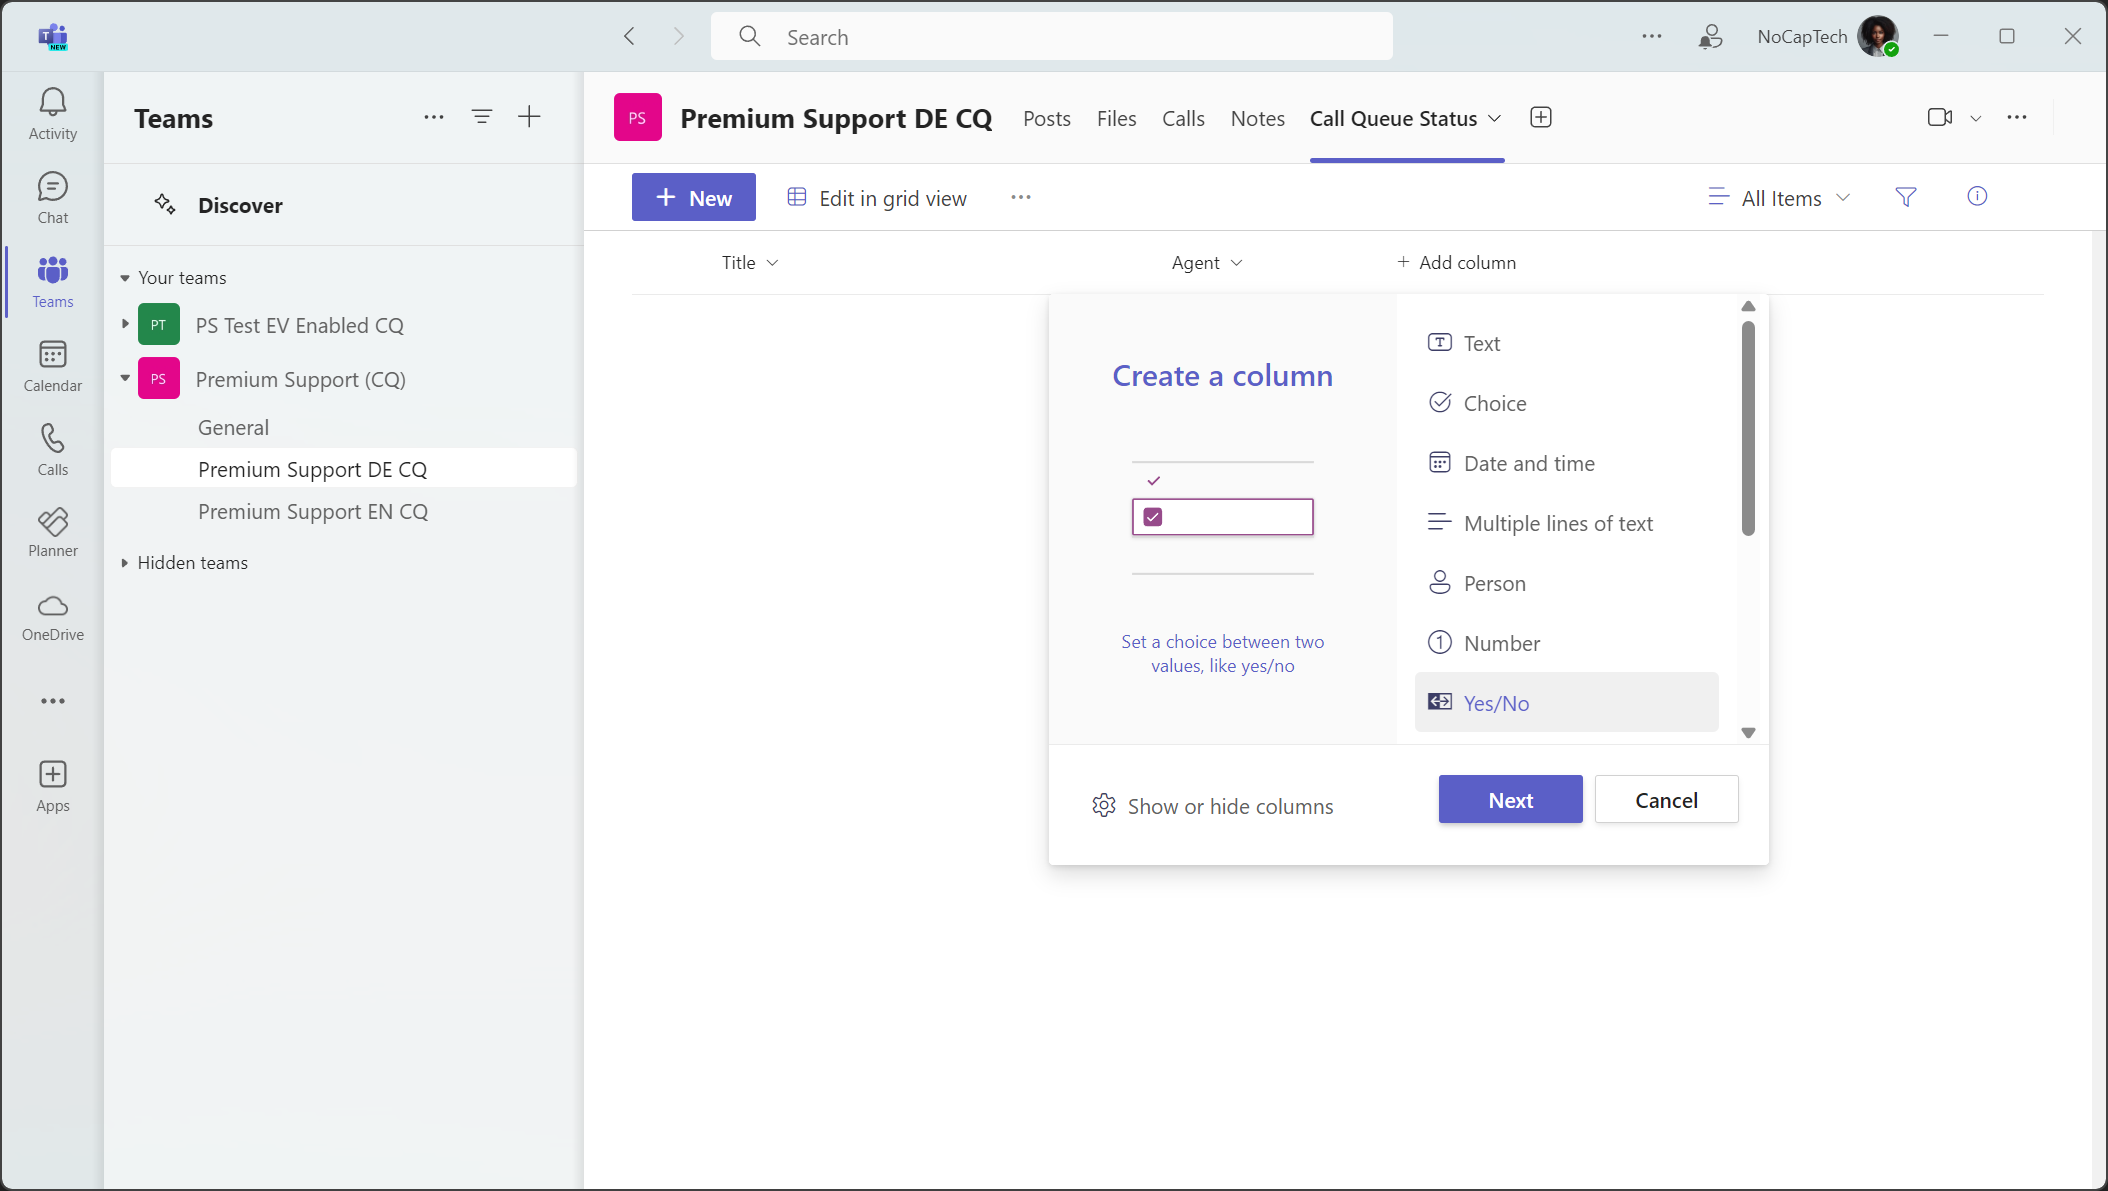
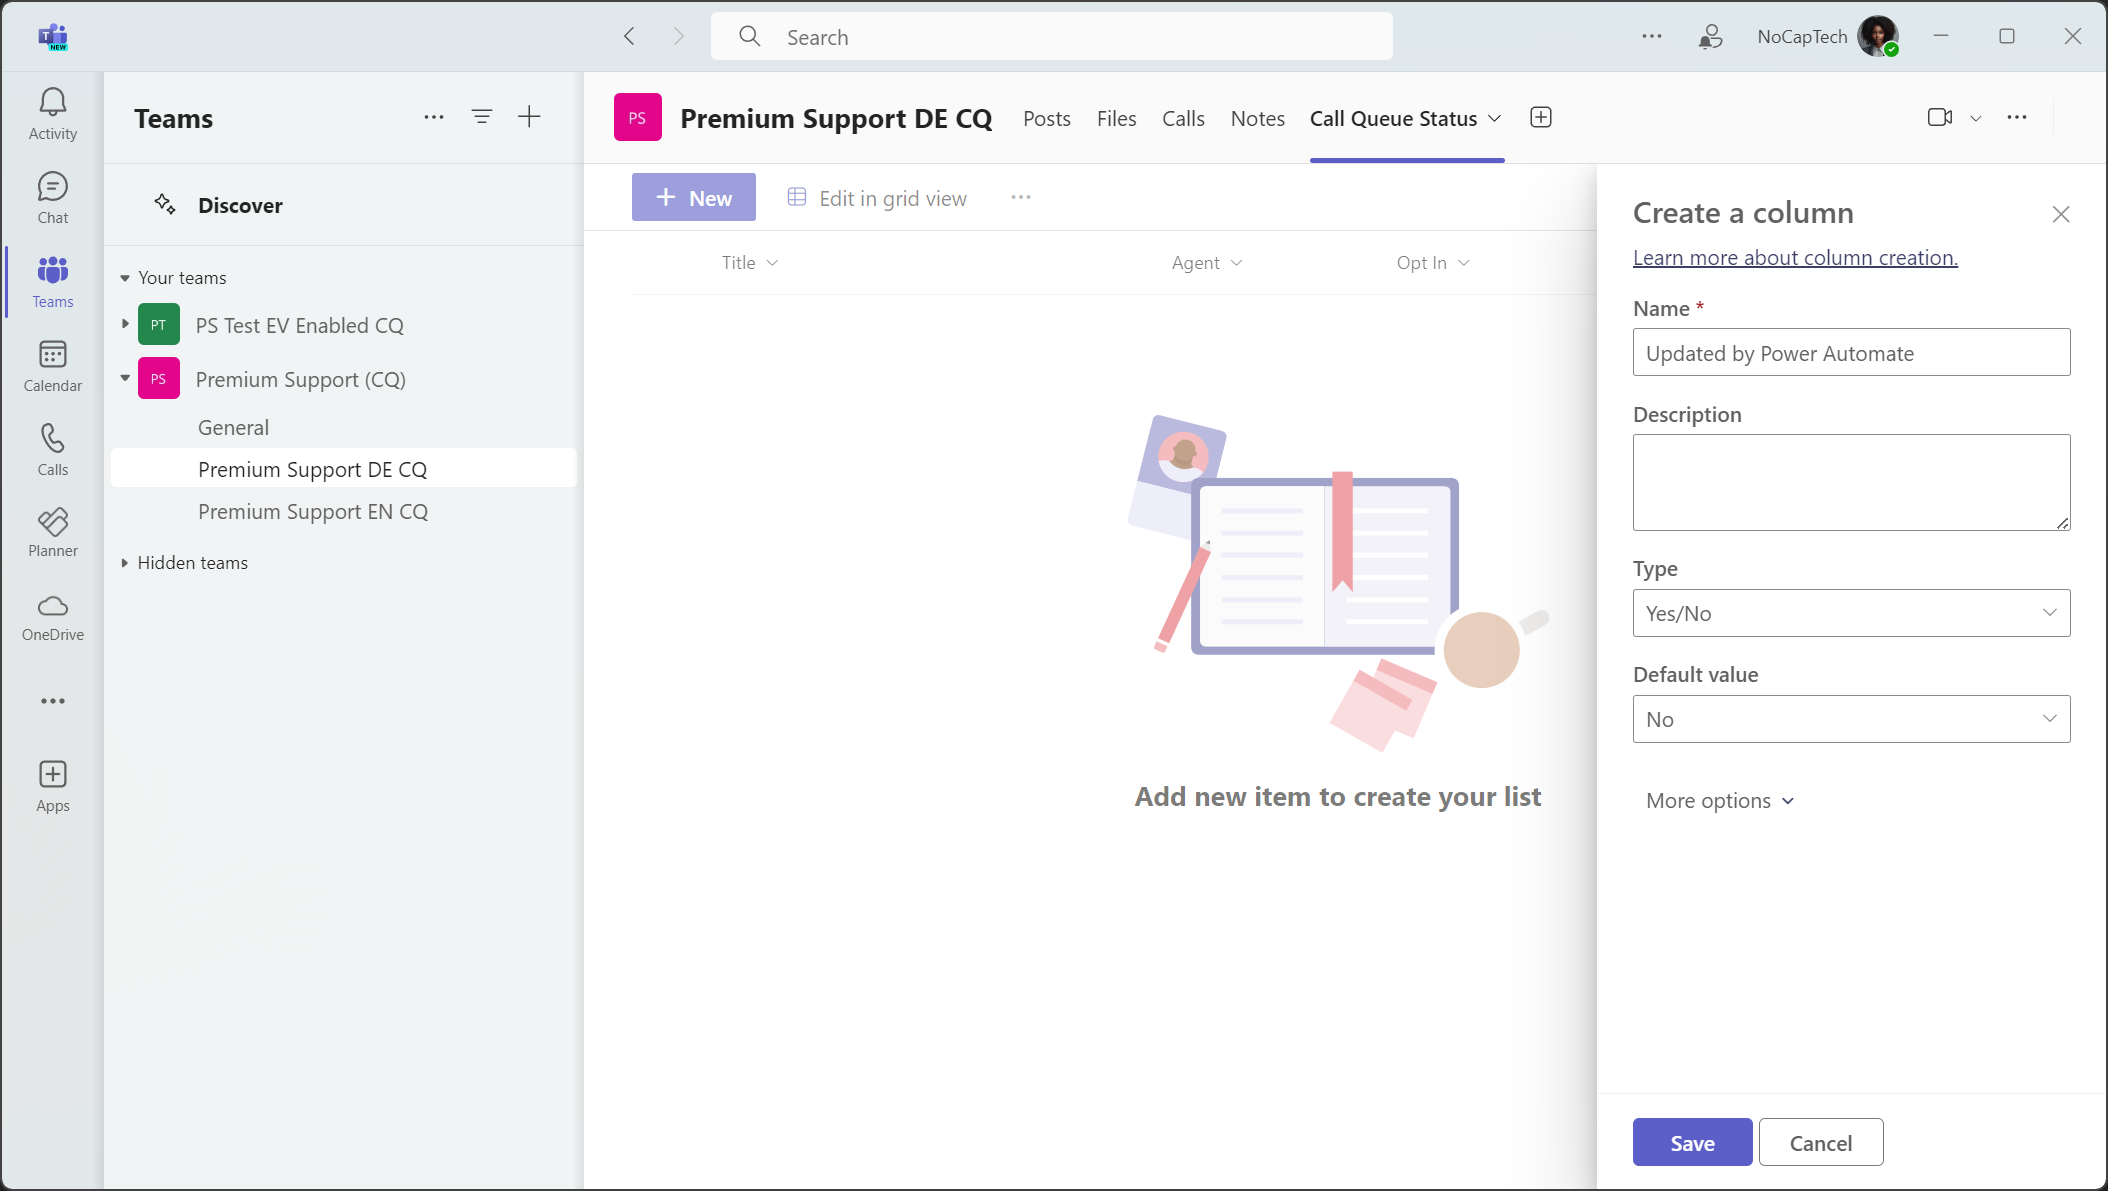
Now that the tab shows your list, we’ll need to add the columns. Start by clicking + Add column.

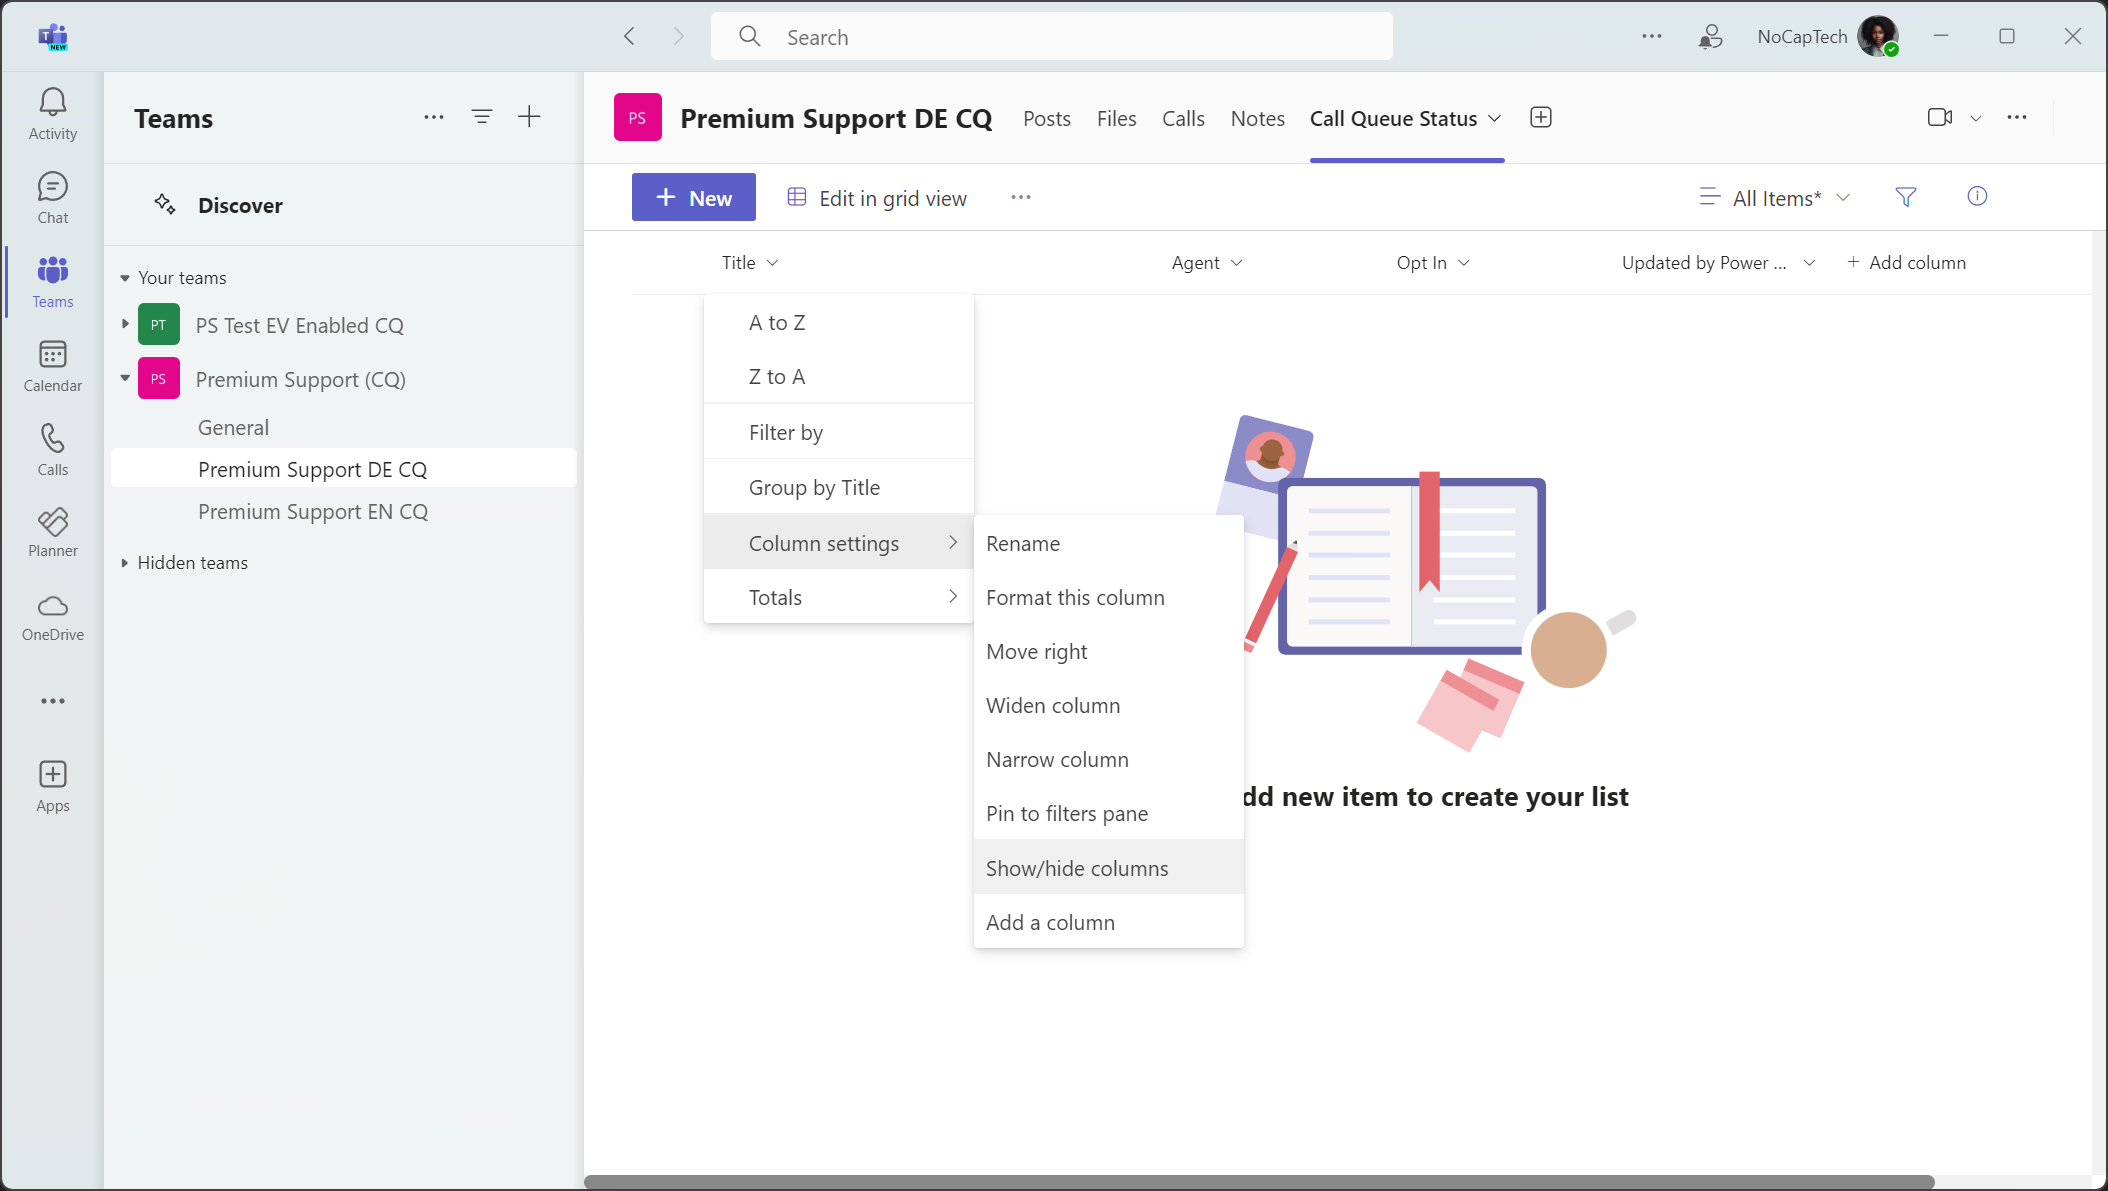
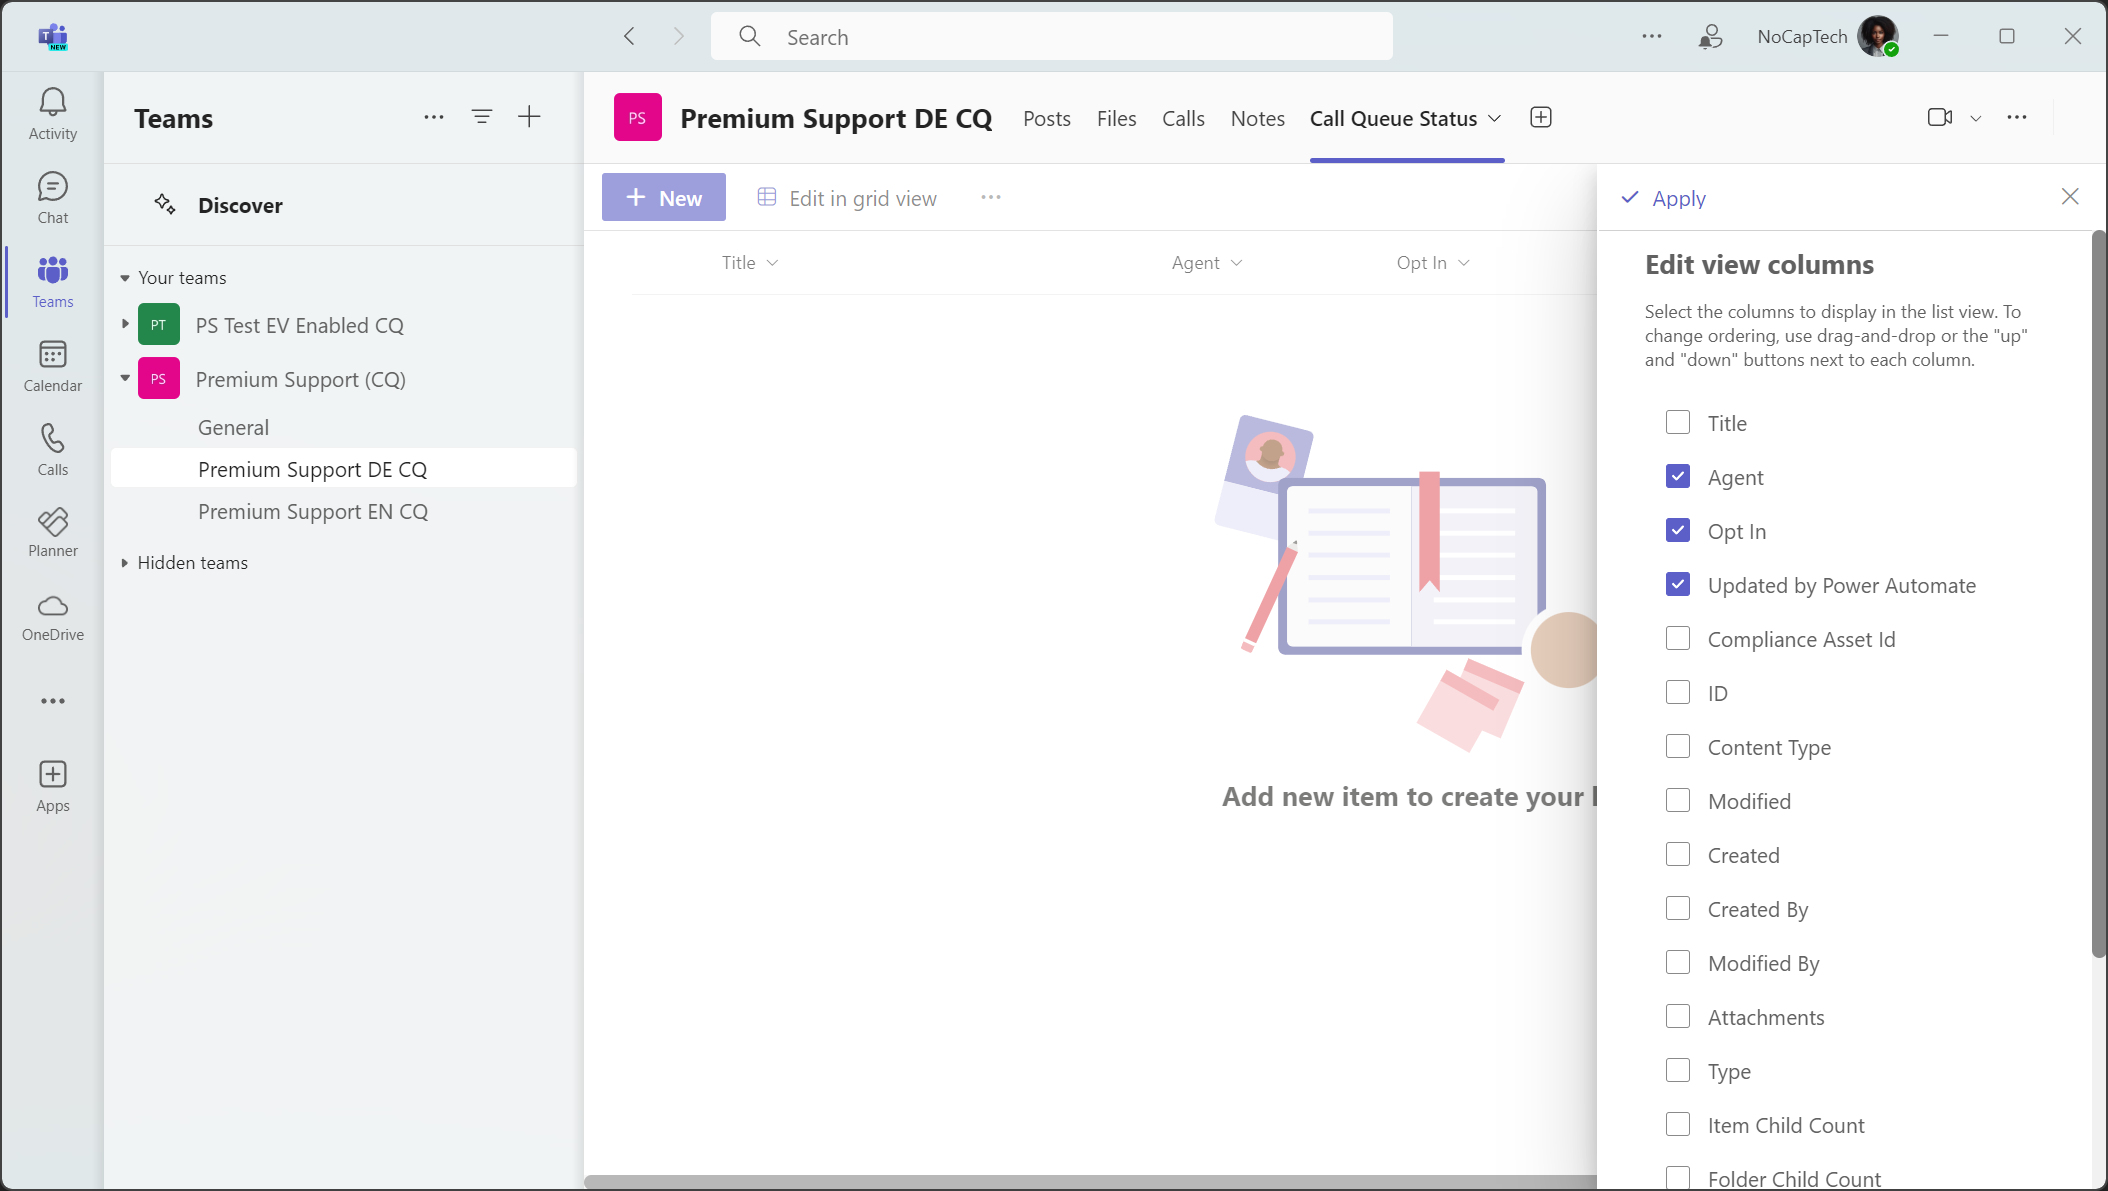
Next, hide the Title column from the view. We don’t need it.
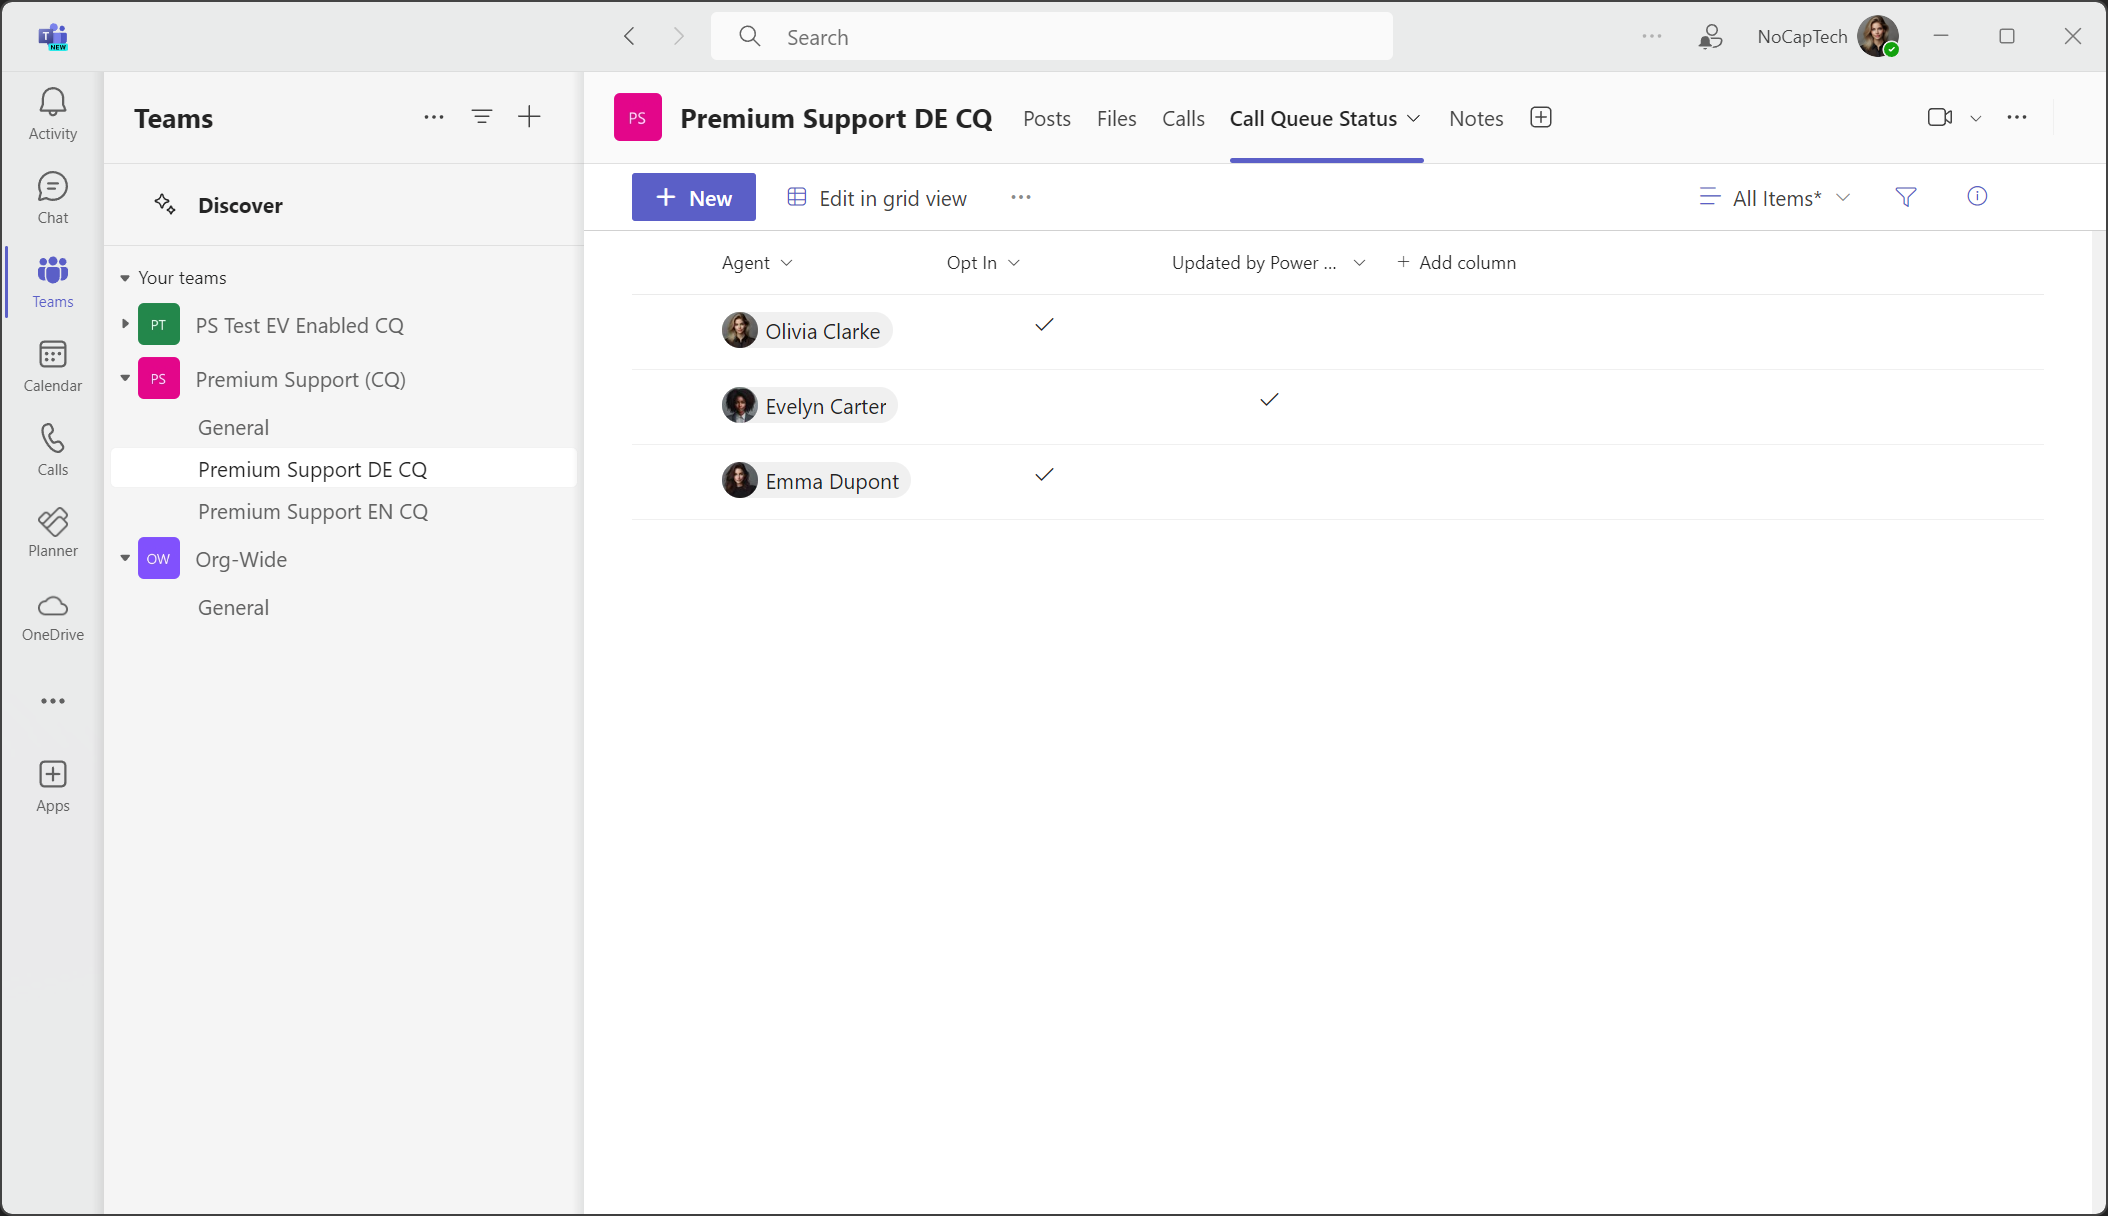
Now select Edit in grid view and add your call queue agents to the list.
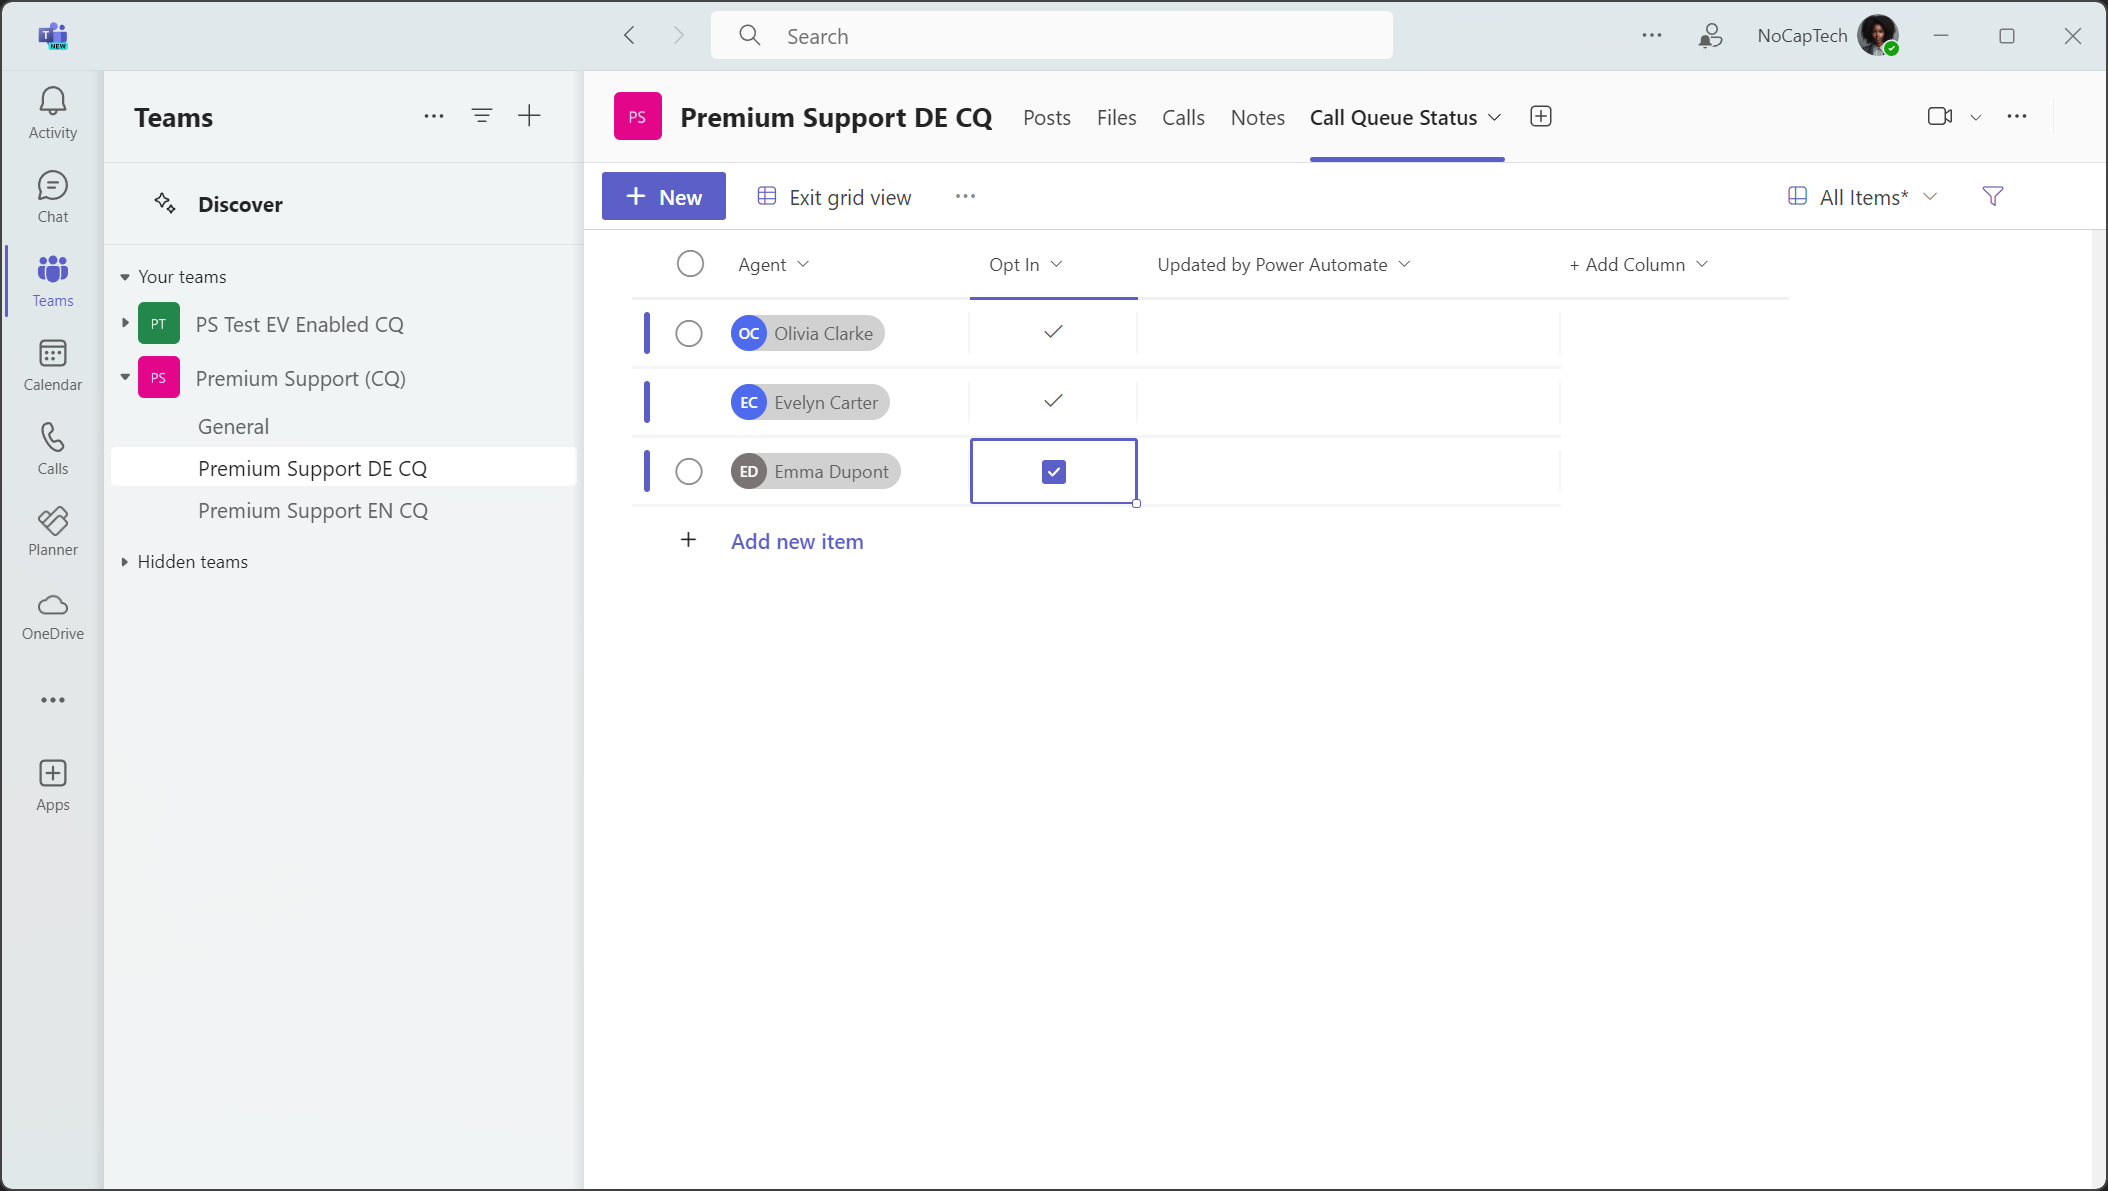
Once you’re done, click Exit grid view to save the list. It should look something like this:
The Power of Power Automate
In Power Automate, Flows are able to leverage connections for which Power Automate will automatically obtain a token for the user that’s running the Flow. While you can’t view the token, you can certainly use it to make web requests. The principle is quite simple. Each user needs to set up a Power Automate Flow which will update their opt in status when the Flow is triggered.
The downside is that a Flow needs to be set up for each user and for each call queue where you want to leverage this custom solution. So, if a user is part of multiple queues, there also need to be multiple Flows per user. To be fair, I did say that this is a PoC at the beginning.
The good thing about this is that I’ve built the Flow in a way, in which it will work for any user. A queue supervisor or an IT admin can just create Flow and then share it with all the agents. Each of the agents can then access the Flow using their own account and save a copy of the Flow to their own Flows. If they’ve never worked with Power Automate before, they might need help doing that but sharing and saving a copy is still the quickest way to set it all up.
Flow For Each Agent
Let’s look at the first Flow. I’ll call this the User-Flow from now on.
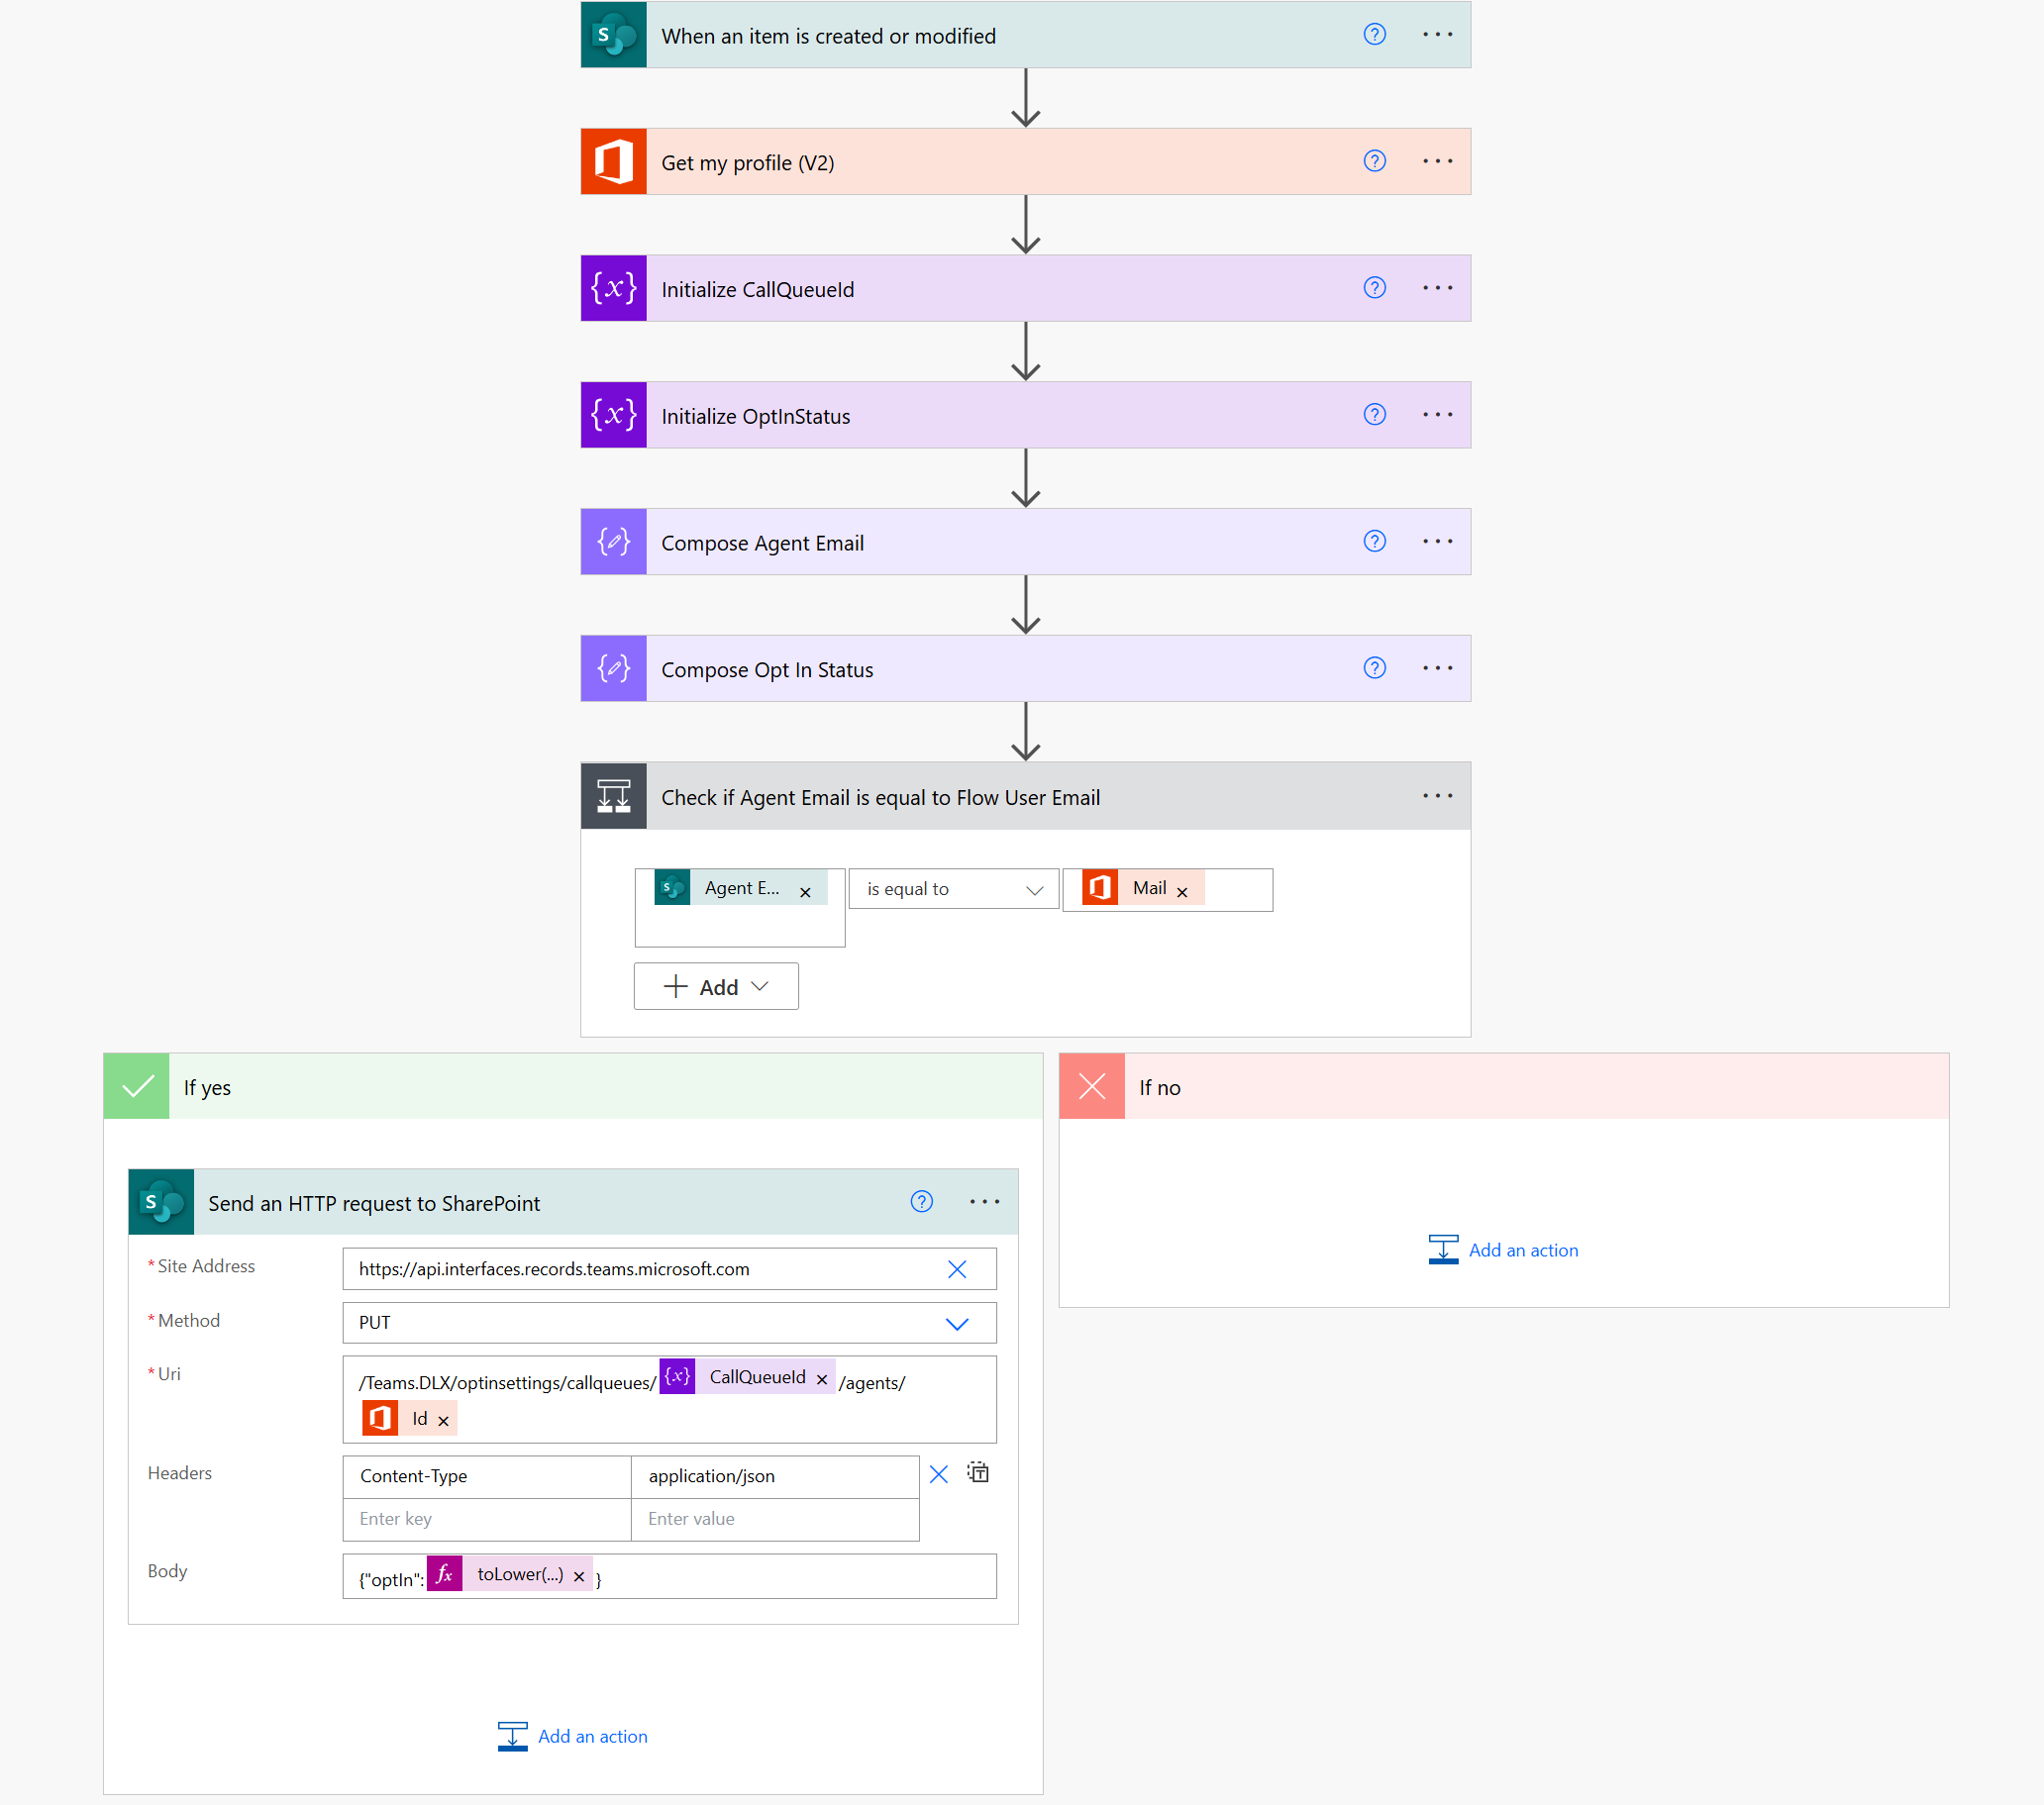
The Flow will trigger any time the SharePoint list which is now a tab in Teams is updated.
Import the Flow Package
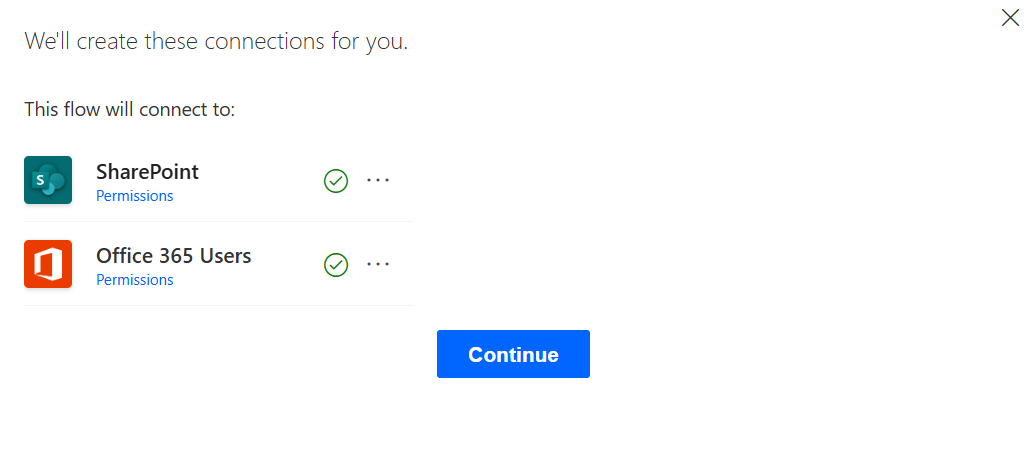
Start by downloading the Flow from here and then import it in Power Automate with a user that is part of the call queue, for which you want to add the functionality.
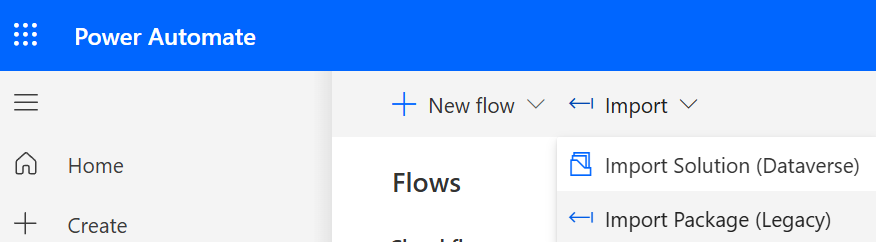

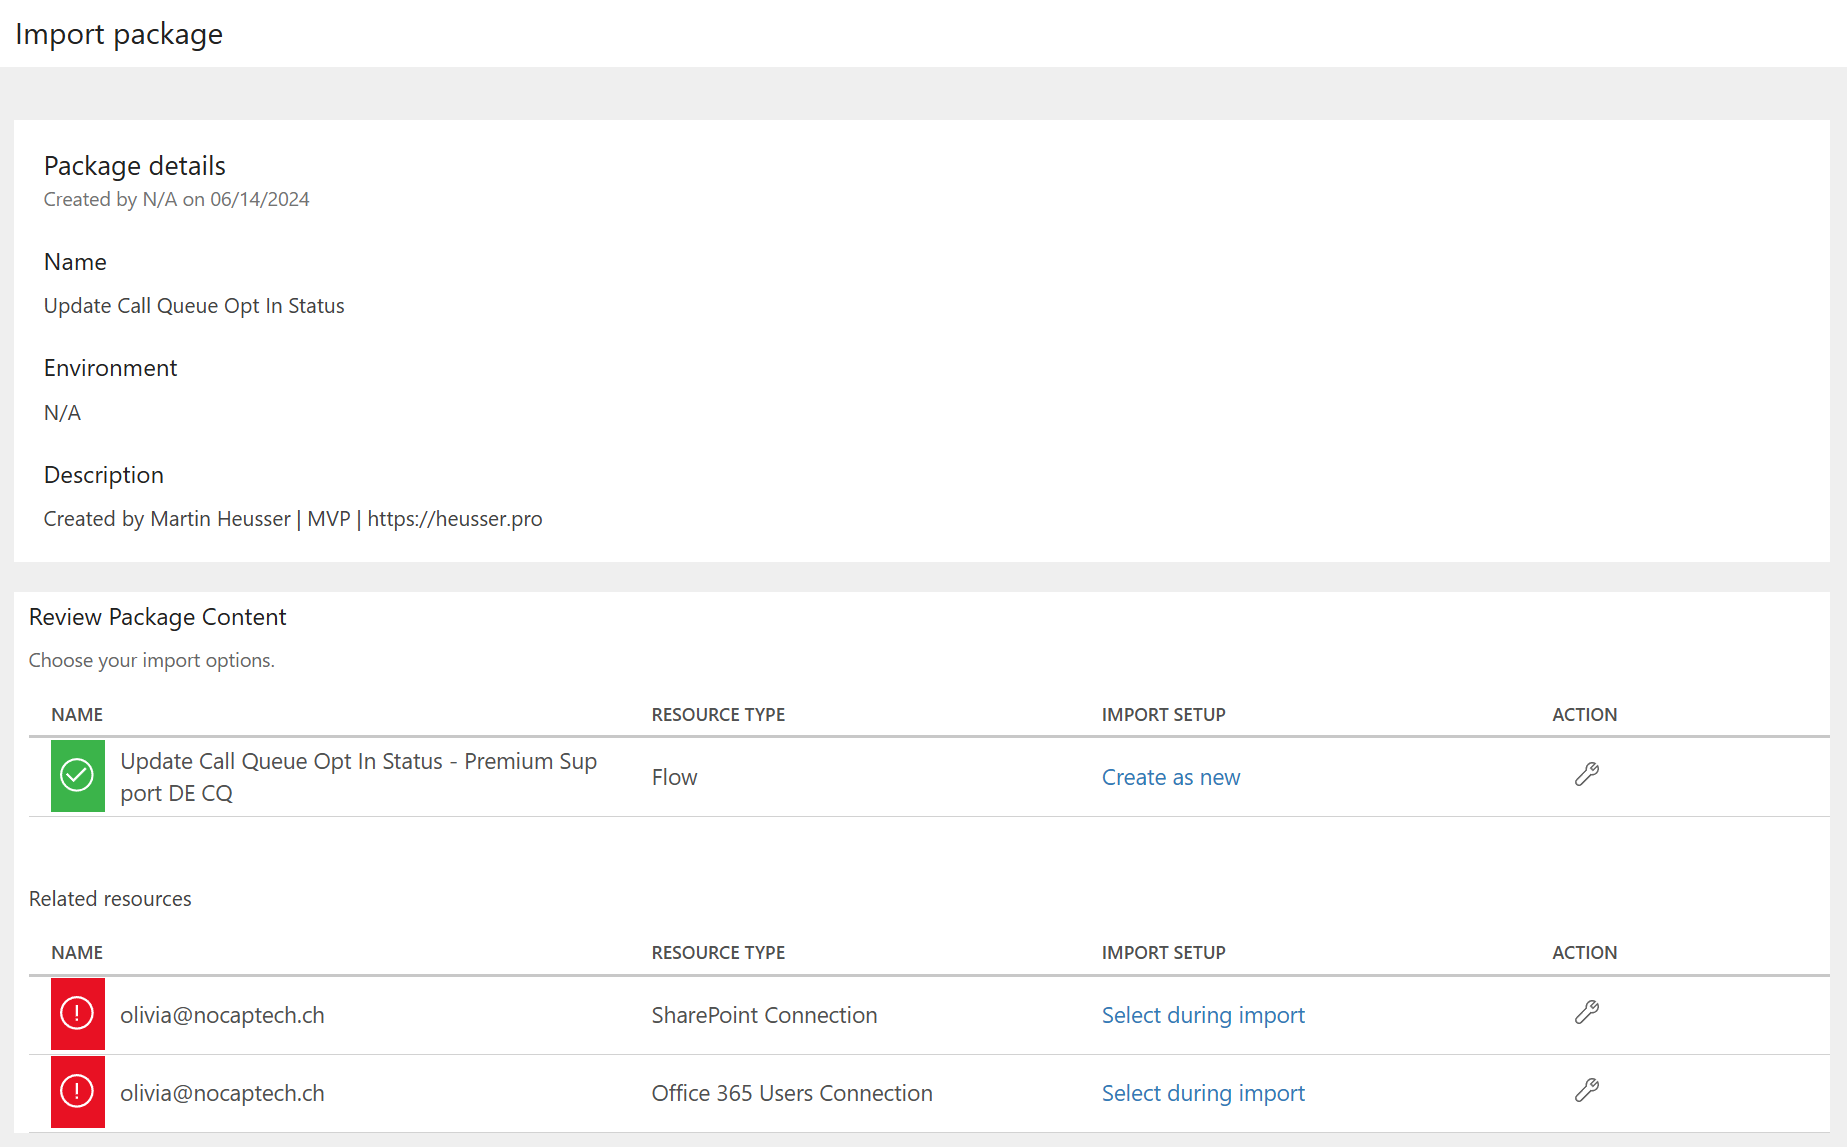
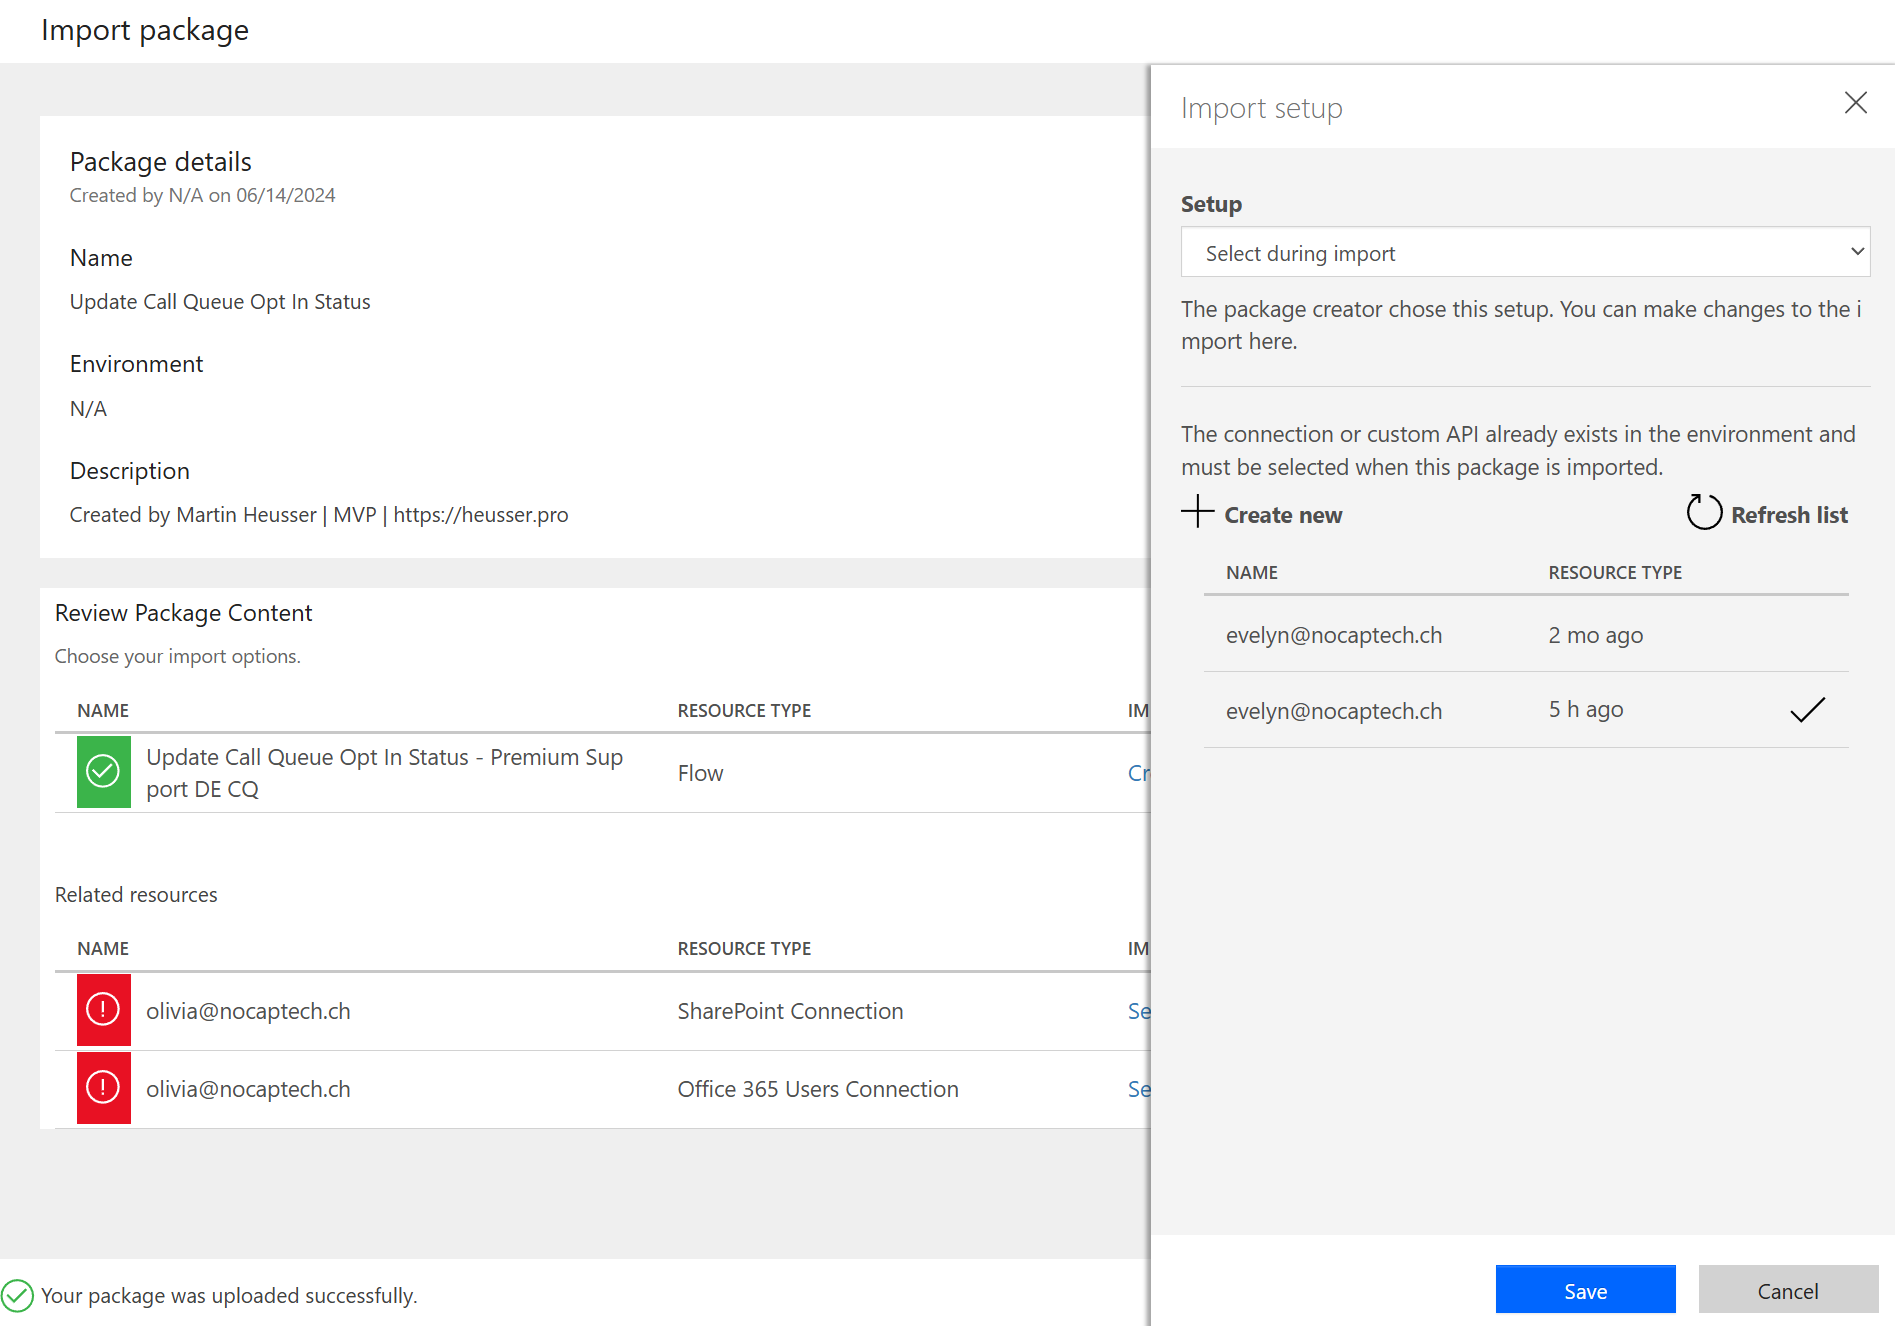
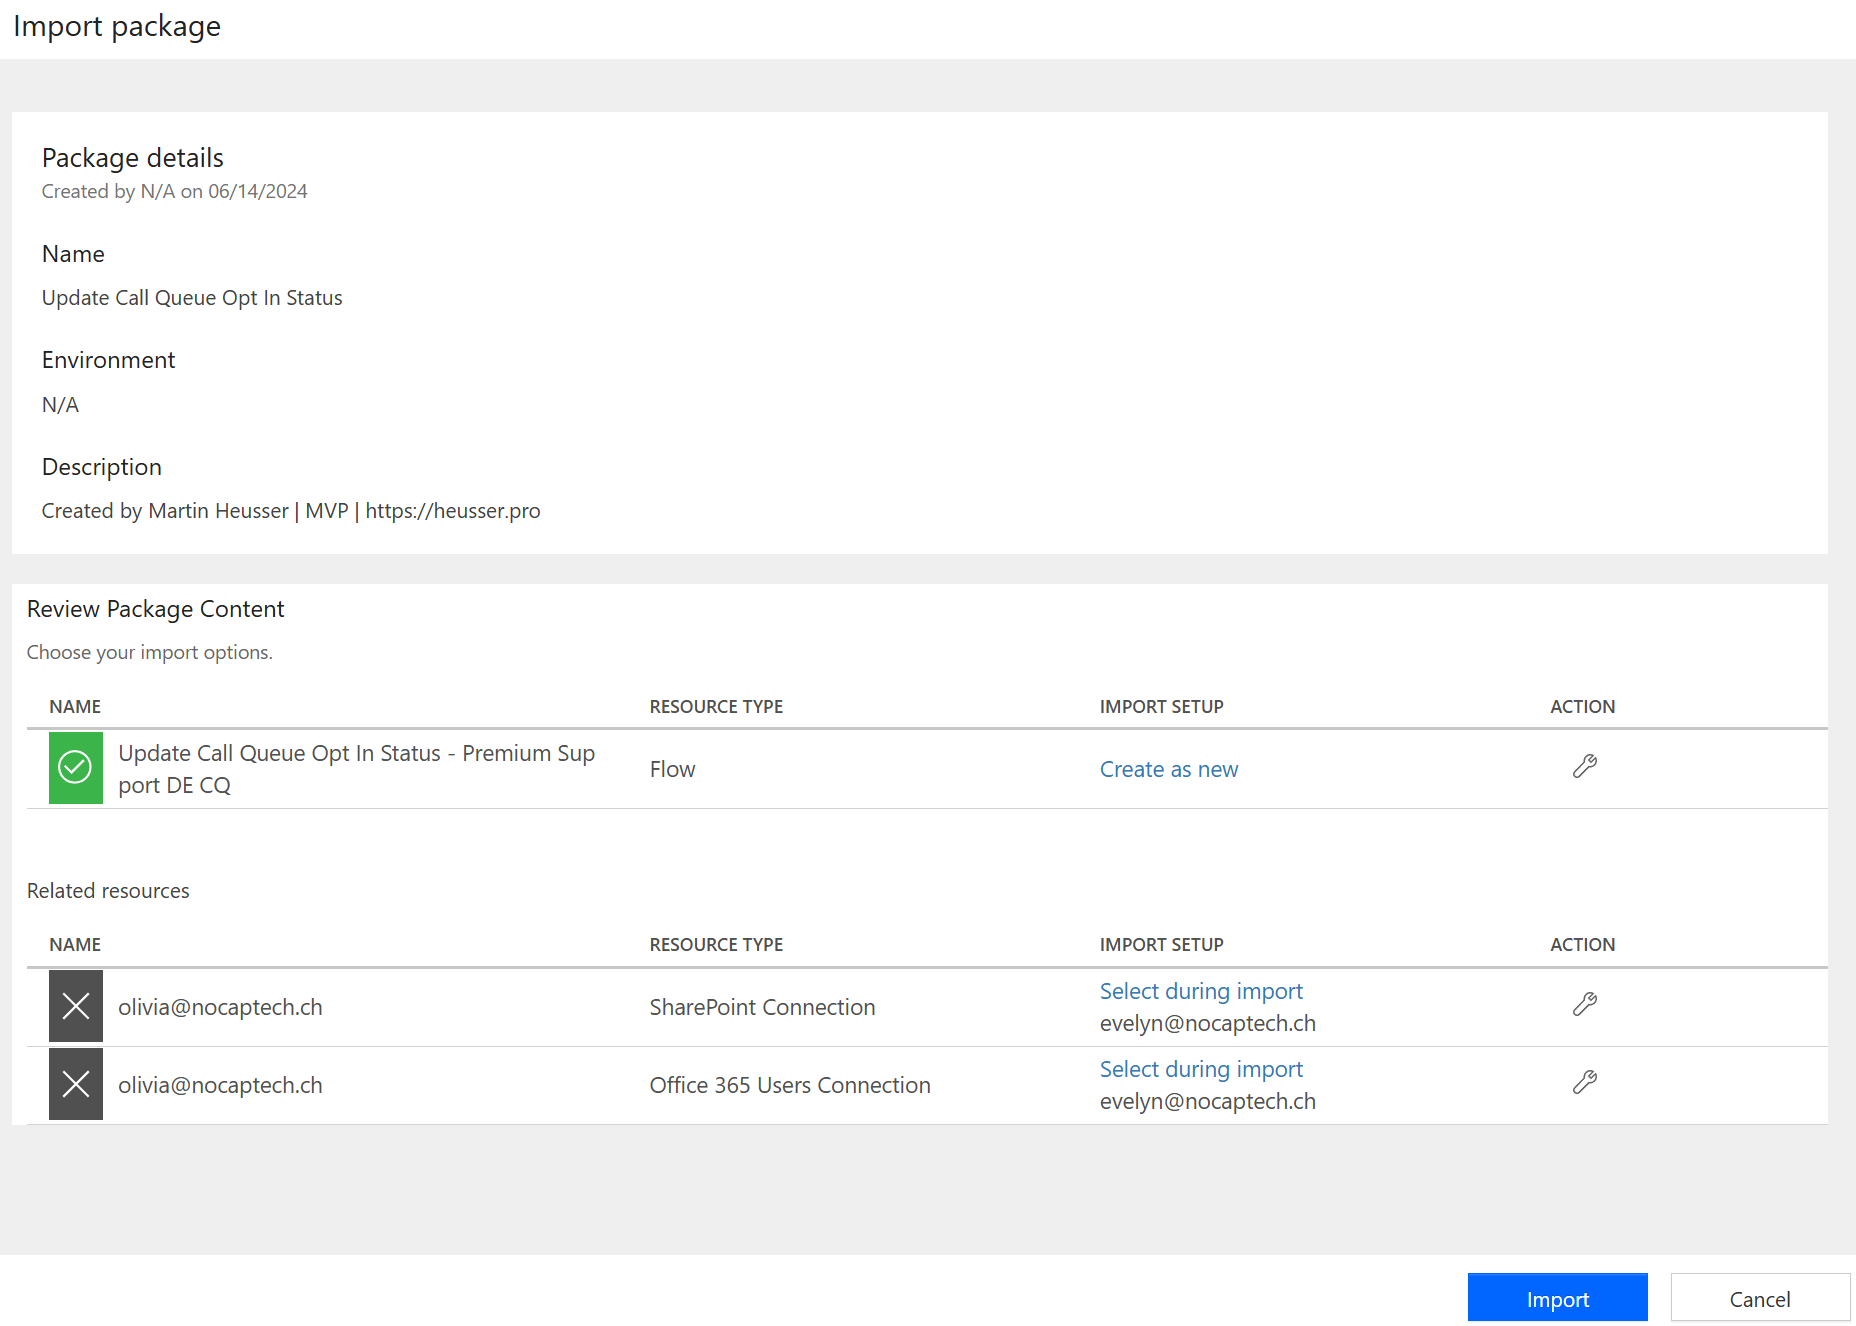
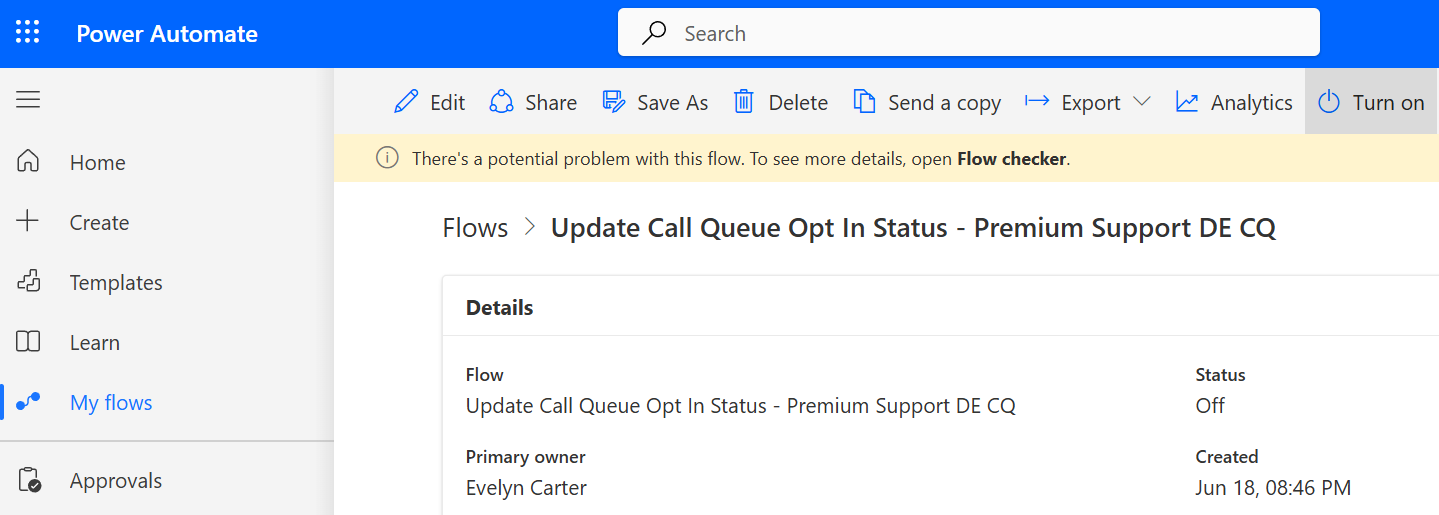
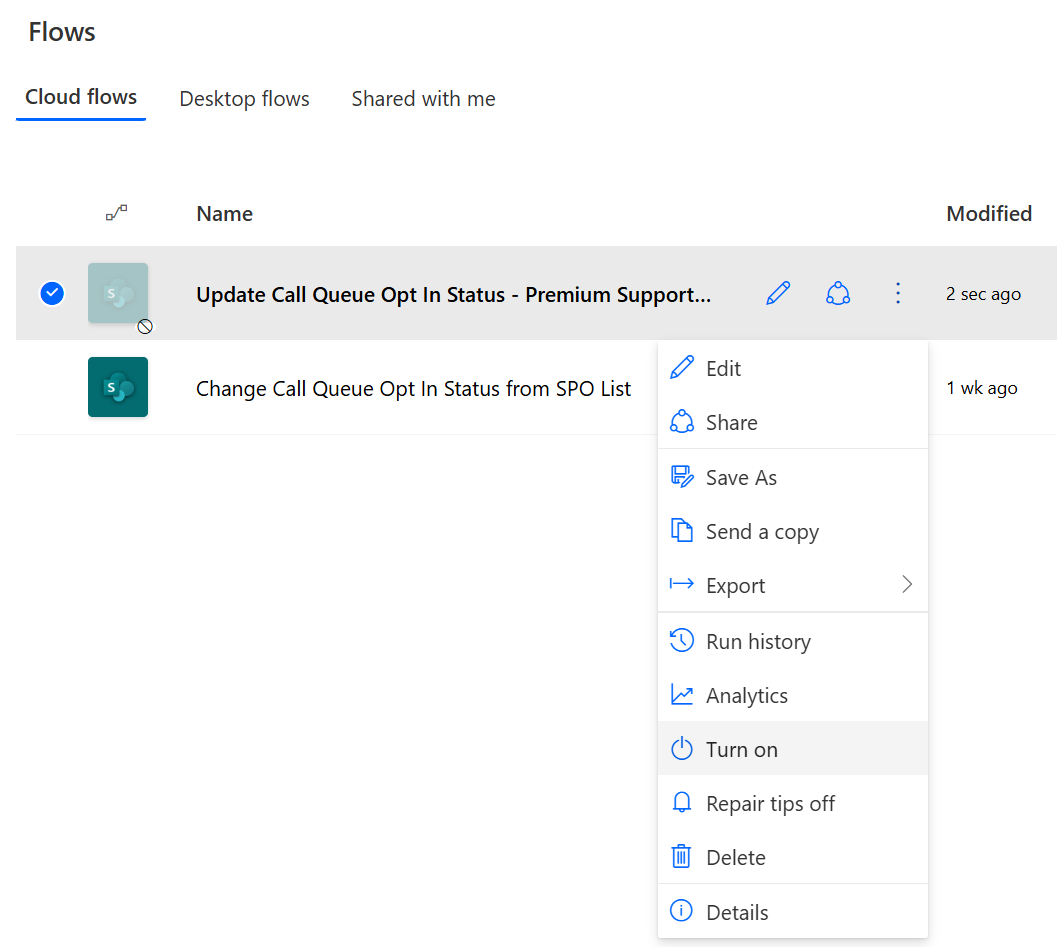
After successfully importing the Flow, it will be disabled at first. Navigate to My flows and click on the imported Flow to enable it.
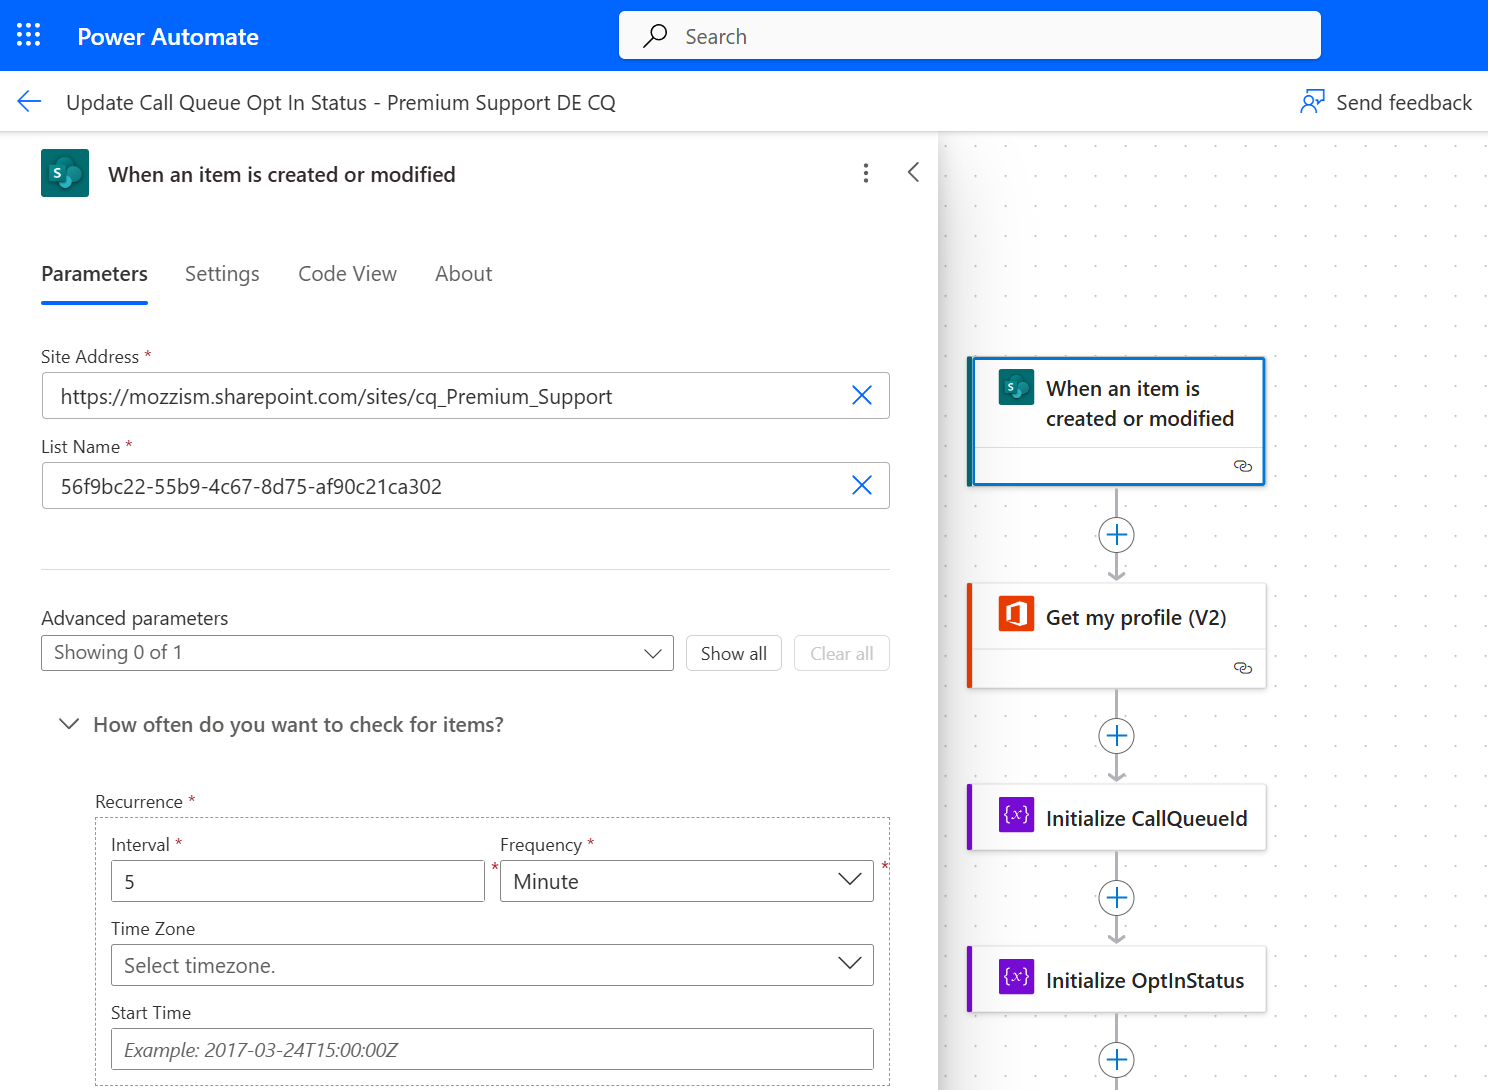
Then, click Edit. Now you need to update the trigger and select the correct Team/Site and List for the trigger. This will be the SharePoint site of the Team in which you created the list tab.

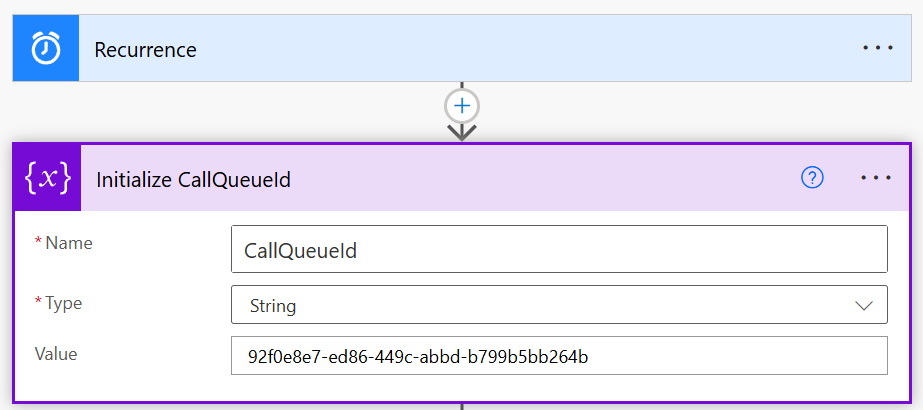
In the third step Initialize CallQueueId fill in the Id of your call queue. The easiest way to obtain the Id is to edit the queue in Teams Admin Center and copy the Id from the URL.
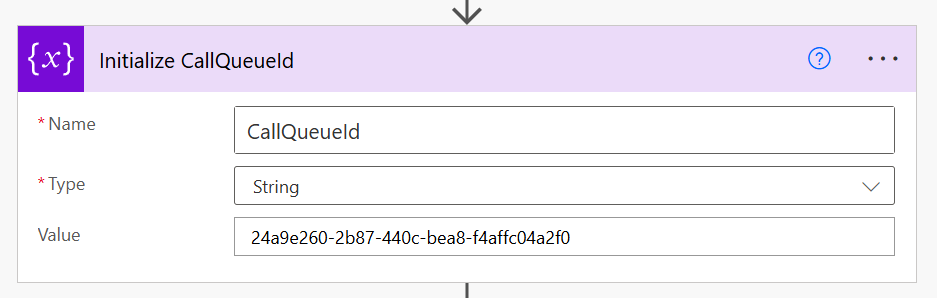
These are the only two things you need to adjust. Because the Flow uses the action Get my profile (V2) you don’t need to set anything that’s user specific. That action will always get the details of the user that is running the Flow.
Share the Flow with all the other Agents
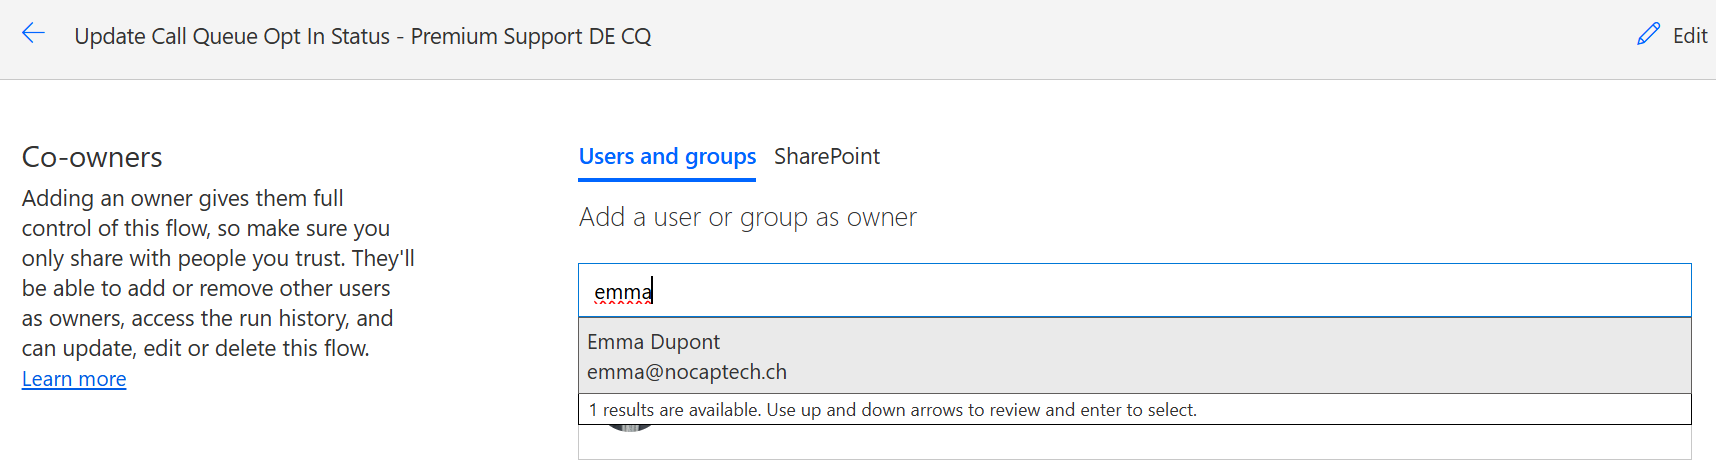
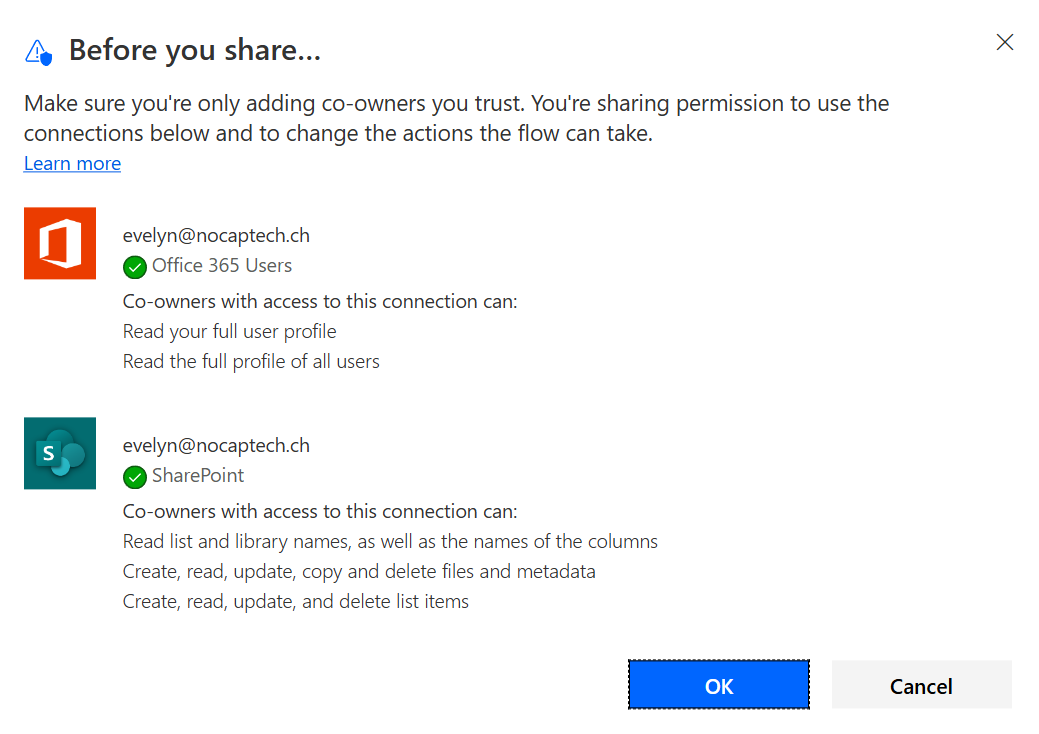
Now that you have the Flow imported to your account, share it with all agents of the call queue.
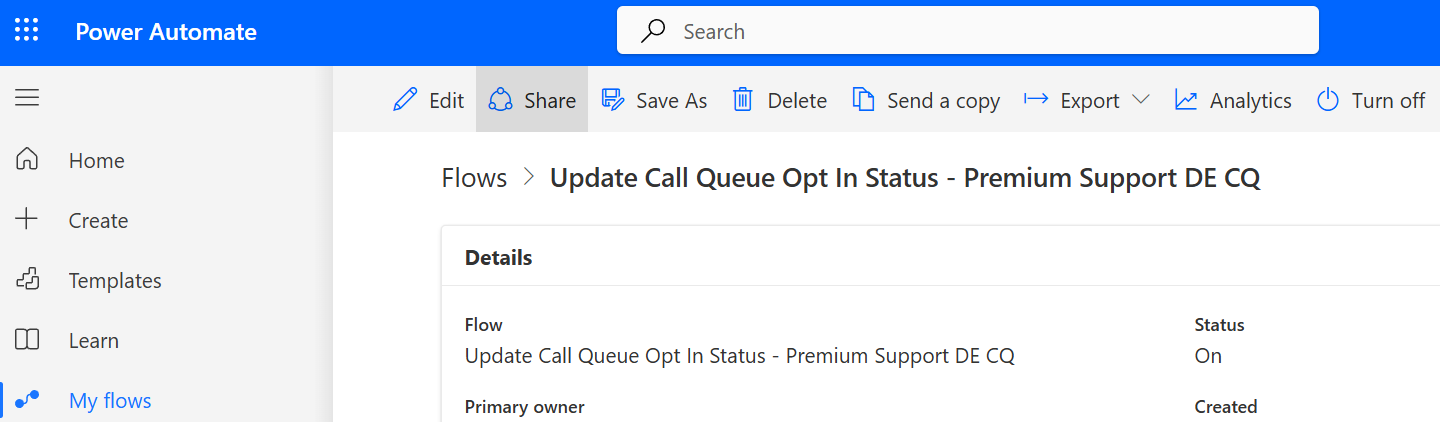
Go back to My flows and select the Flow again to share it with your team.
Now ask the user you shared the Flow with to sing in to Power Automate and navigate to My flows and switch to the Shared with me tab.
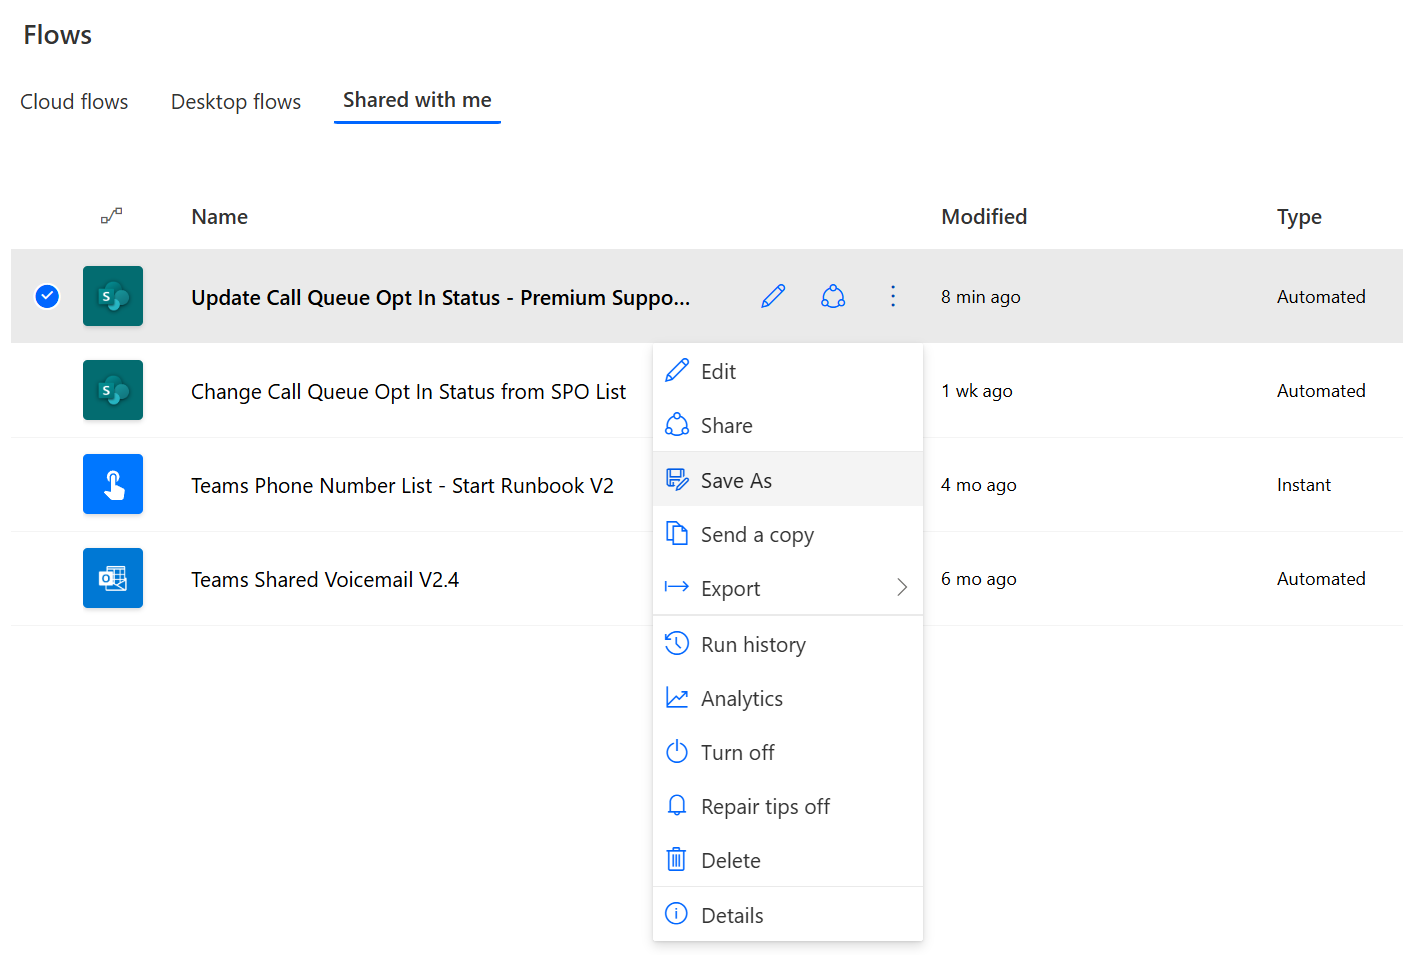

Repeat these steps for all the other call queue agents. Each agent needs to have this Flow in their own Power Automate environment since the Flow will need to run with their credentials to be able to change their opt in status.
Flow to keep the List in Sync
Obviously the agents will still be able to change their opt in status on their own using their Teams clients. In that case, we want to keep the SharePoint list updated as well and reflect changes to opt in status made outside of the list. For this, I’ve created another Flow. I’ll call that one the Sync-Flow. This Flow will update the list for all agents and it will need to be created only once. In my Lab, I’ve configured this Flow with a recurring trigger every 15 minutes.
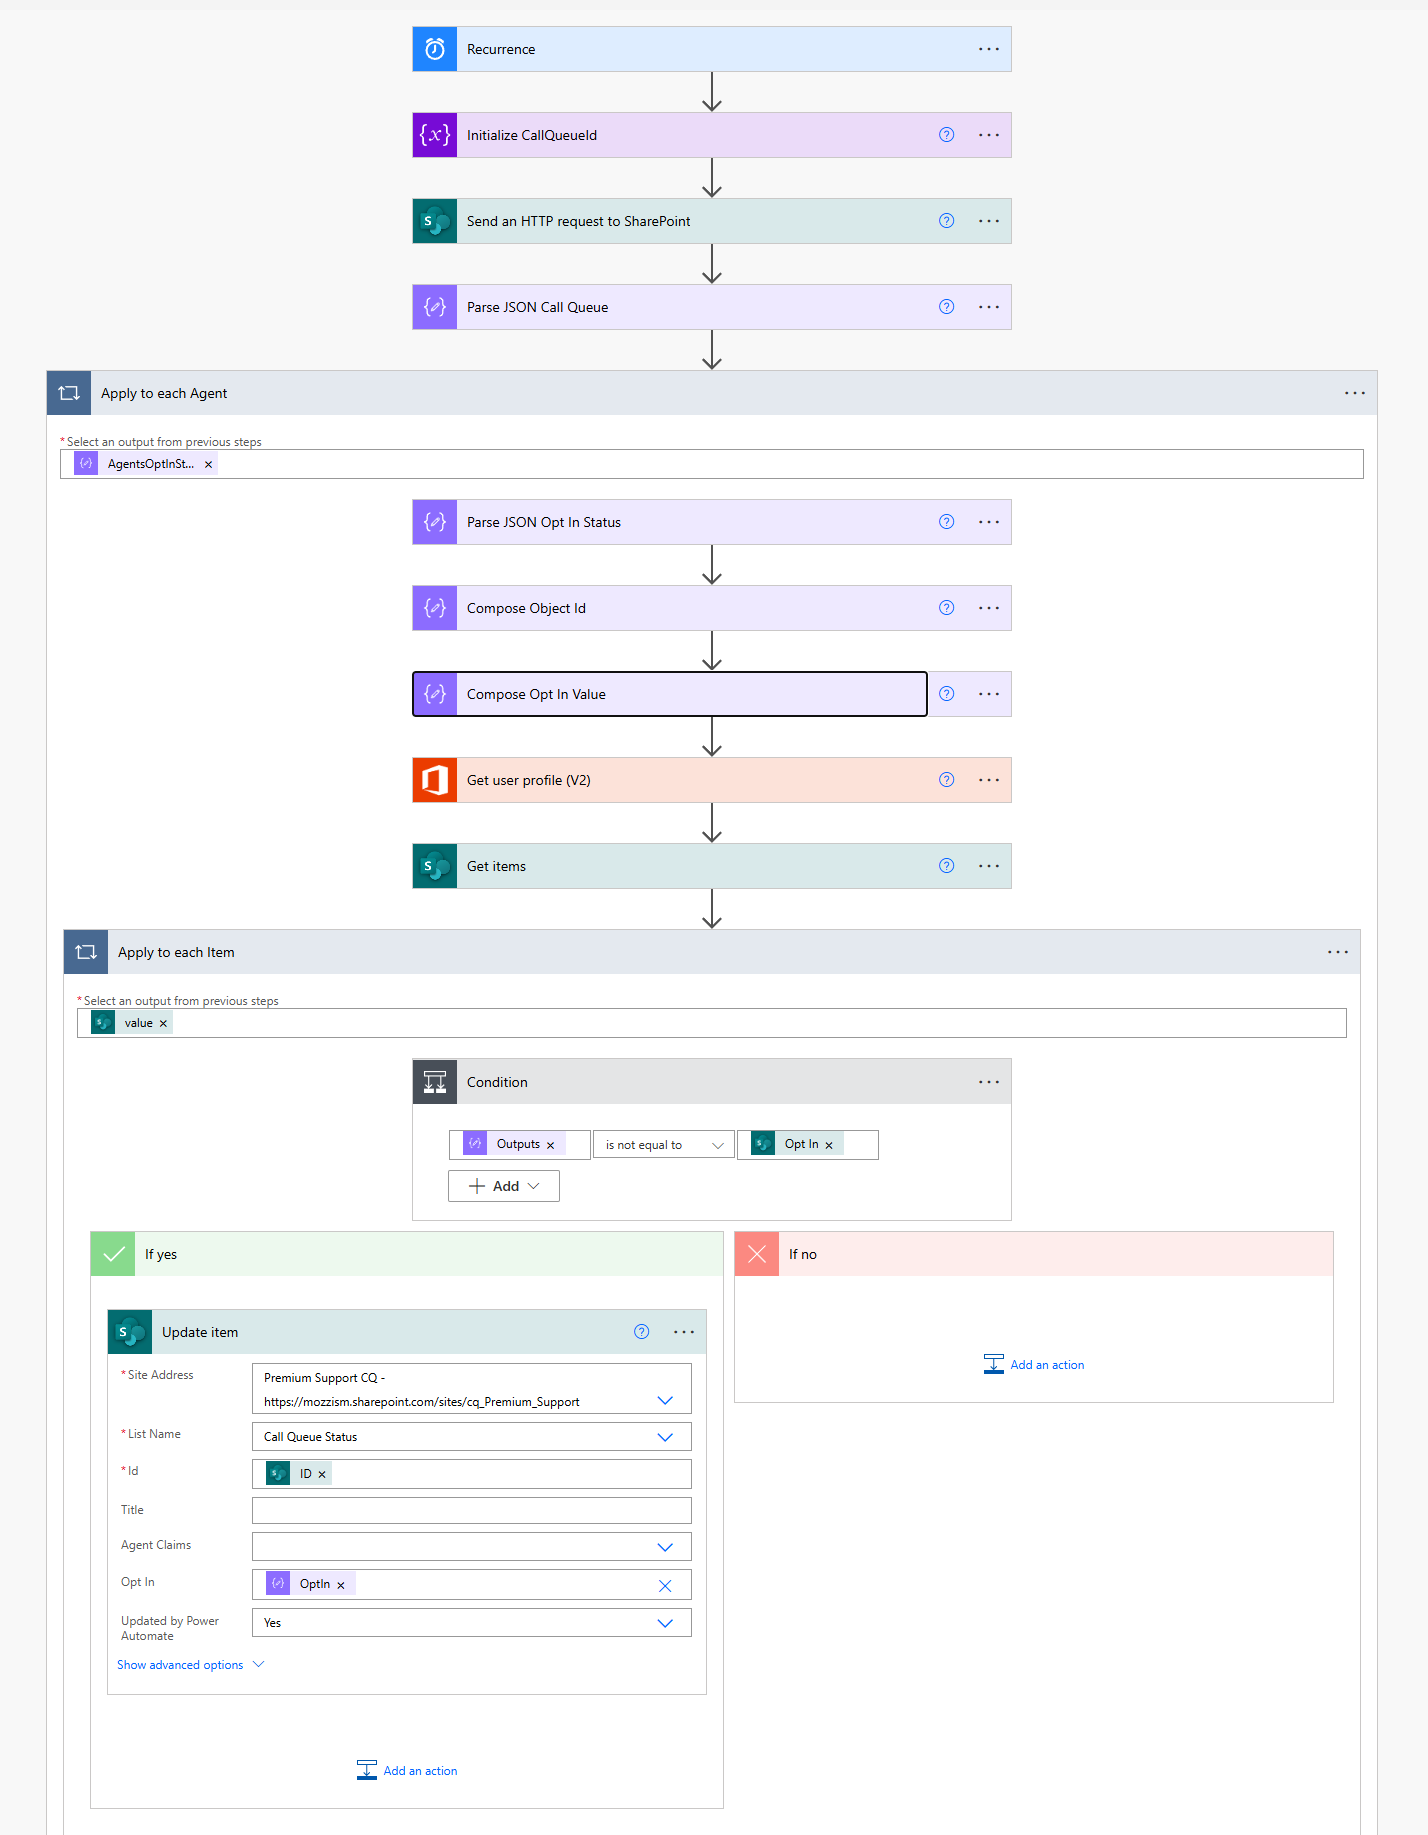
This Flow will send an HTTP Get request via the Send an HTTP request to SharePoint to the call queue endpoint used to read and write the opt in states of agents. This is basically the same as what I’m using to update the opt in states but this time, I’m only reading from it. The JSON response will include a list of each agent’s Object Id and their current opt in state. Then it uses the Get user profile (V2) action to find the email address of the current user by Object Id. This is needed so that the Flow can query the list item of each agent.
Once the Flow knows both values, the actual opt in state and what’s currently stored in the list, it will compare the values. If they’re the same, nothing happens. If they’re not the same, the Flow will update the SharePoint list with the actual value.
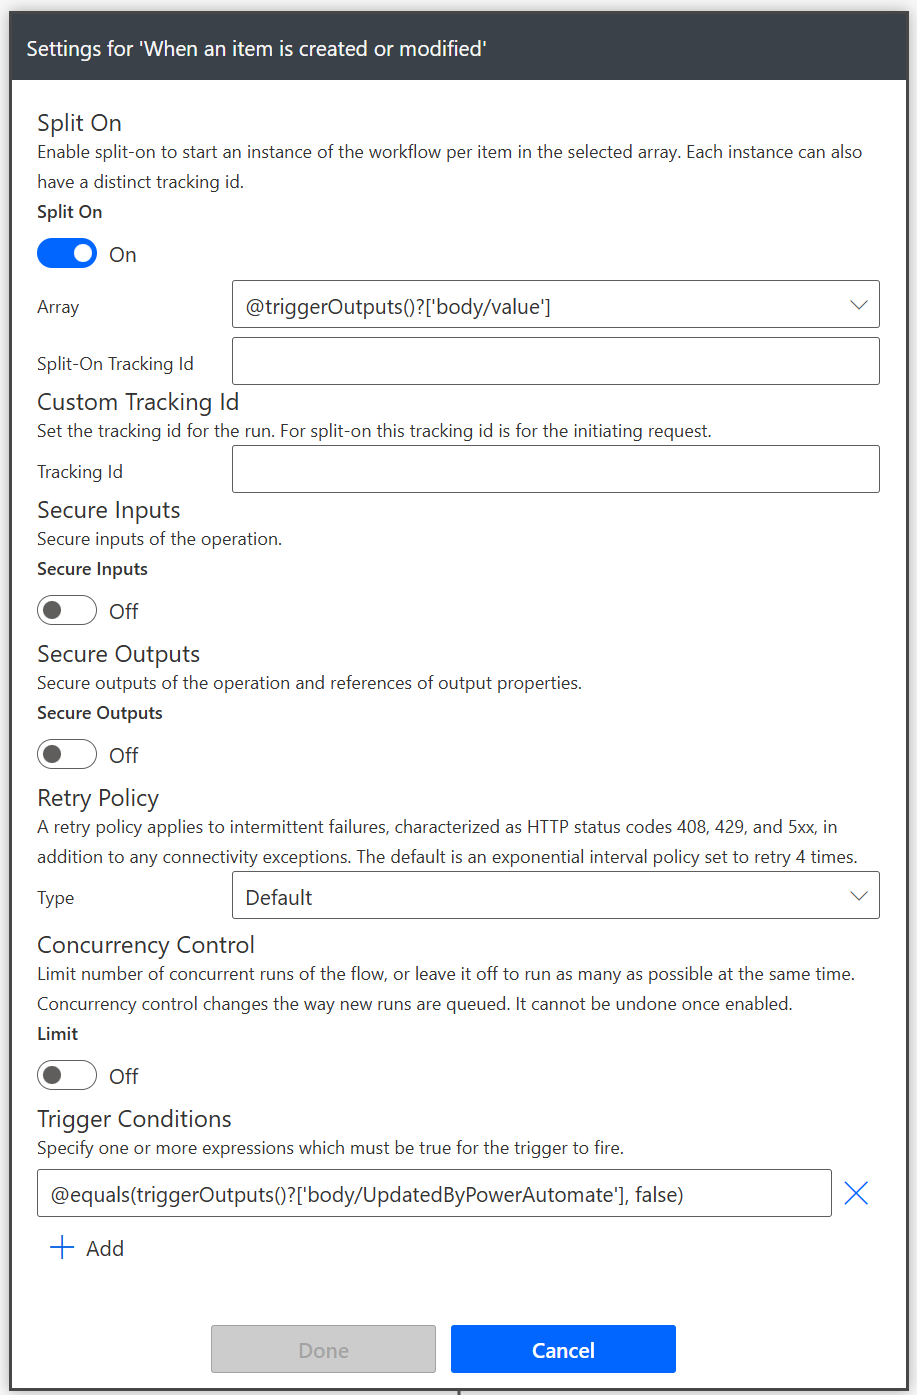
If an opt in status was updated by Power Automate, it will also set the value in Updated by Power Automate to True (Checkmark). By doing it like this, we can avoid an infinite trigger loop on the User-Flows. Since they use When an item is created or modified as their trigger, they would be triggered any time the List is updated. That will include updates made by the recurring Sync-Flow.
Since we definitely don’t want that, I’ve added a trigger condition to the User-Flows. A trigger condition is an expression, which must evaluate to True for the Flow to be triggered.
This expression will check if the Updated by Power Automate checkbox is not checked. So, whenever the list is updated by the Sync-Flow, the user Flows won’t be triggered.
|
|
It’s important to note that when you or somebody else wants to change the opt in status of an agent again from the list, the Updated by Power Automate checkbox must be unchecked again. Otherwise the User-Flows won’t run and the opt in status won’t be changed.
Import the Flow Package
You can download this Flow from here. Use the same process to import the Flow package as you already did with the User-Flow and don’t forget to turn it as well on once you’re done. In this Flow, you will need to do the following adjustments.
Replace the value of the CallQueueId variable with your call queue Id.
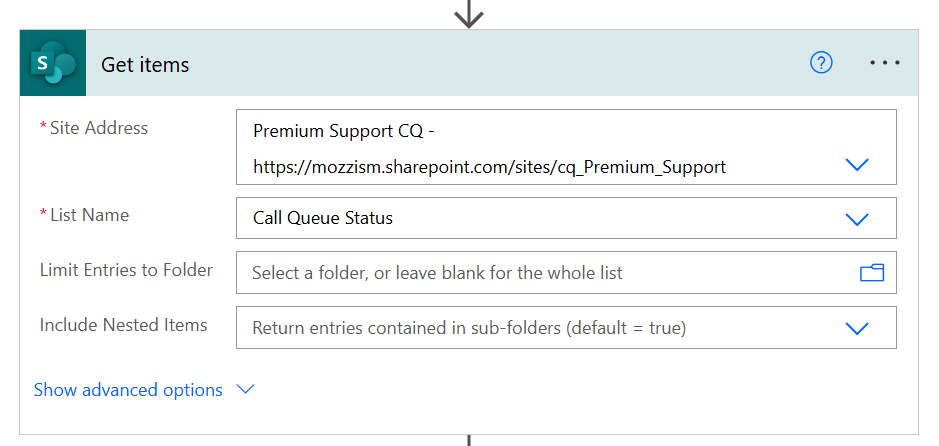
Then expand all the action boxes and select your Site Address and List Name in the action Get items.
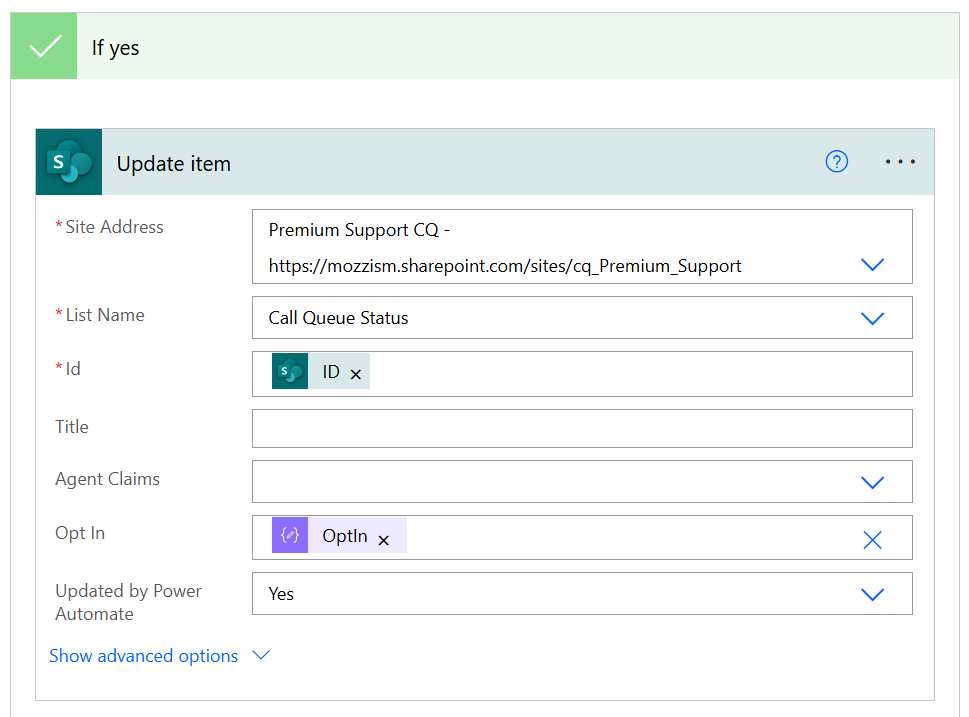
Finally, do the same for the Update item action inside the If yes condition.
That’s it for the set up part. Let’s take a look at the user experience!
User Experience
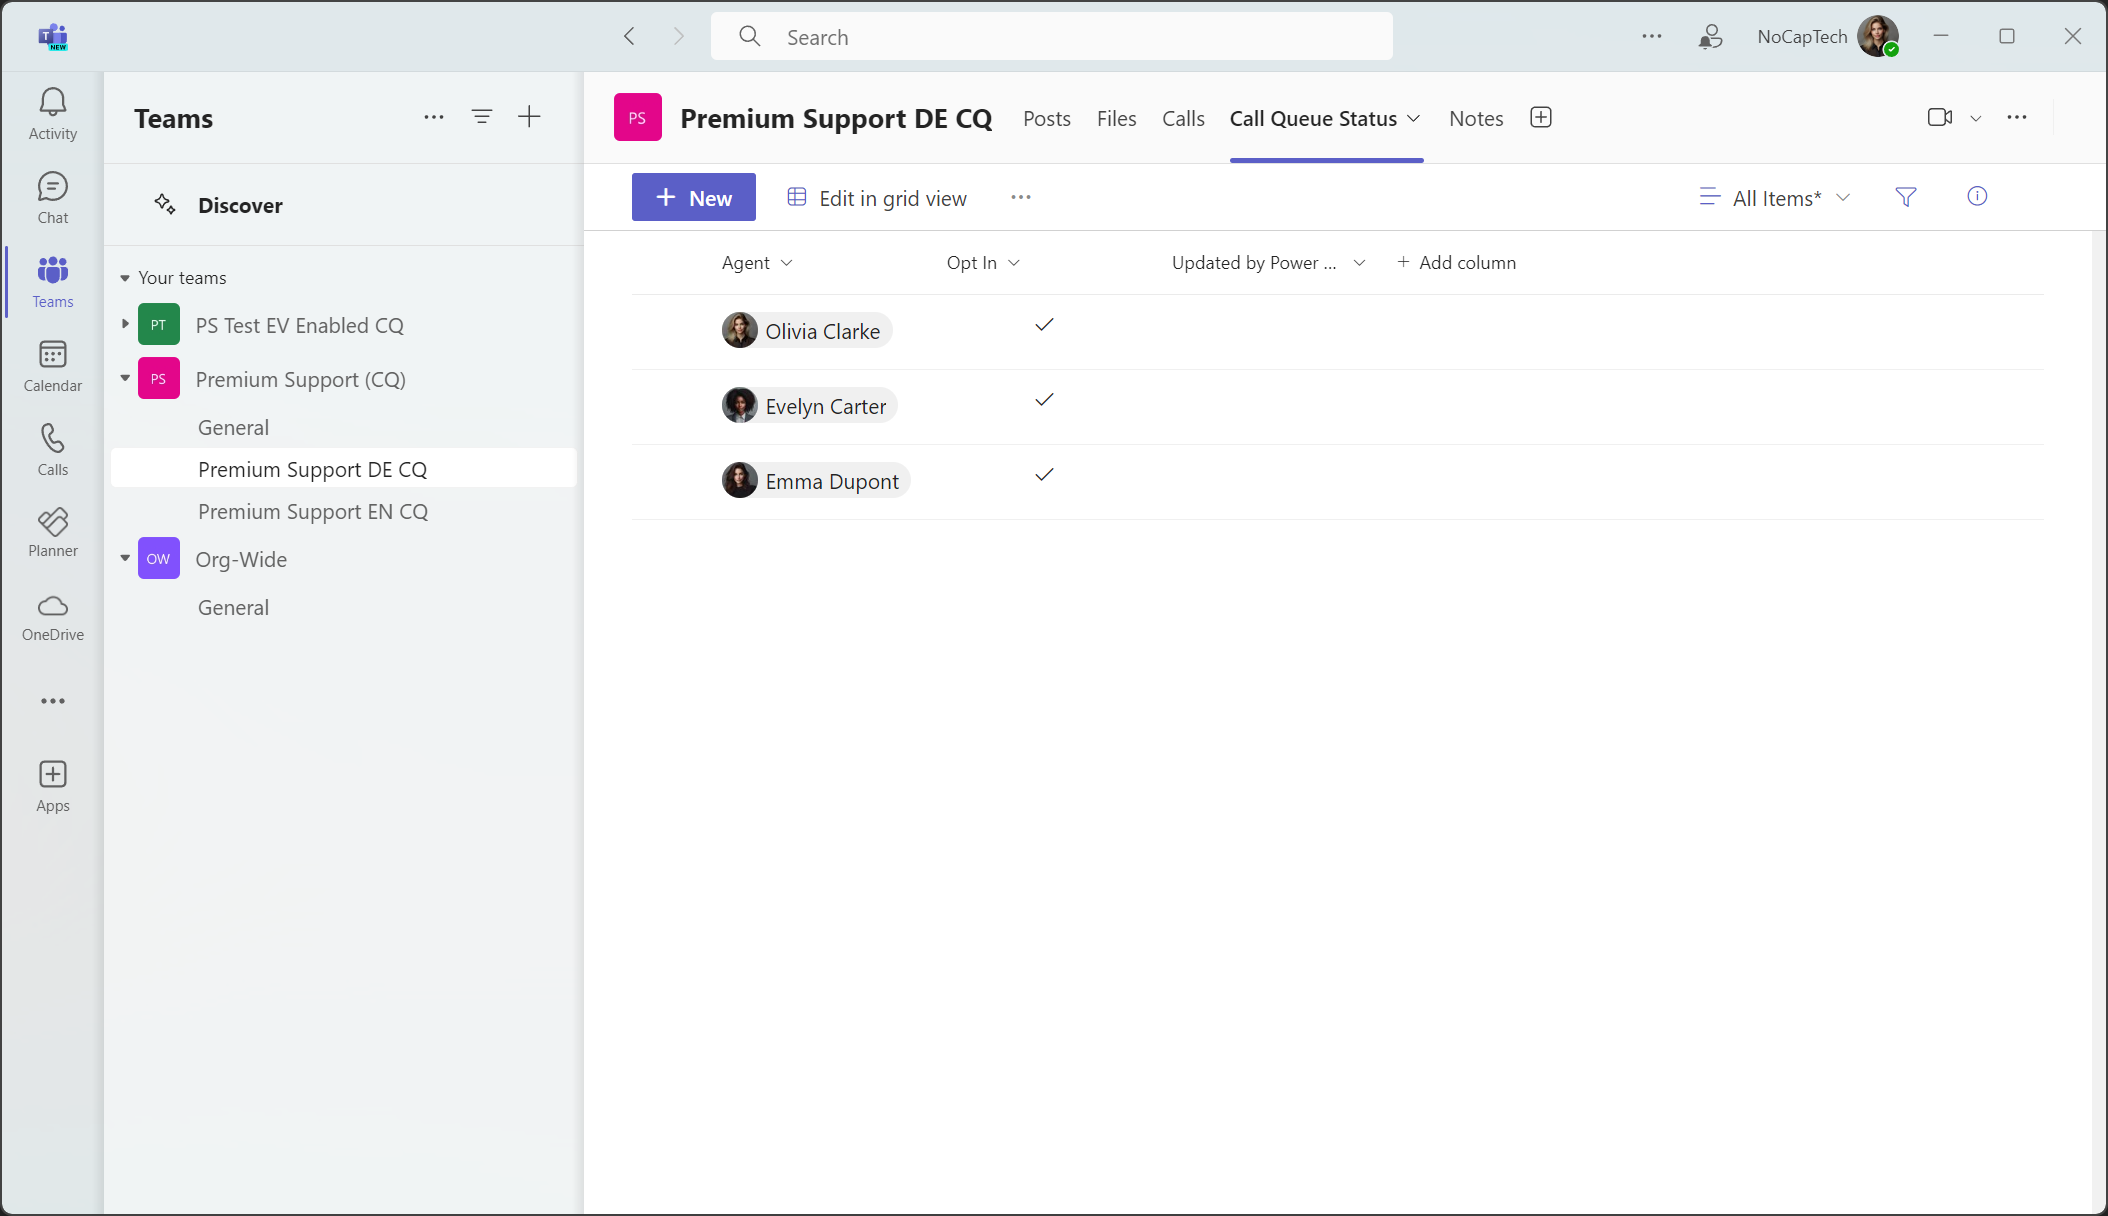
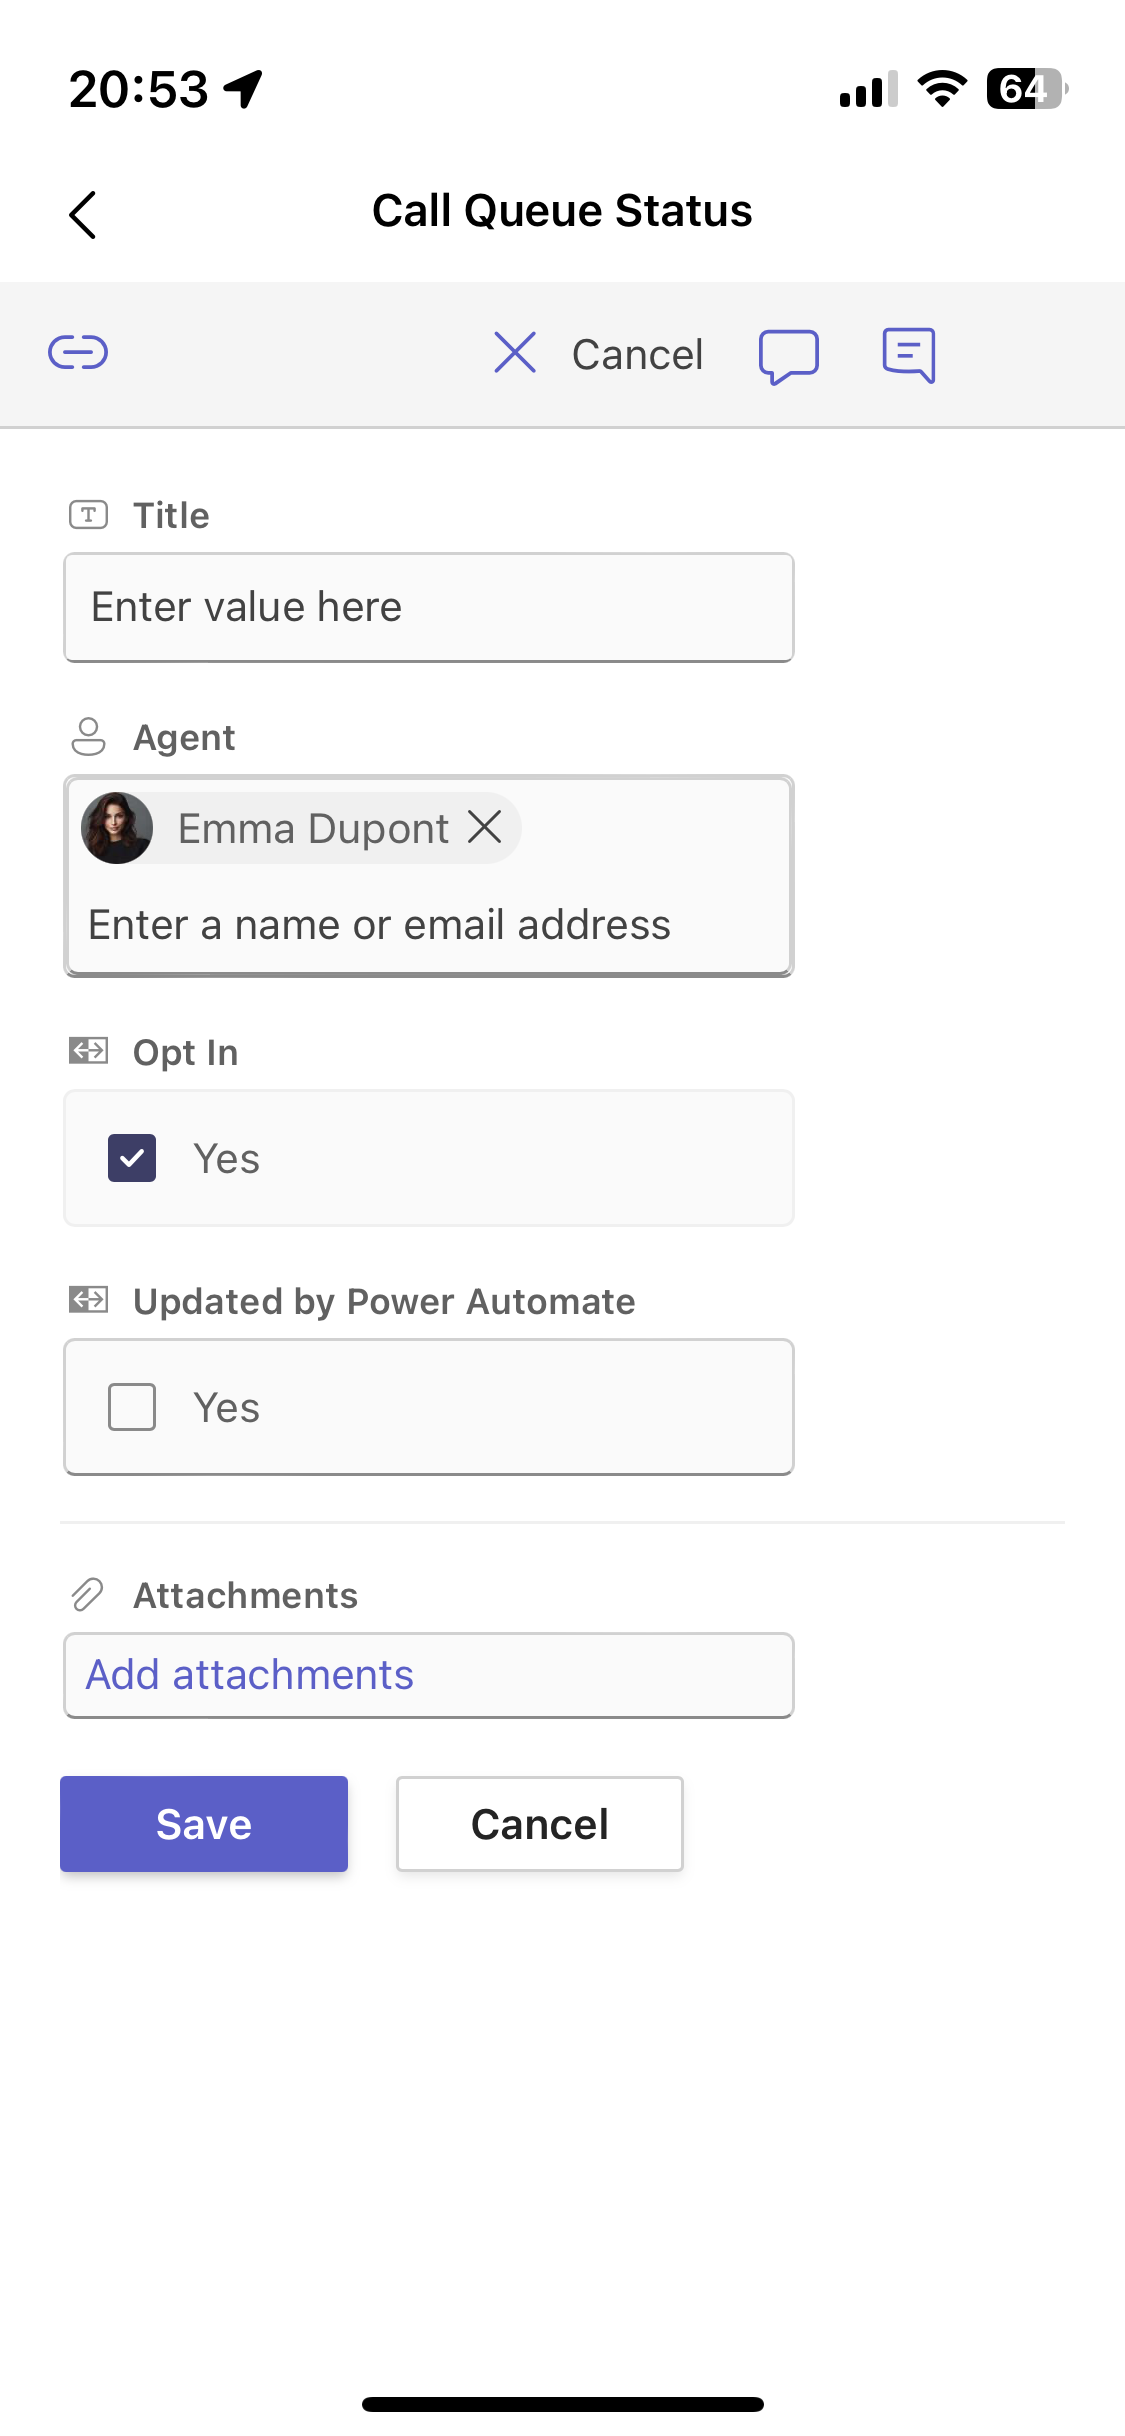
Here you can see how it works. Anyone that has access to the list, can simply edit the list and change the opt in status of another colleague.
Bonus tip: If you switch to the new designer in Power Automate you can change how often it checks for updated list items in the trigger configuration.
Additional Benefits
As you may know, the Calls tab in channels is not supported on the Teams mobile app. The call queue agents and their opt in status can only be viewed in the Teams desktop or web client. At this point I want to clarify again, that mobile clients can still receive calls from a call queue, even when the call queue is linked to a voice enabled channel. It’s only the view/tab that’s not supported on Teams mobile apps.
But since this solution uses a SharePoint list, it will actually give you the ability to view and change the opt in status of other agents from a mobile device too. This can be done by either opening the list tab in Teams mobile or by accessing the list directly in the Lists mobile app.
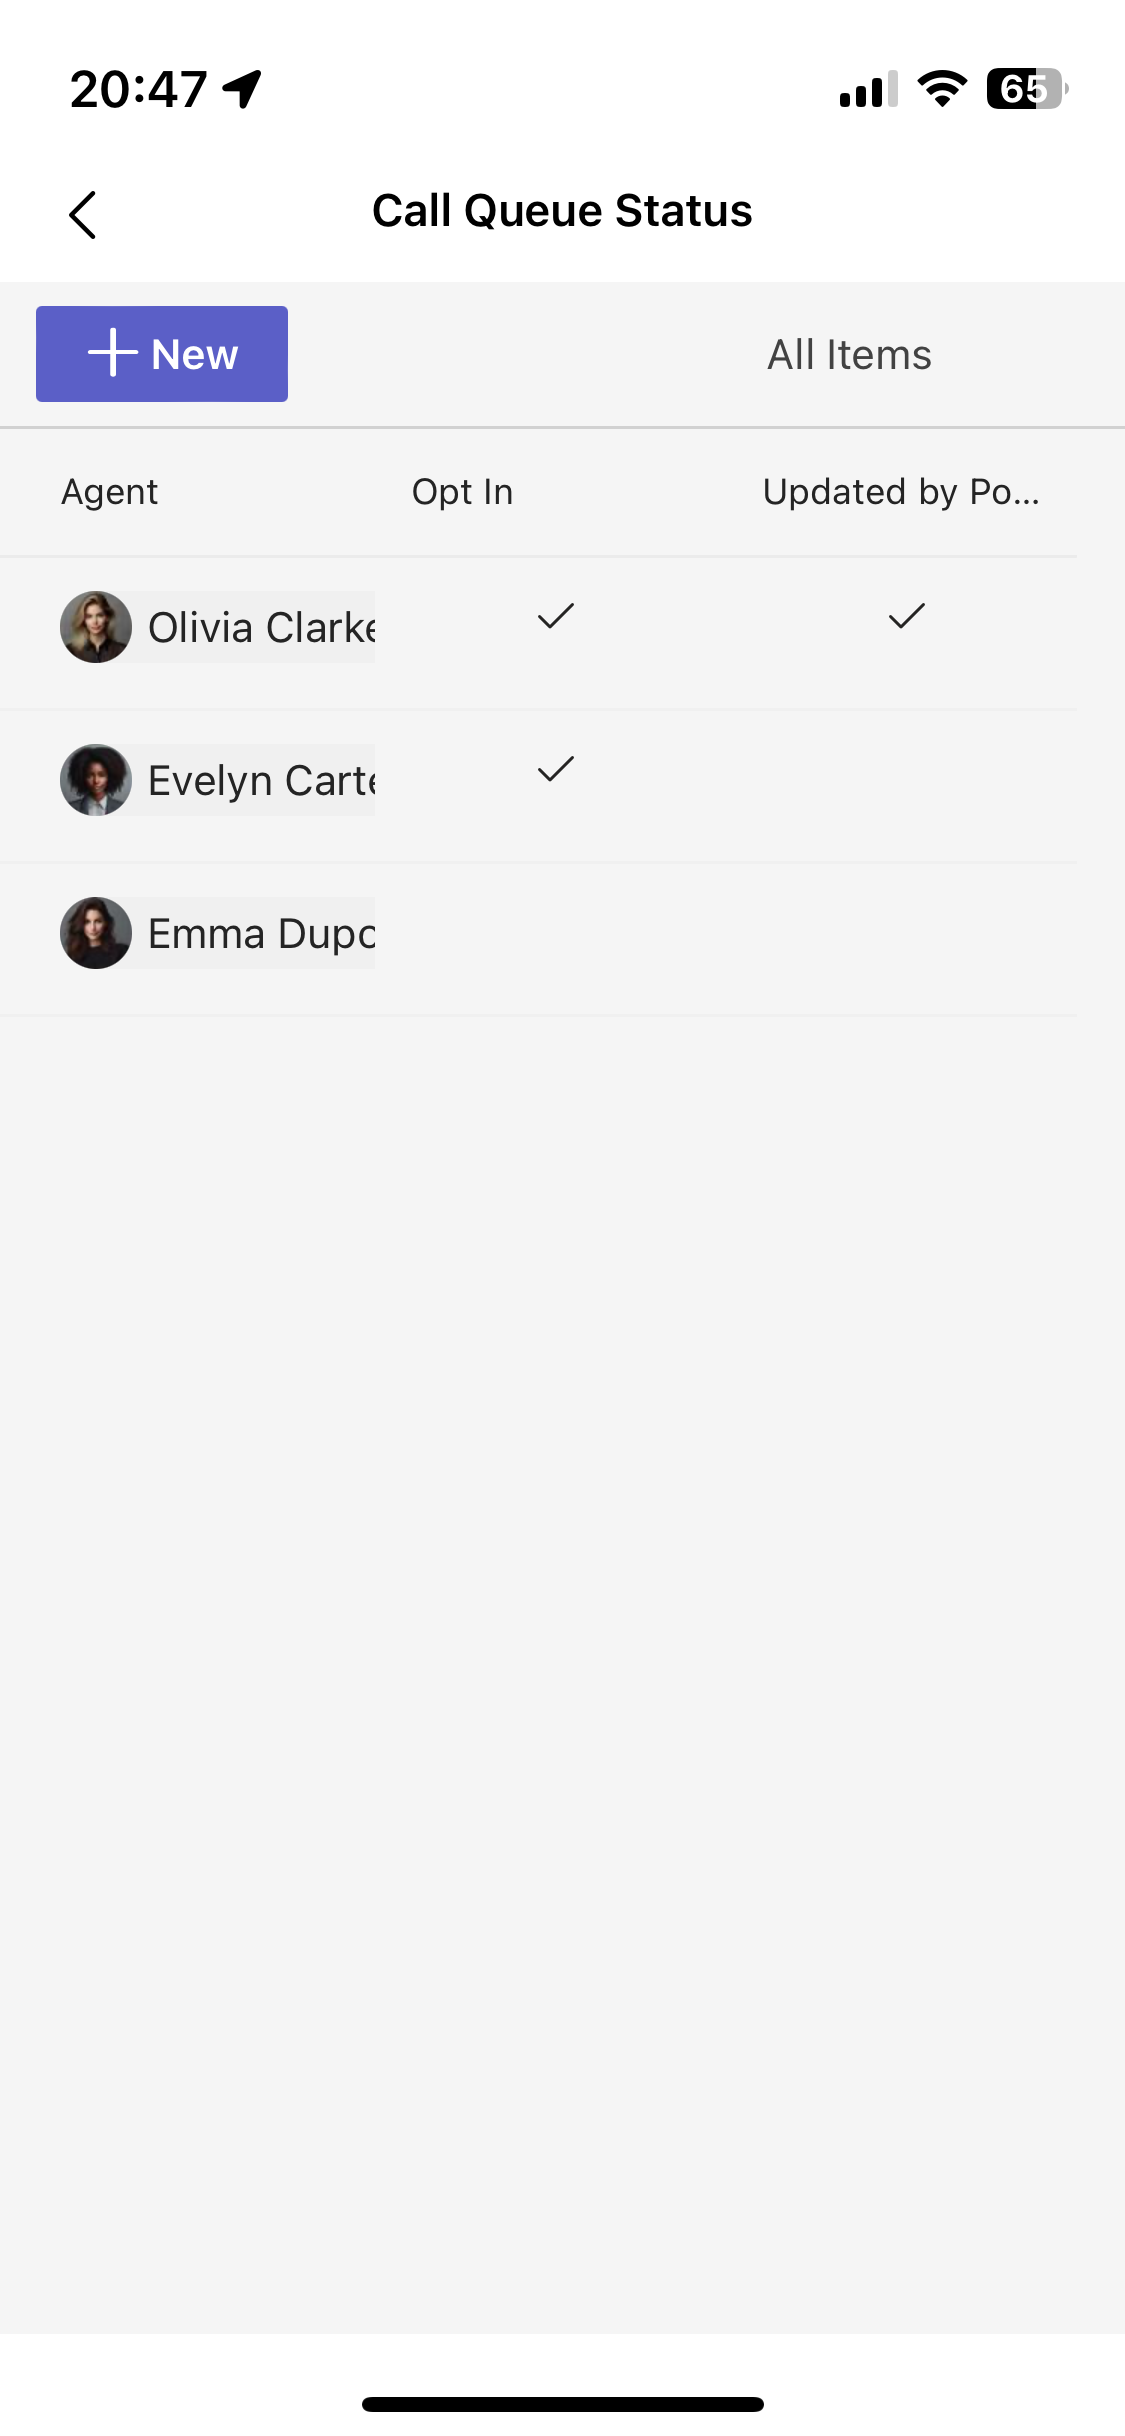
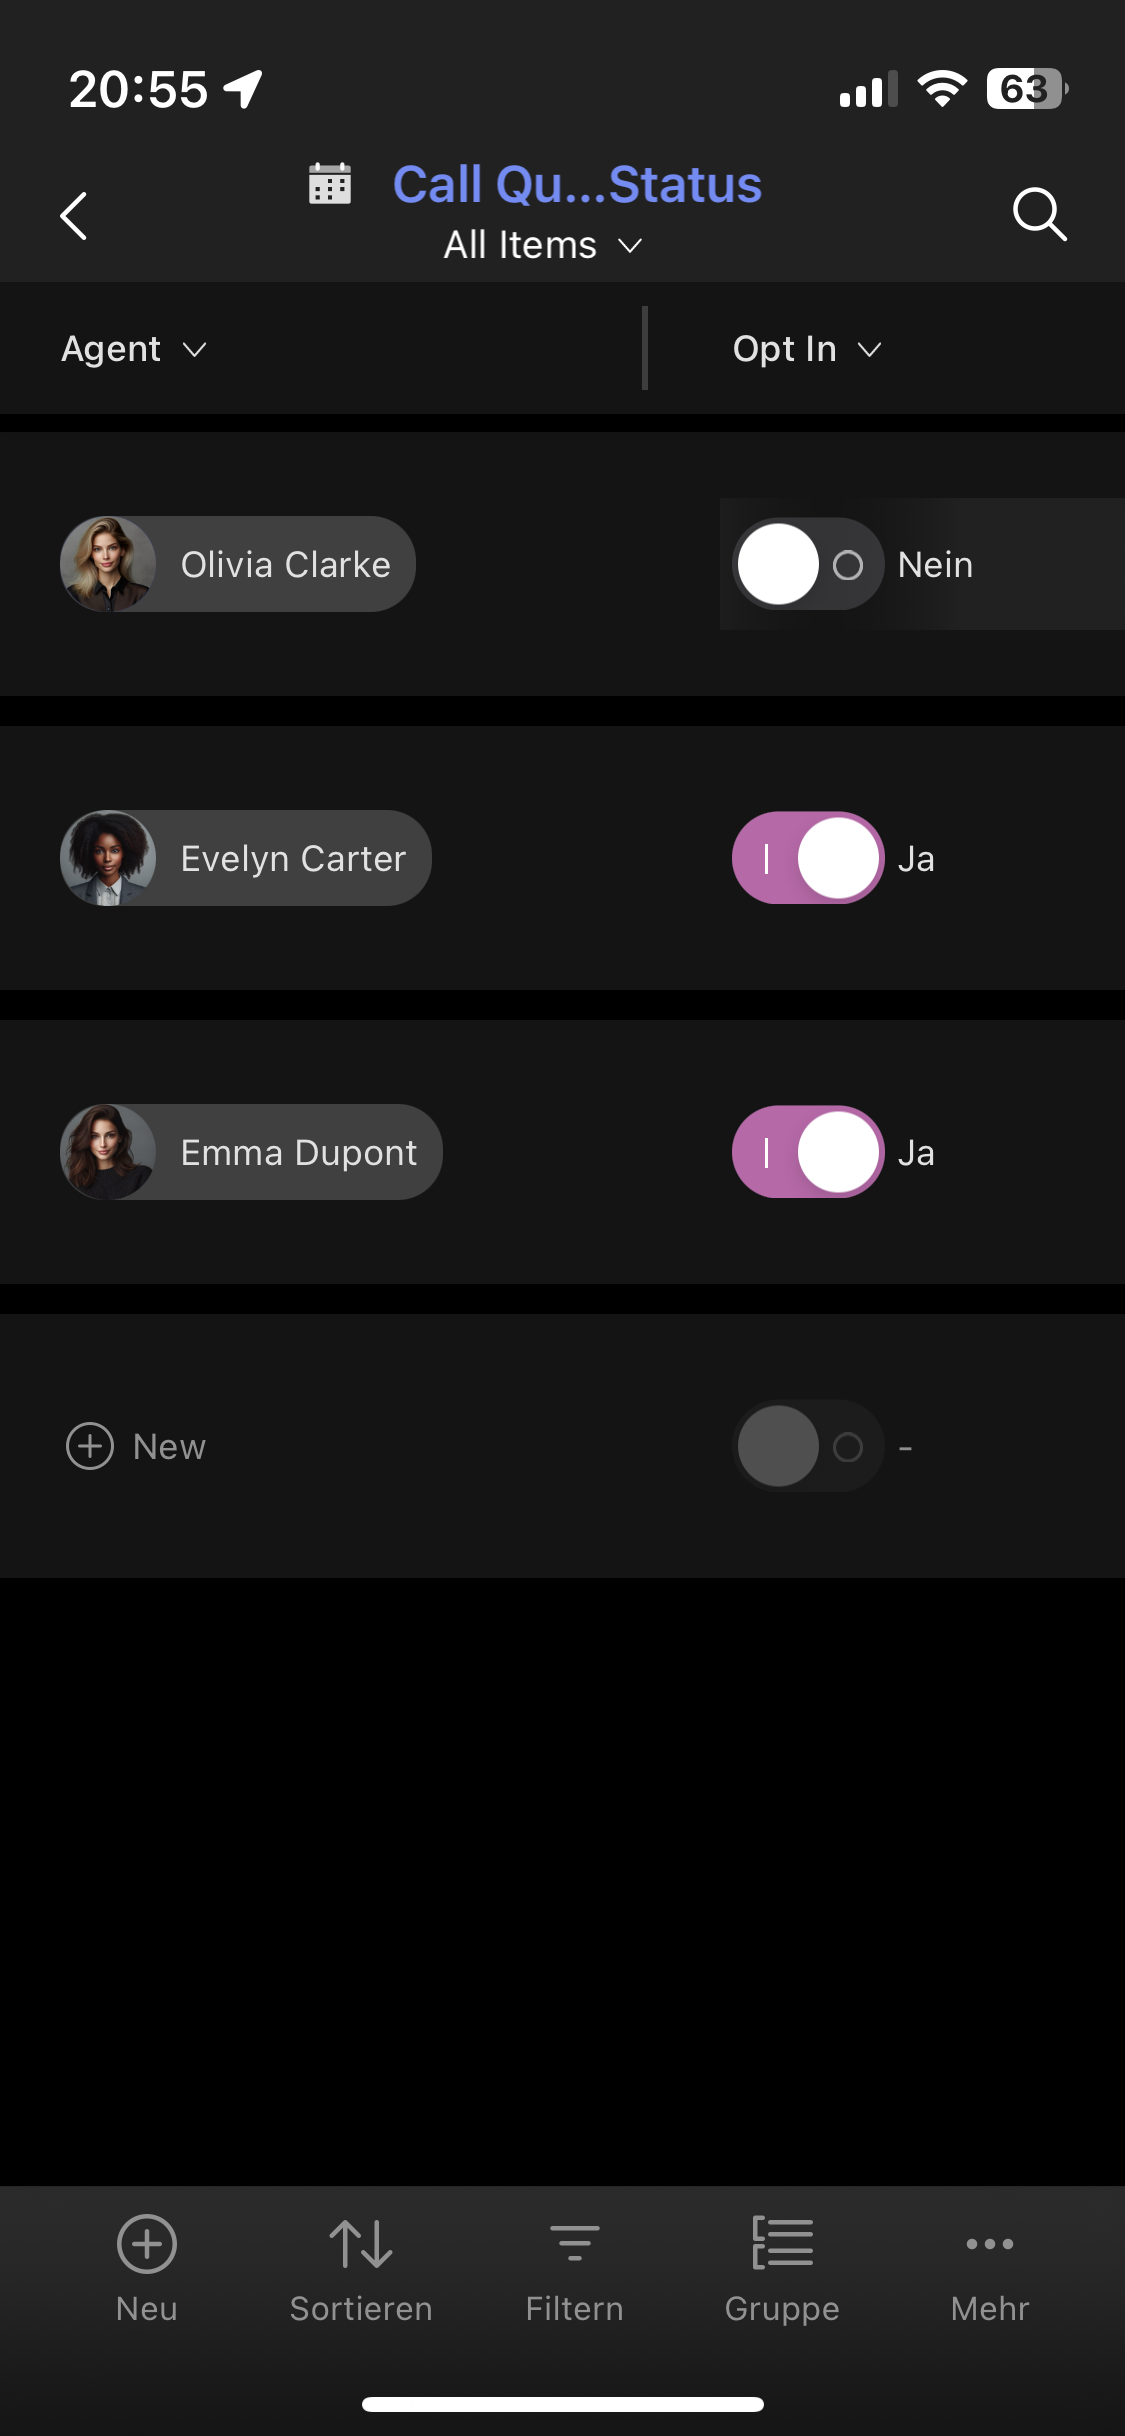
The list app will even give you toggle switches which not only looks better but is also easier to edit compared to the experience within the Teams mobile app.
Summary
While Teams Premium provides a lot of benefits over the Standard license, the additional $10 per user per month can make quite the difference in your monthly license cost. I fully understand the price tag since Teams Premium also includes AI generated notes which use a lot of computing resources and thus cost Microsoft more money to run their services in the backend.
However, if you’re only looking for a way to opt in/out other call queue agents on their behalf and don’t want to spend another $10 PUPM, I think this solution can be a suitable workaround. Especially for small companies which don’t have a lot of call queues with a lot of agents. Of course there is some work to be done by admins and the end users (agents) but it should be manageable for small teams. And let’s not forget the fact this will even allow you to change the opt in status for other agents on mobile platforms too!
Download Flow Packages
You can download both Flow packages for free from here and here. If you like what I’ve presented in this blog post and if it will save you the money you would have otherwise spent on Teams Premium licenses, you can still choose to support me by buying me a coffee or by sponsoring me on GitHub.