At the beginning of September, I wrote this article, where I presented a way to quickly see all Call Queues and Auto Attendants any user is associated with by running a PowerShell script.
Today, we’re going to wrap up September by taking a look at the other way around. We want to see all the agents which are part of a specific queue. Of course, the M365 Call Flow Visualizer will also show this information in the diagram but sometimes all we need is just a plain old CSV file.
If you’re using a Teams Voice Enabled Channel (also known as Collaborative Calling) you will be able to see which agents are currently opted in to the Queue in the Teams Client.
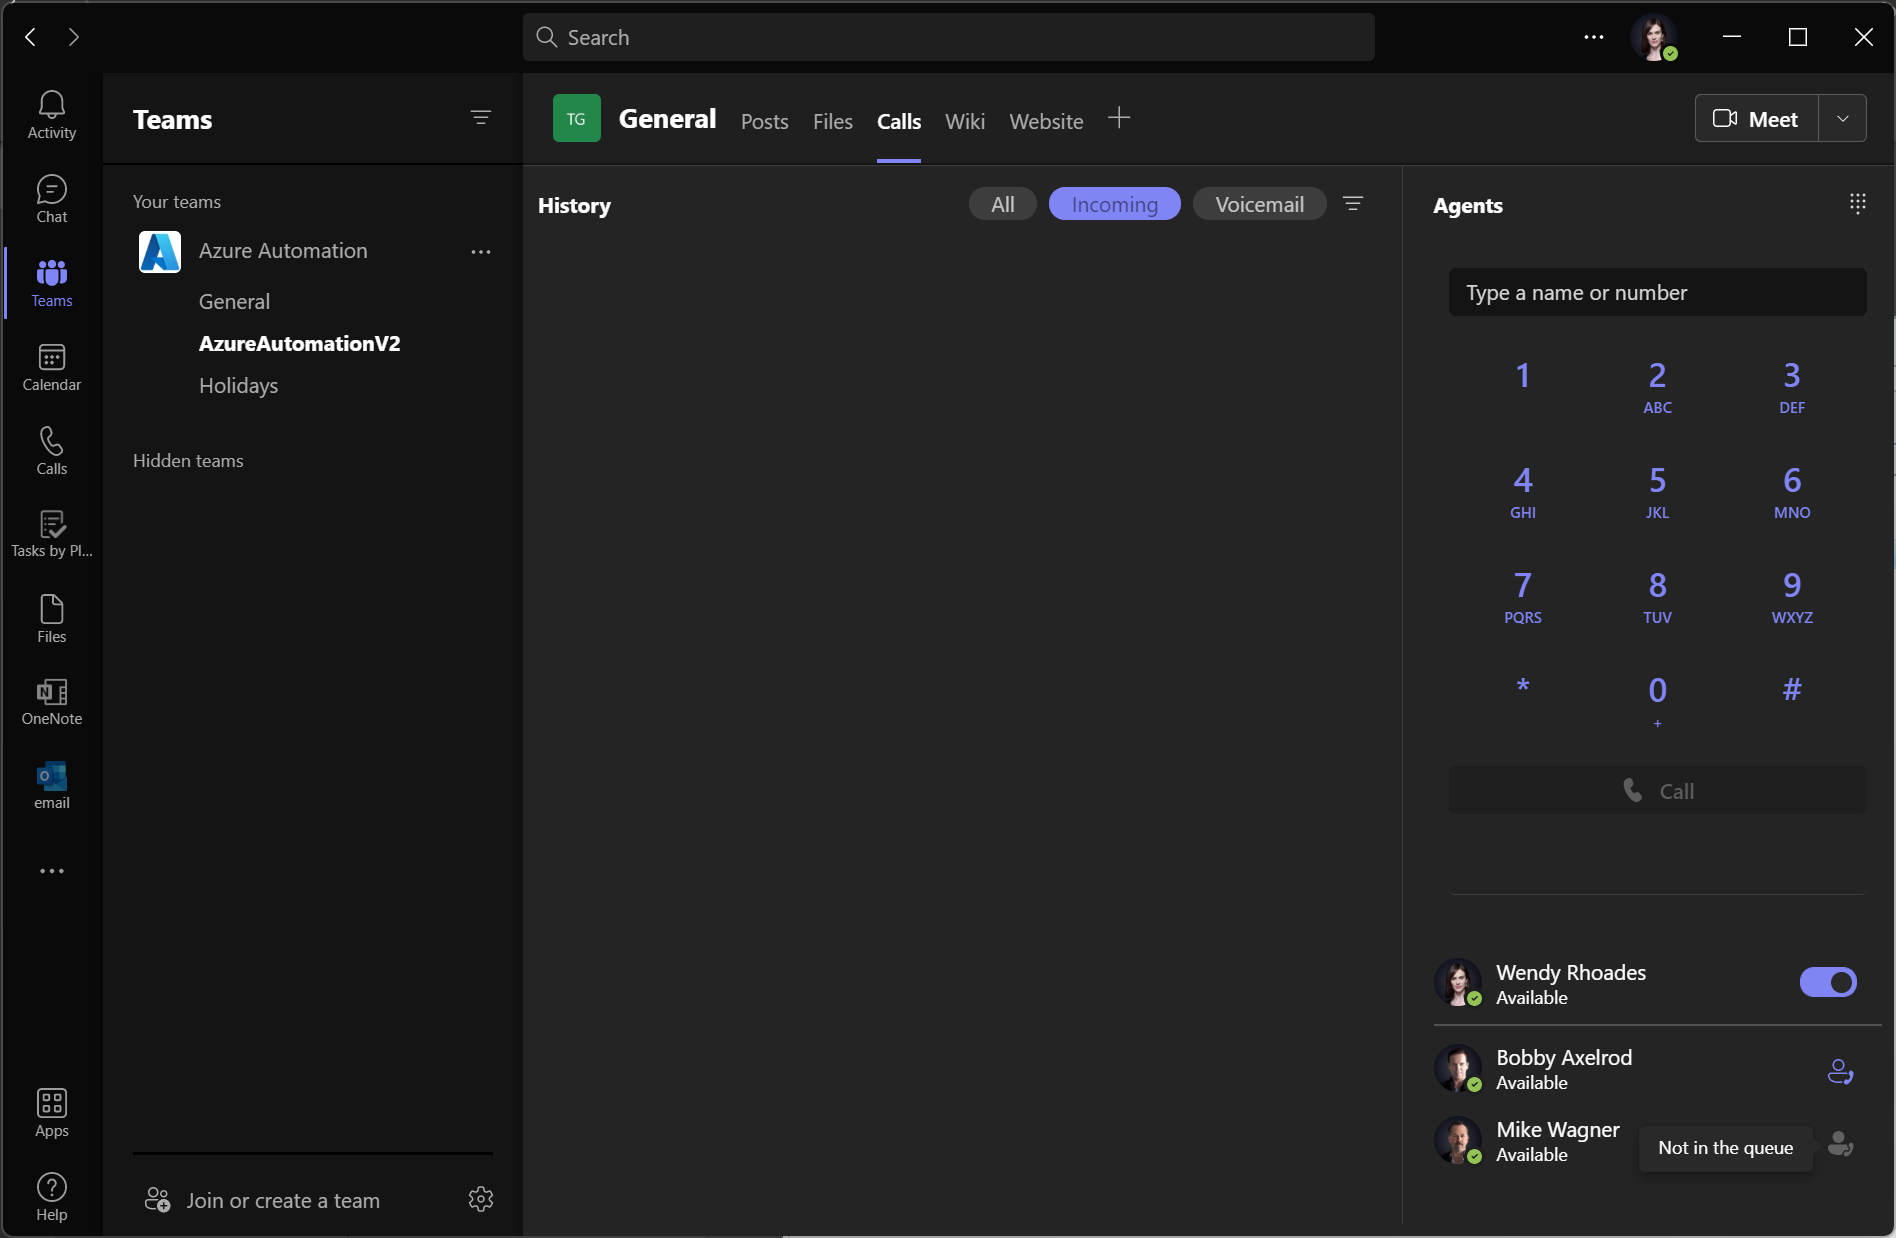
However, this only works for Voice Enabled Channels and only agents which are part of the Queue can see this information. If you’re a Teams Voice Admin like me, you might want to see the opt in status of agents from other queues or check the assignment path (Direct, Groups or Channel) as well. If you’re confused about Call Queues and agent lists, please have a look at this article.
The Problem
It has always been possible to retrieve some of the information about Call Queue agents by PowerShell. The problem is that the properties of a Call Queue will only display the Object Ids of agents but no Display Names.
Let’s store the properties of a Call Queue in a variable.
$callQueue = Get-CsCallQueue -Identity a3b9ffff-f74b-46bb-9743-0c5146a61f31
We can now view the agent list by accessing the Agents property. This will give us an output which looks like this.
PS C:\Temp\M365CallFlowVisualizer> $callQueue.Agents
ObjectId OptIn
-——- —–
61d8b739-2e10-4e47-8e63-e66cc73d0a24 True
fa19b242-8bae-419d-a4eb-12796577c81f True
76606d0b-4d28-4246-9c08-2a0f95f96141 True
9a7c1bb4-49db-40ee-9d05-26f5dfd338c2 True
We can also see that two distribution lists (groups) are associated with this Call Queue by entering the following.
PS C:\Temp\M365CallFlowVisualizer> $callQueue.DistributionLists
Guid
-—
57e8de46-1552-4271-9f93-a602216c32ad
942d0869-2713-407d-8b6f-70b946039877
So far, we only know the Opt In status of the agents (without names) and that there are two groups linked to this Call Queue. But we still don’t know the user principal or display names of the agents, or if they’ve been added to the queue by a group or a direct assignment. If they’ve indeed been added by a group, we also don’t know from which one(s).
The Solution
I’ve created a PowerShell function inside a script which will give us just that. The script is available on my GitHub profile. Make sure that you download or clone the whole repository, since this re-uses the Connect-M365CFV function which is part of the Visualizer. Because some data, like group memberships can’t be retrieved by Teams PS alone, we also need to connect to Microsoft.Graph Powershell and thus need this function.

How To Run the Script
Basically, all the code is inside a single function. The script has a Cmdlet-Binding with two optional parameters though.
-CallQueueId
-Export
The CallQueueId can be the Id of any Call Queue. You can copy this from the URL in TAC for example.

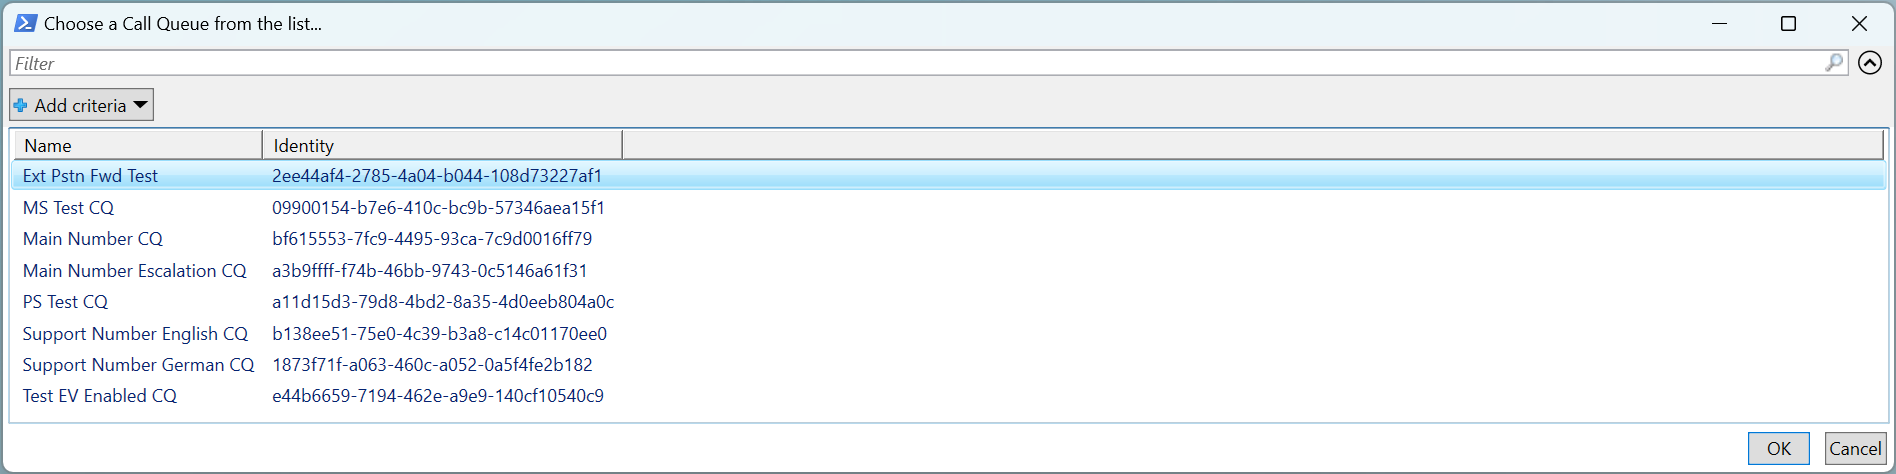
If you don’t specify an Id, you will be able to select any Call Queue from a list.
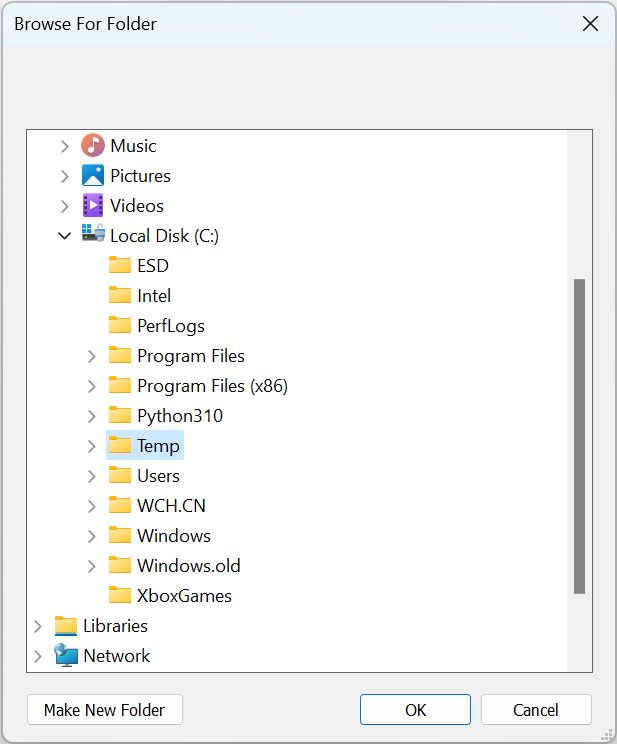
Export is a Validate Set where WorkingDir and CustomDir are valid inputs. WorkingDir will export a CSV file to your current working directory and CustomDir will prompt you to choose a destination folder.
If you don’t include any of the two values, no CSV file will be exported.
If we want to run the script from the root of the repository, we can do it like this.
.\Functions\Get-CallQueueAgentsStatus.ps1
Or like this.
.\Functions\Get-CallQueueAgentsStatus.ps1 -Export CustomDir -CallQueueId b138ee51-75e0-4c39-b3a8-c14c01170ee0
Output of Different Scenarios
Let’s check out some examples of the results.
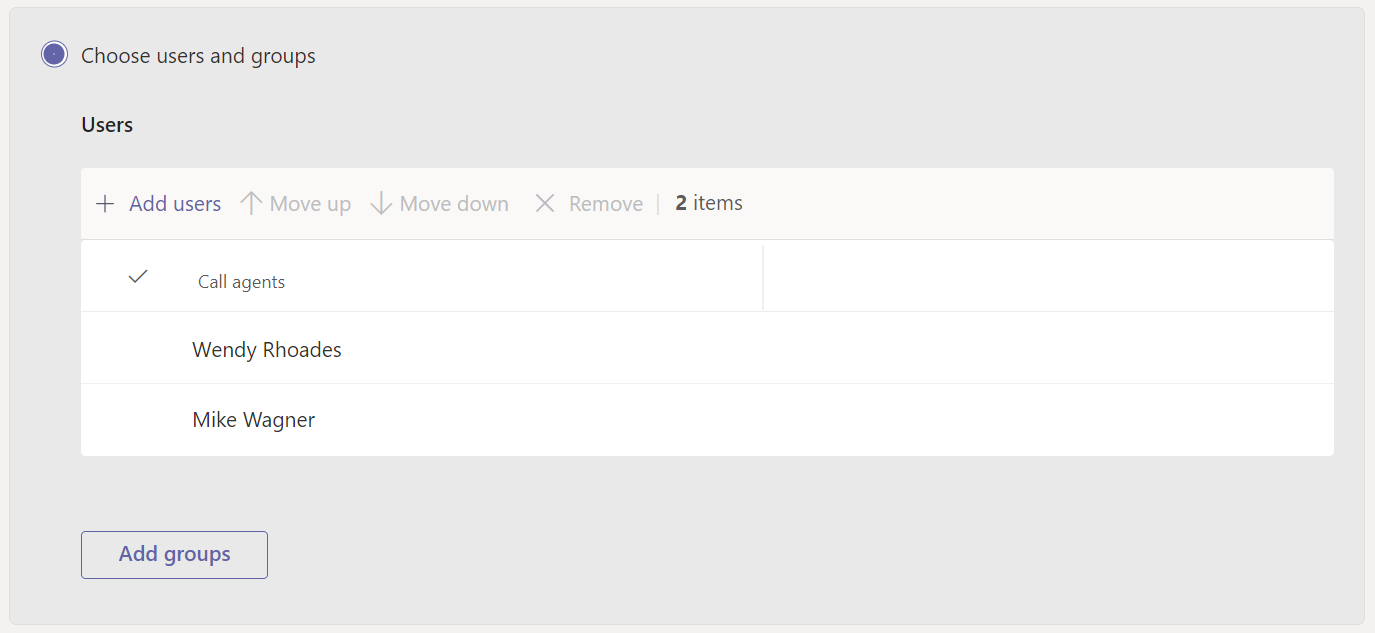
Example 1: Here, all the agents are assigned directly.

Example 2: This one is a little more interesting. Here we can see that one user is assigned directly, two are assigned by two groups and one is assigned by only one group. We can also see that the first user does not have a direct phone number assigned.

Example 3: And in this last example, all the agents have the same assignment path. Because only direct (users) and groups can be combined, all the agents are assigned by the same Team and Channel. Last but not least, we can see that the last user is currently not opted in to the queue.


As you can see, the output of my script provides a lot of valuable information about Call Queue agents which is nowhere to be found in Teams Admin Center.
I hope that you enjoy my work and that you too — will find this script useful.