After my last article turned into a twenty-minute read, I want to write a short blog post today. At least I’ll try to. We are talking about managing Microsoft Teams Call Queues with PowerShell again.

Pretty much about one year ago, I wrote an article explaining how to force sync a Call Queue which uses a group or a Microsoft Team as its source of agent list.
Microsoft Teams Call Queue Agent Lists (And how to Force-Sync them) | by martin heusser | Medium
Since then, I have refined the code a little bit to make it even easier. I wrote two functions which are available in a new PowerShell Module which is available in my TeamsPhoneAutomation repository on GitHub.
To import the module, simply run the following code after you have cloned the repository.
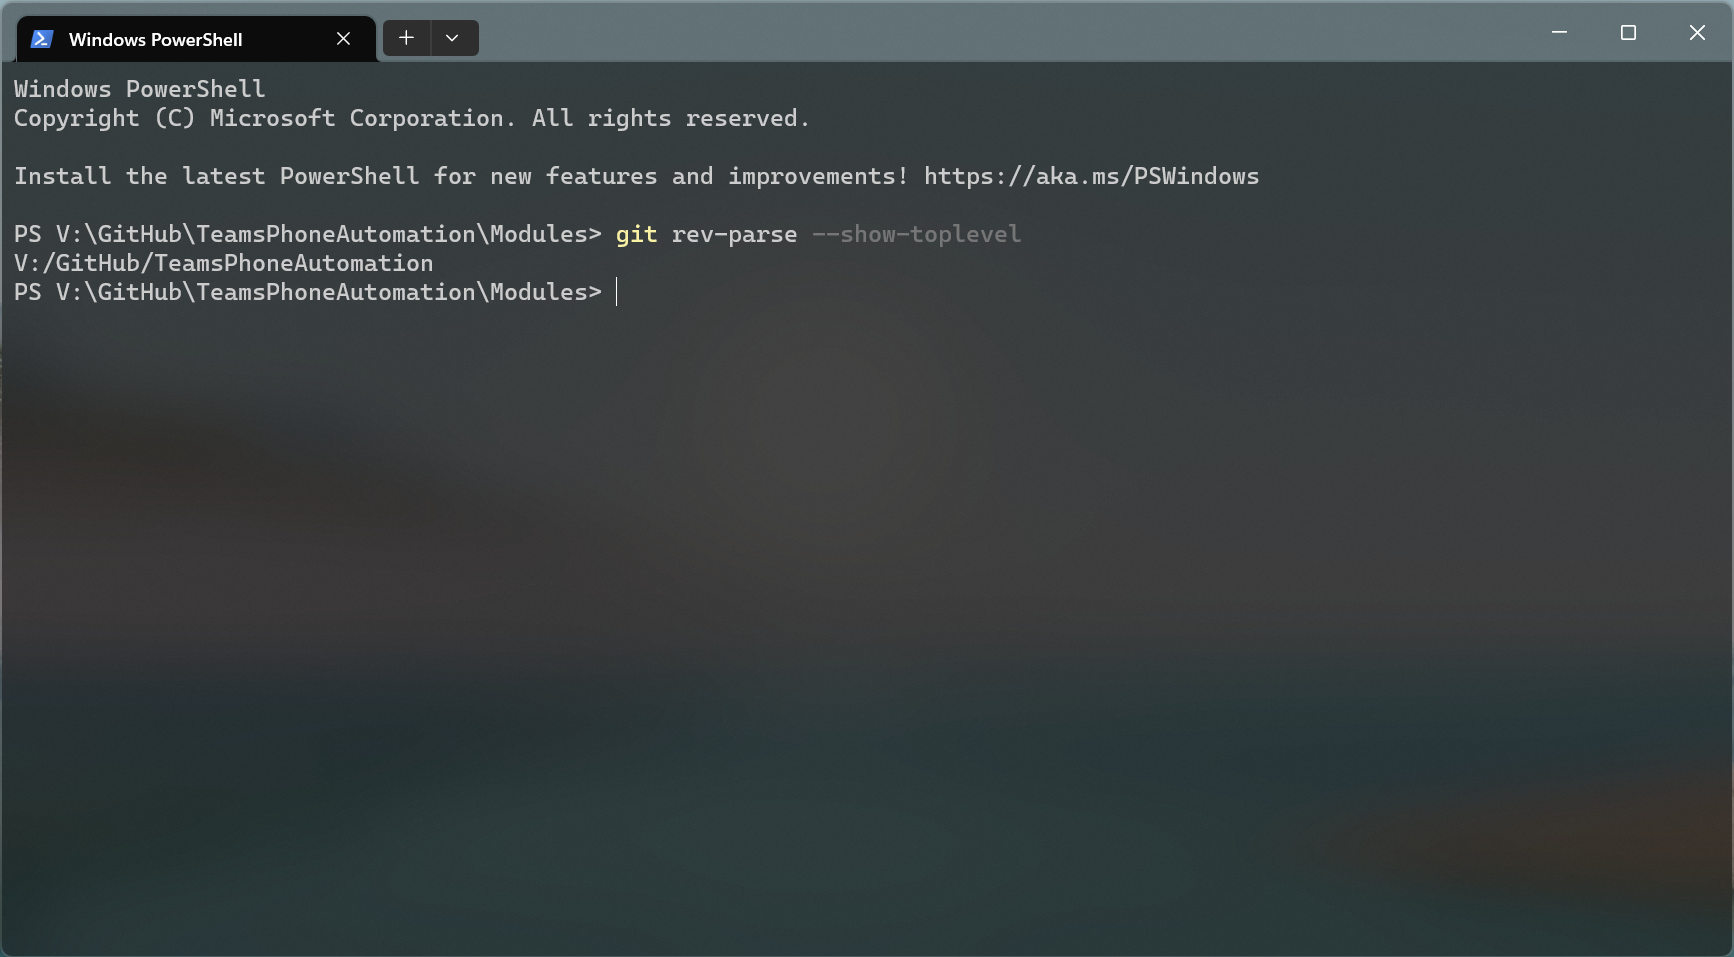
$localRepoPath = git rev-parse –show-toplevel
Import-Module “$localRepoPath/Modules/TeamsPS.psm1” -Force
git rev-parse --show-toplevel will resolve the cloned repository’s root path to the absolute file path on your system. This is really helpful if different users clone the repo to different folders on their own machine.
There are two Call Queue related functions in the module:
- Get-MZZCQAgents
- Sync-MZZCQAgents
Let’s start with the Get function.
Get-MZZCQAgents
This is essentially what this script mentioned in this article does. However, this function doesn’t have exporting capabilities and the code has been adapted so it plays nice with the Sync function.
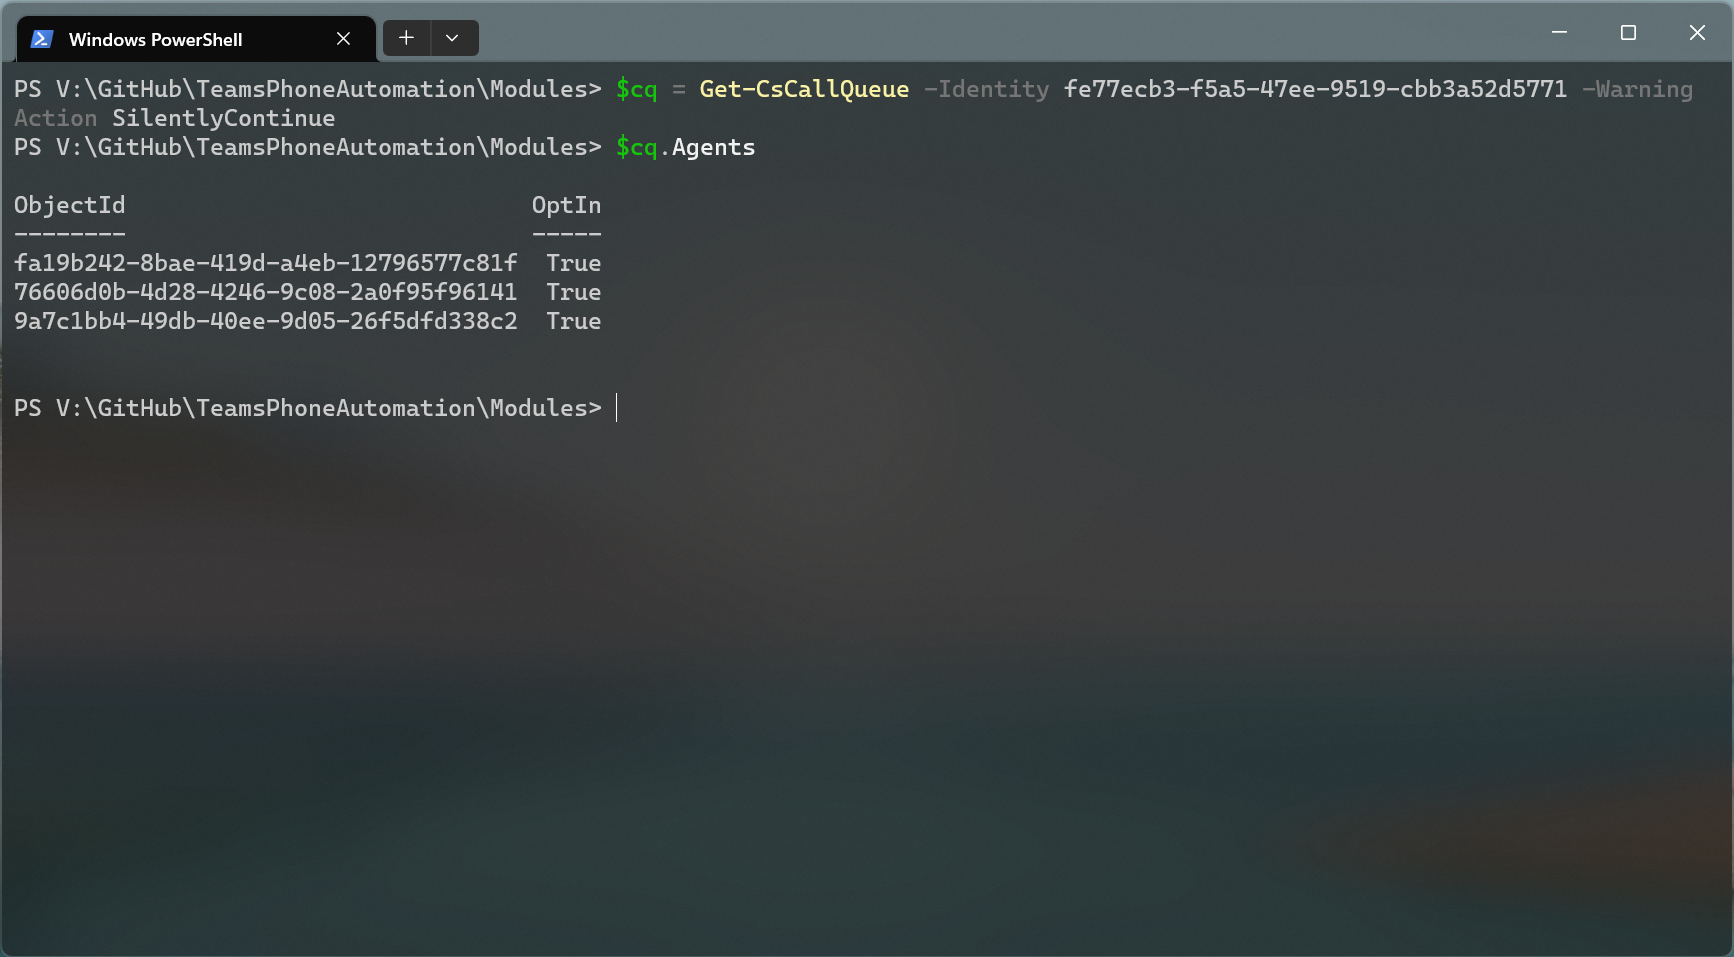
As we already know, when we check a Call Queues .Agent property, we will only see GUIDs instead of User Principal Names. Thus, my function. It will search for the users by Id and output UPNs instead of Object Ids.
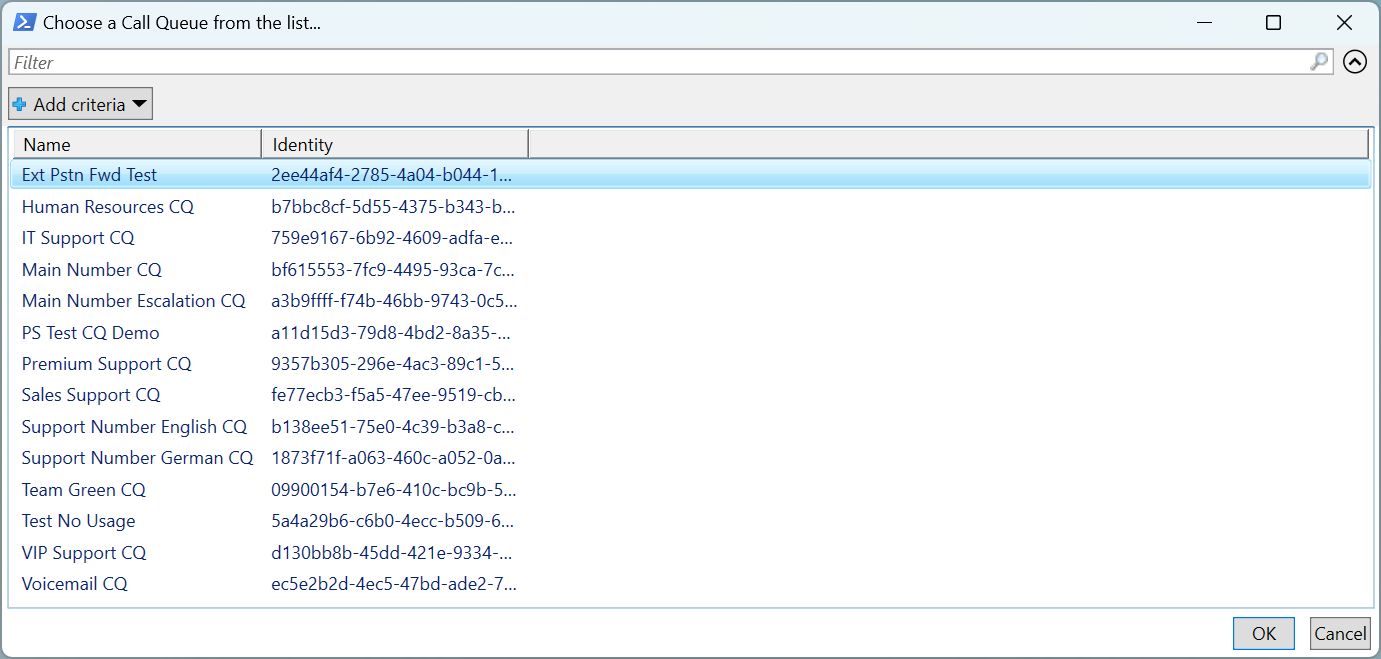
If you run the function without parameters, you will be able to choose a Call Queue from a list.
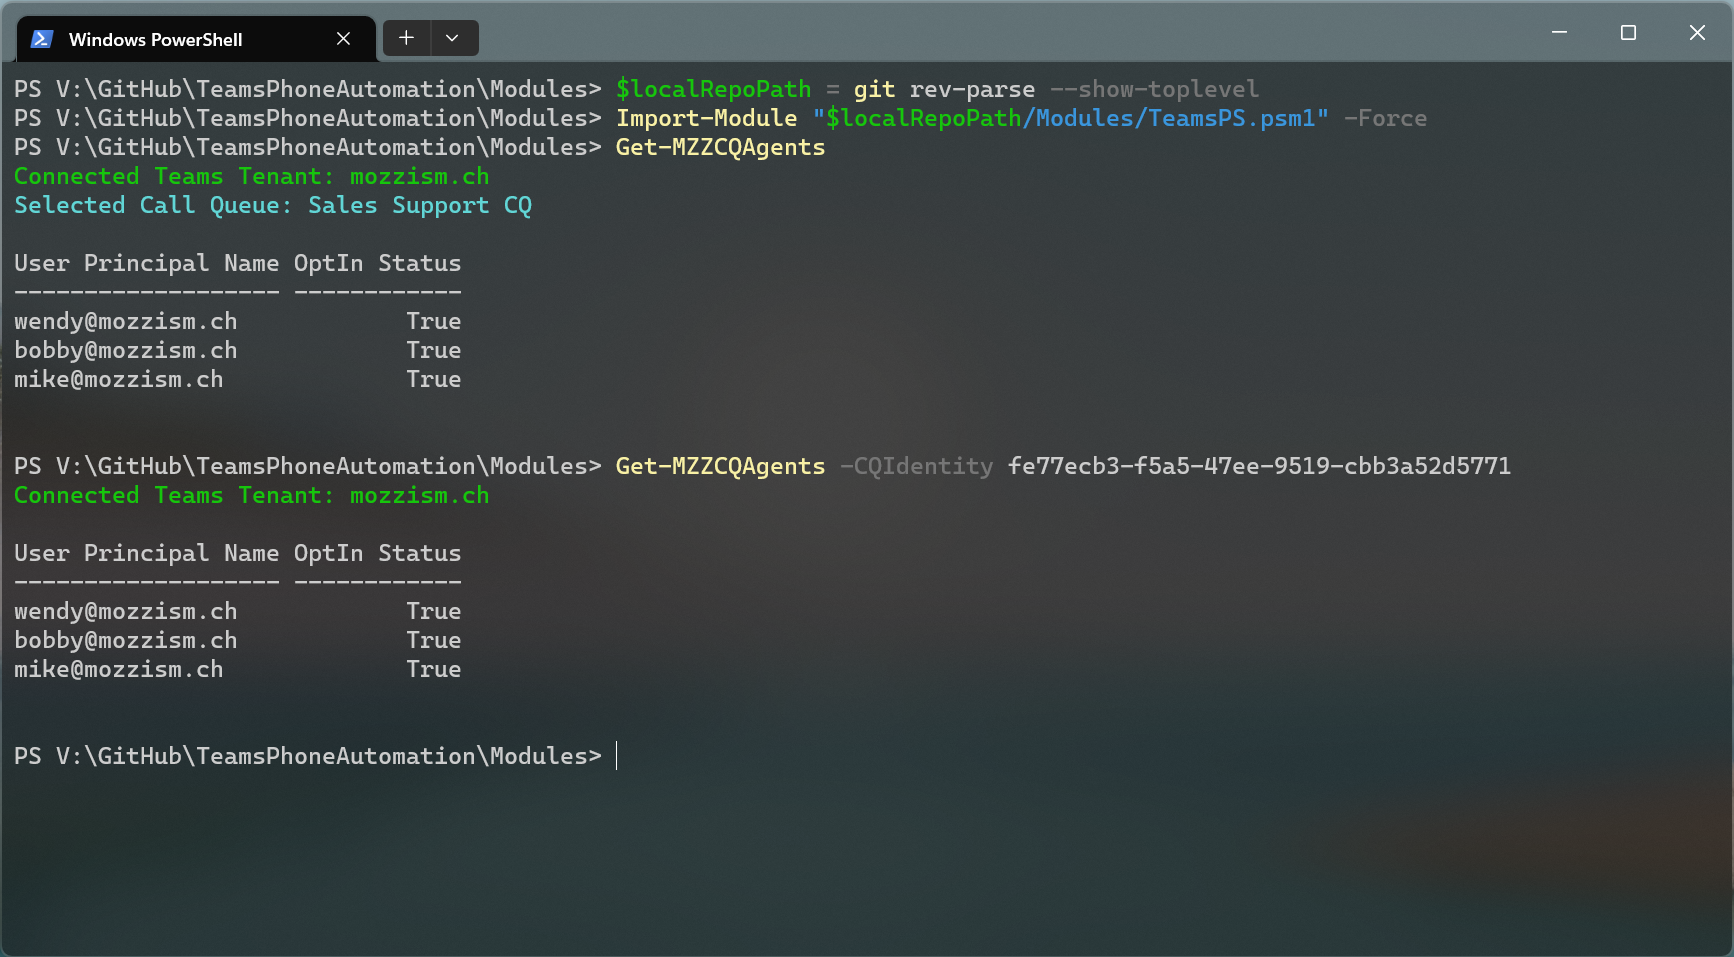
If you already know the Id of your Call Queue, you can pass it via the -CQIdentity parameter.
Get-MZZCQAgents -CQIdentity fe77ecb3-f5a5-47ee-9519-cbb3a52d5771
Sync-MZZCQAgents
This Call Queue uses a Microsoft Teams Team as Agent List, but this also applies to Agents which are assigned to a queue via Security or M365 Groups.
Think about a scenario where a Team owner adds a new employee to a Team which should also start to receive calls to the queue. Without interaction of a Teams Administrator, it’s going to take some time until that’s the case. It will most likely take multiple hours for the change to become effective.
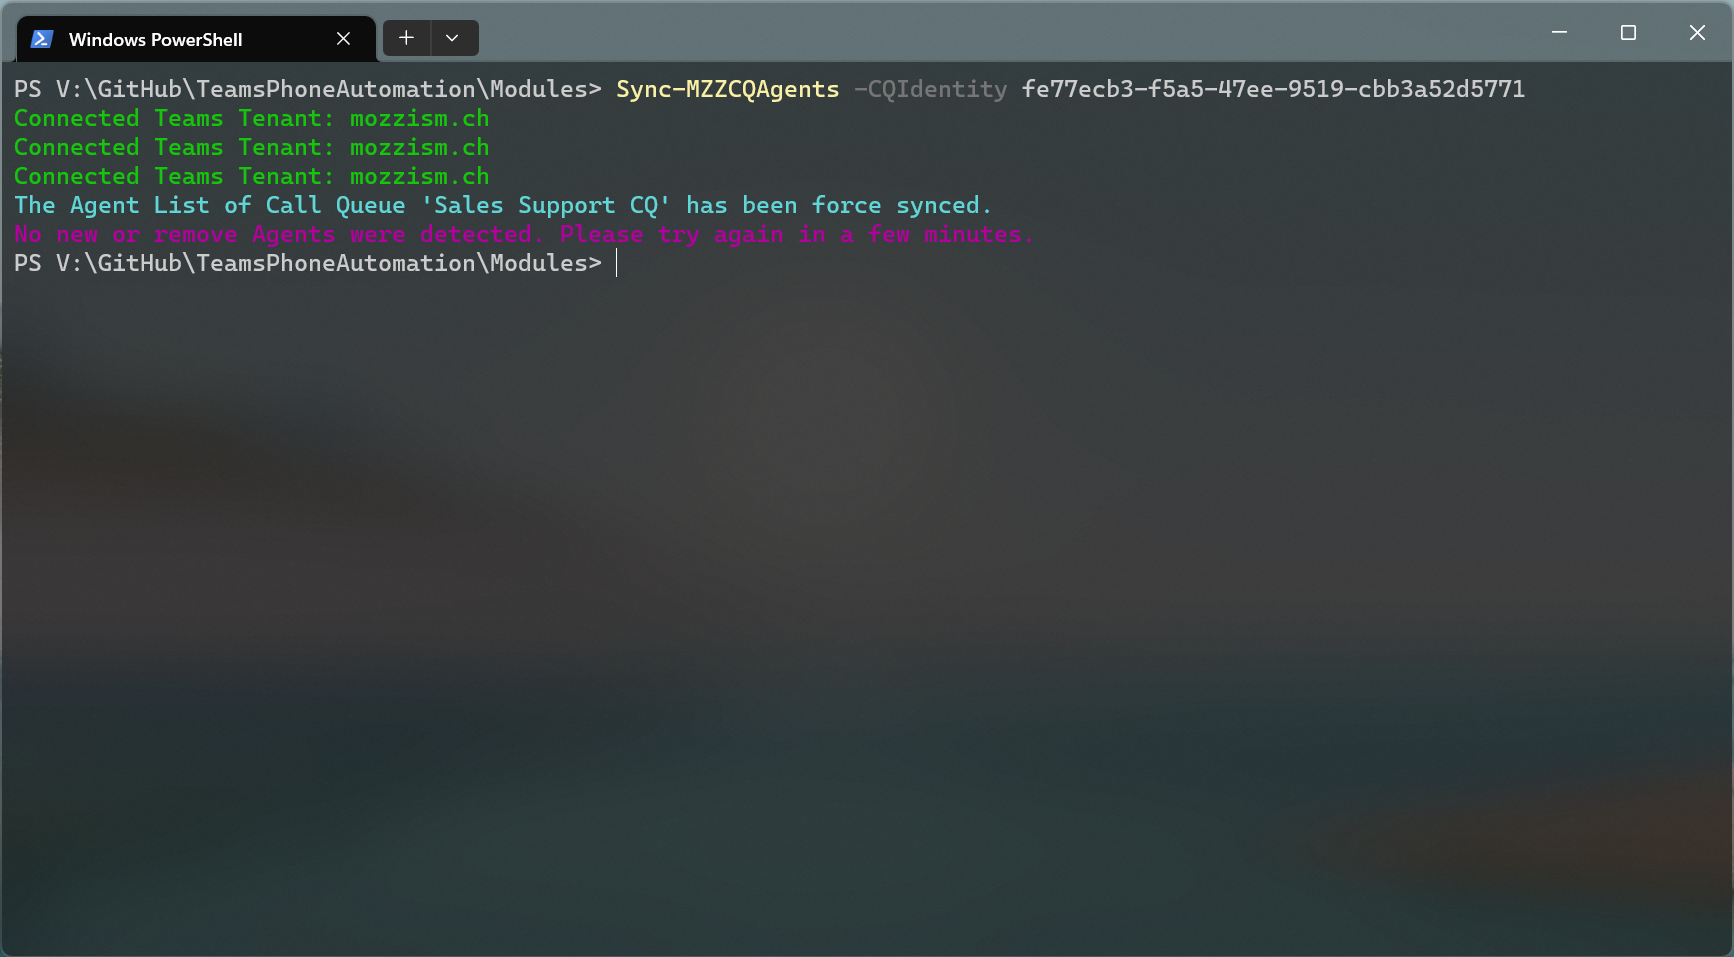
If we want to speed up that process, we simply need to run Sync-MZZCQAgents .
It’s the same for this function, if you do not specify -CQIdentity you will be asked to choose one or multiple queues from the list. To select multiple queues, just hold CTRL while selecting list entries.
Please note that Get-MZZCQAgents only accepts one selection at a time but Sync-MZZCQAgents can actually loop through multiple queues after each other if you want to force-sync all or some of your queues.
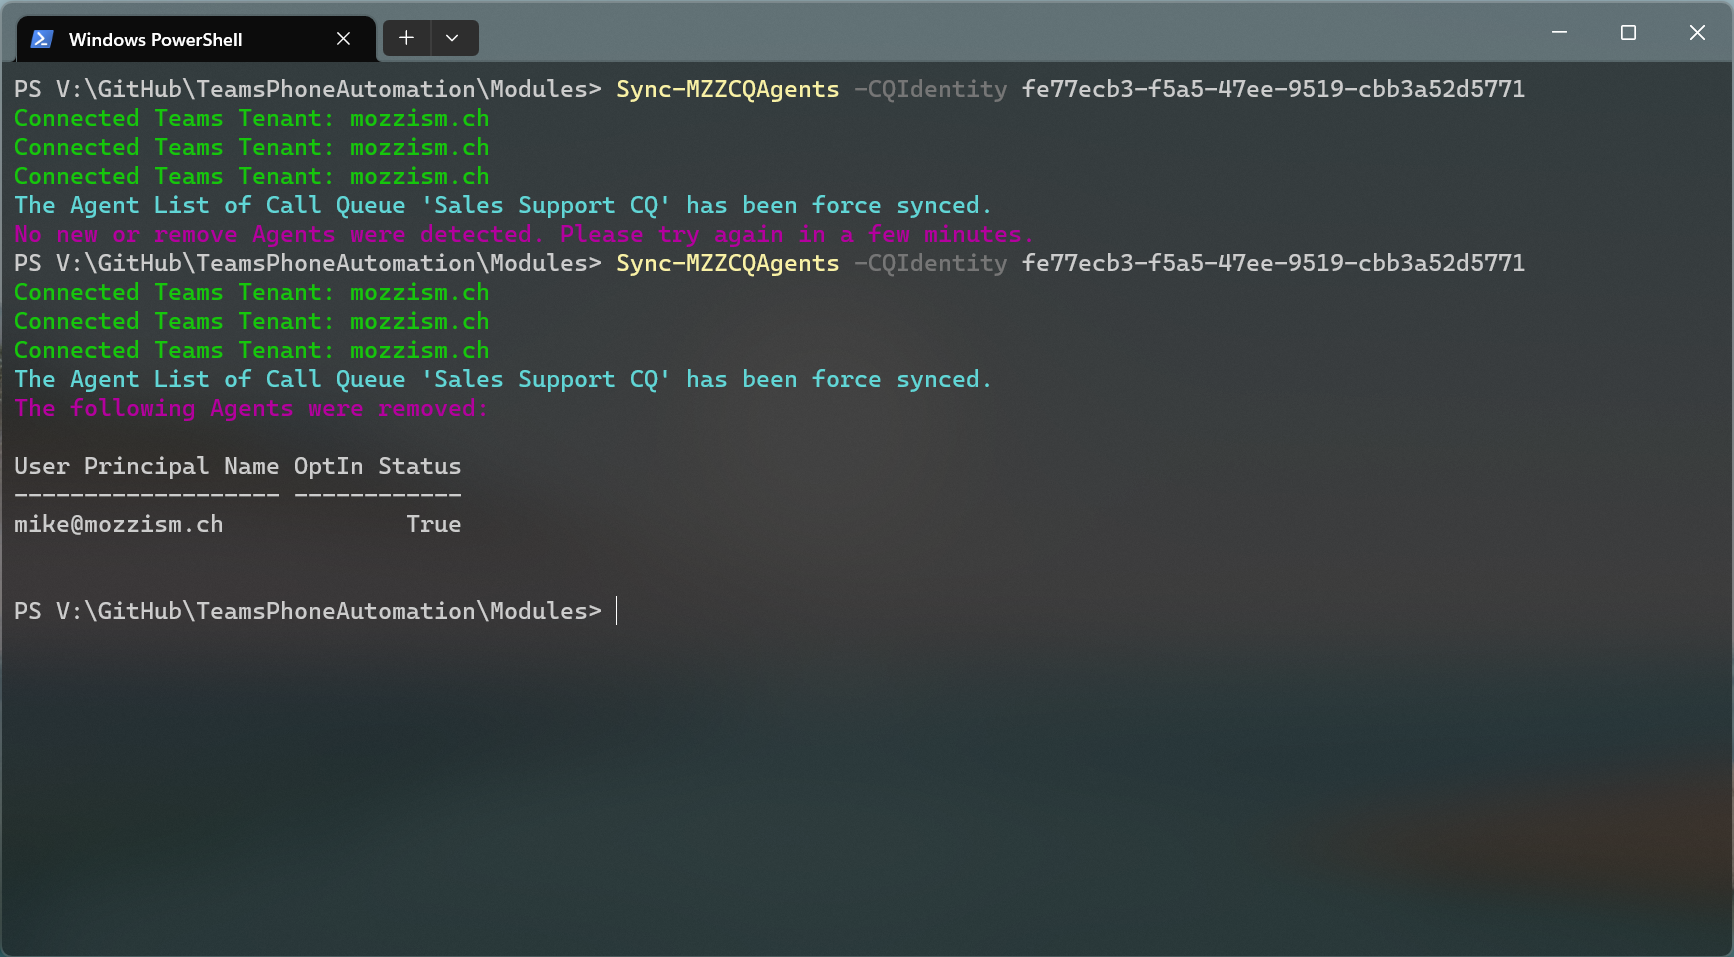
The cool thing about this is that the Sync function runsGet-MZZCQAgents before and after the queue’s agent list has been synced. This way you can know if the new agent(s) have already been added.
If you run the function too soon after the membership of a Team or an M365 Group has been updated, chances are that you will get the following output.
First, let’s remove Mike, who is also an agent of the queue as a member of the Team. We can now see that Mike has been removed from the queue.
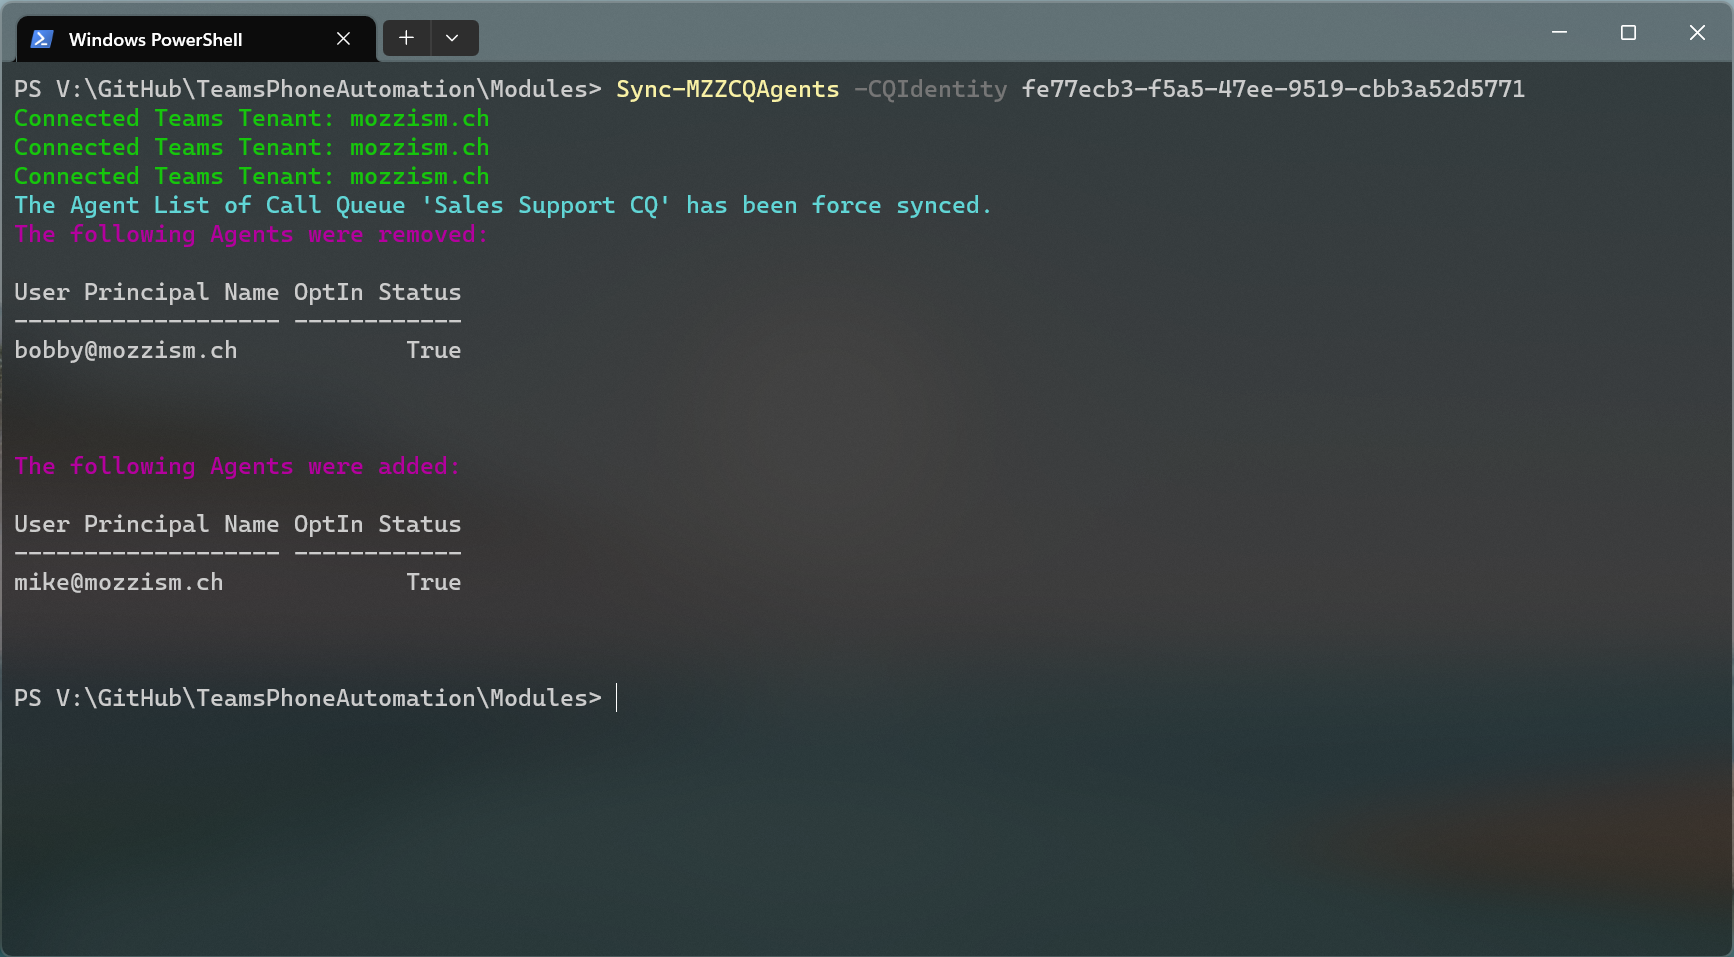
Now let’s add Mike back but remove Bobby. You’ll get a nice overview of all the agents that were removed or added.
There is no need to run Connect-MicrosoftTeams before you run either of these two functions because a login mechanism, similar to the one the M365 Call Flow Visualizer uses is already built into the function Connect-MZZTeams which is also part of the module. If you’re not already logged in, you’ll be prompted to enter your Teams Admin Credentials.
For now, it’s only these two or rather three functions (if you count the login function) which are part of this module. I’m sure that I’ll add more useful code over time, so stay tuned and follow me on Medium, Twitter or LinkedIn. And yes, the 117 in my LinkedIn URL is a reference to Master Chief.