There was an issue with my code in this article. The solution described in this article assumes that your call queue overflow and timeout actions already forward to an external PSTN number. If it was set to any other option like voicemail or disconnect, the runbook failed. I’ve updated the Runbook code sample on GitHub accordingly.
Original Article
A while ago I published this article which explains how we can build a self-service solution for changing the configurations of Auto Attendants and Call Queues using Azure Automation Tools. The main reason behind this is so that we don’t have to grant admin privileges to users which would like to manage Queues and Attendants.
In my last post, I provided an example how an Auto Attendant can be manually closed or opened. Today I’m going to show you an example of how we can let users change some settings on Call Queues.
I’ve written the code for the following changes:
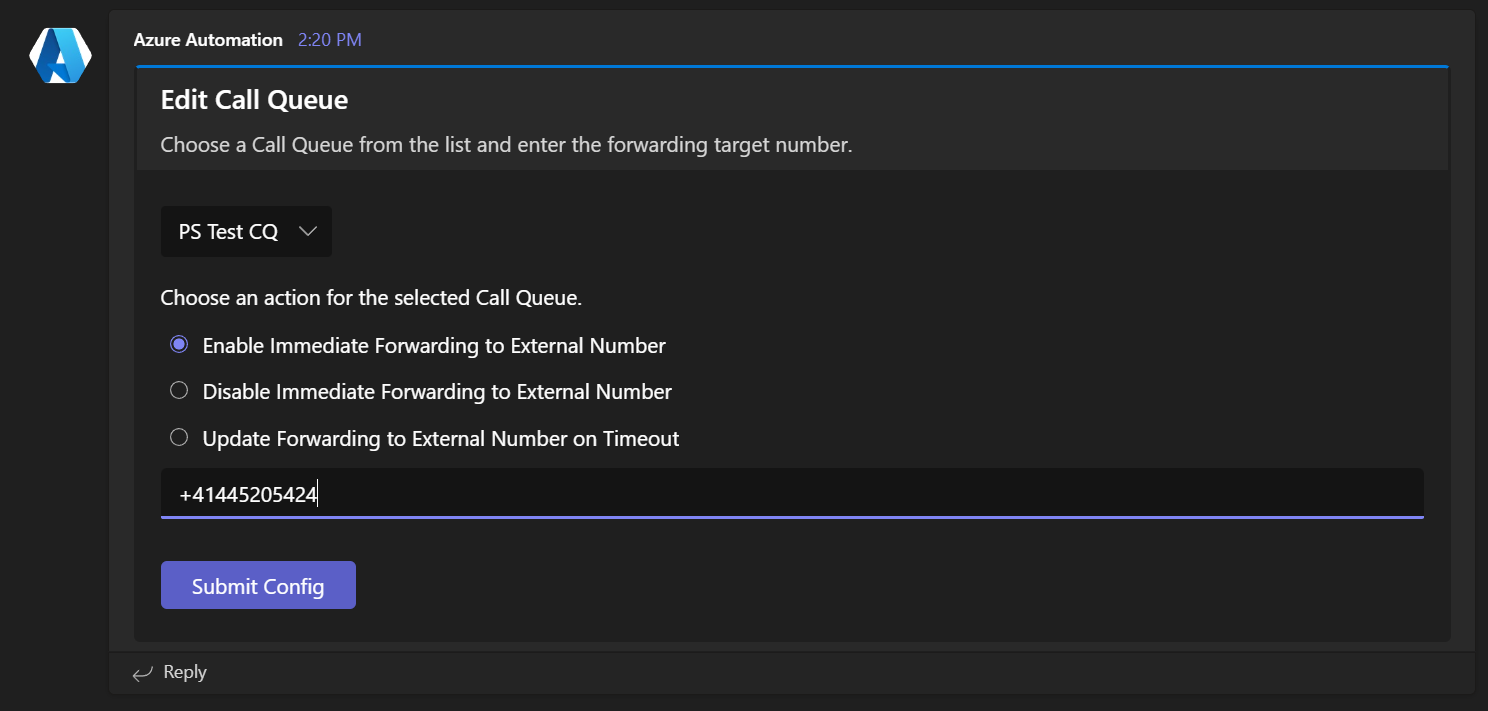
- Immediately forward a Call Queue to an external number
- Disable the immediate forwarding again
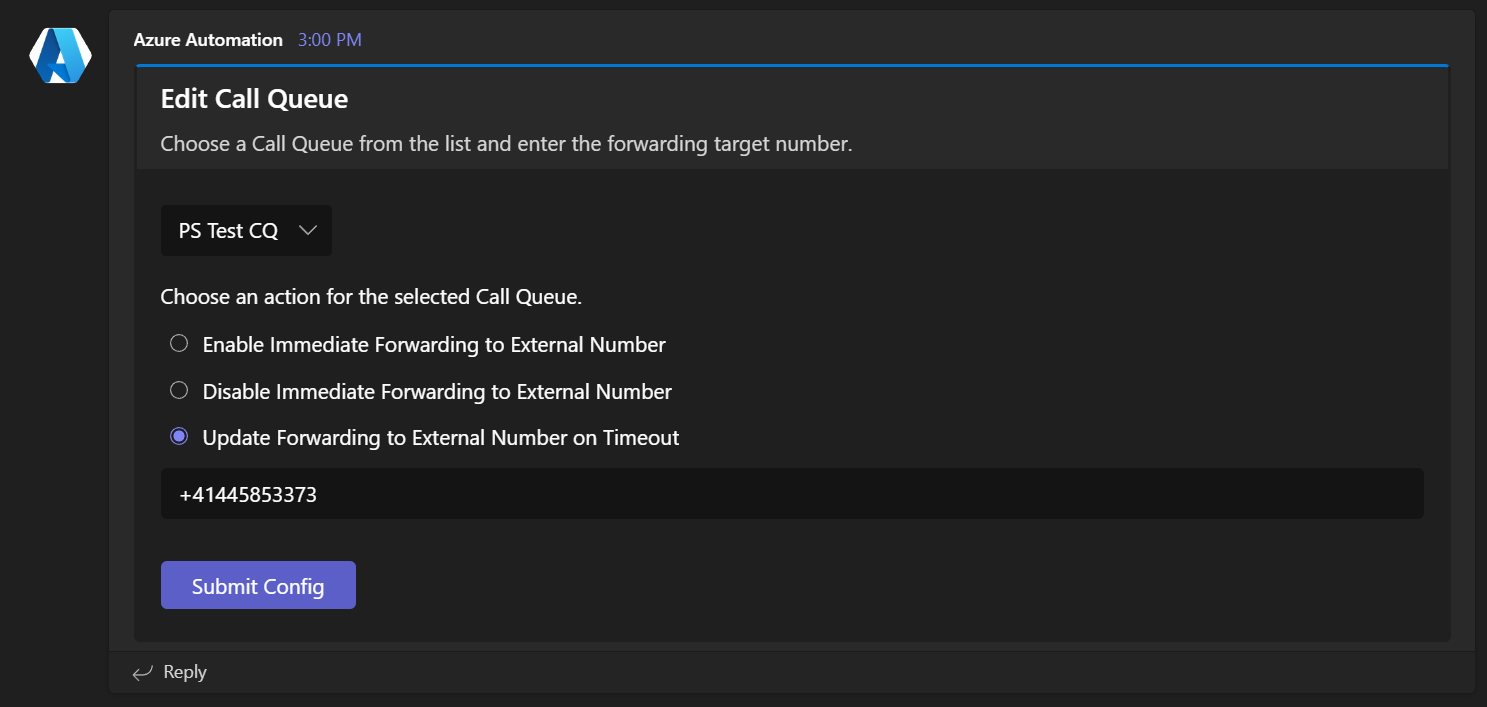
- Change the external number for forwarding on Timeout
Immediate forwarding is configured through an overflow Threshold of 0 and not a Timeout of 0. This is because, typically, Overflow Threshold is less used than timeout. I always recommend using Overflow Threshold 0 when you want to do an immediate forwarding. Unlike Timeout 0, the call is forwarded directly, without the Queue answering the call first when using Overflow. You can read more about that here.
If the immediate forwarding is disabled again, the value of the Overflow Threshold will be set to 50 again. This is the default value which is configured for new Call Queues. Of course, you change that in the Runbook code.
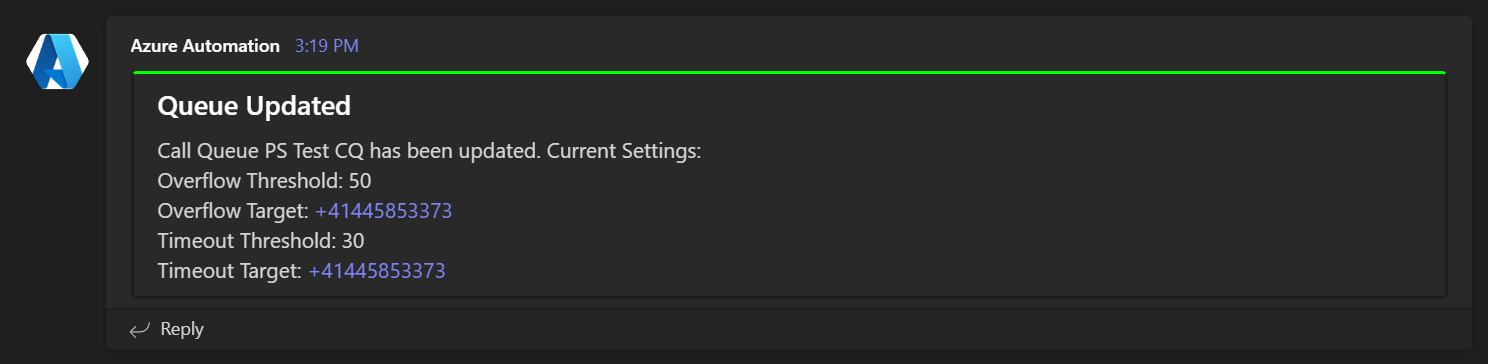
This is what the Message Card looks like when it’s sent by the Azure Function.
Let’s Build It
To build this on your own, please refer to my first article since the configuration steps are the same. You just need to replace the code of the Azure Functions and Runbooks from the Gists below.
Runbook Code
Insert the Webhook URL of your Teams Channel on line 7 and make sure that you’ve created the Automation Credentials as described in the article linked at the beginning of this post.
Refresh Card Function Code
Insert the URL of your Azure Runbook Webhook trigger on line 11.
Request Card Function Code
To get a drop-down list with all your queues, we need to create one first.
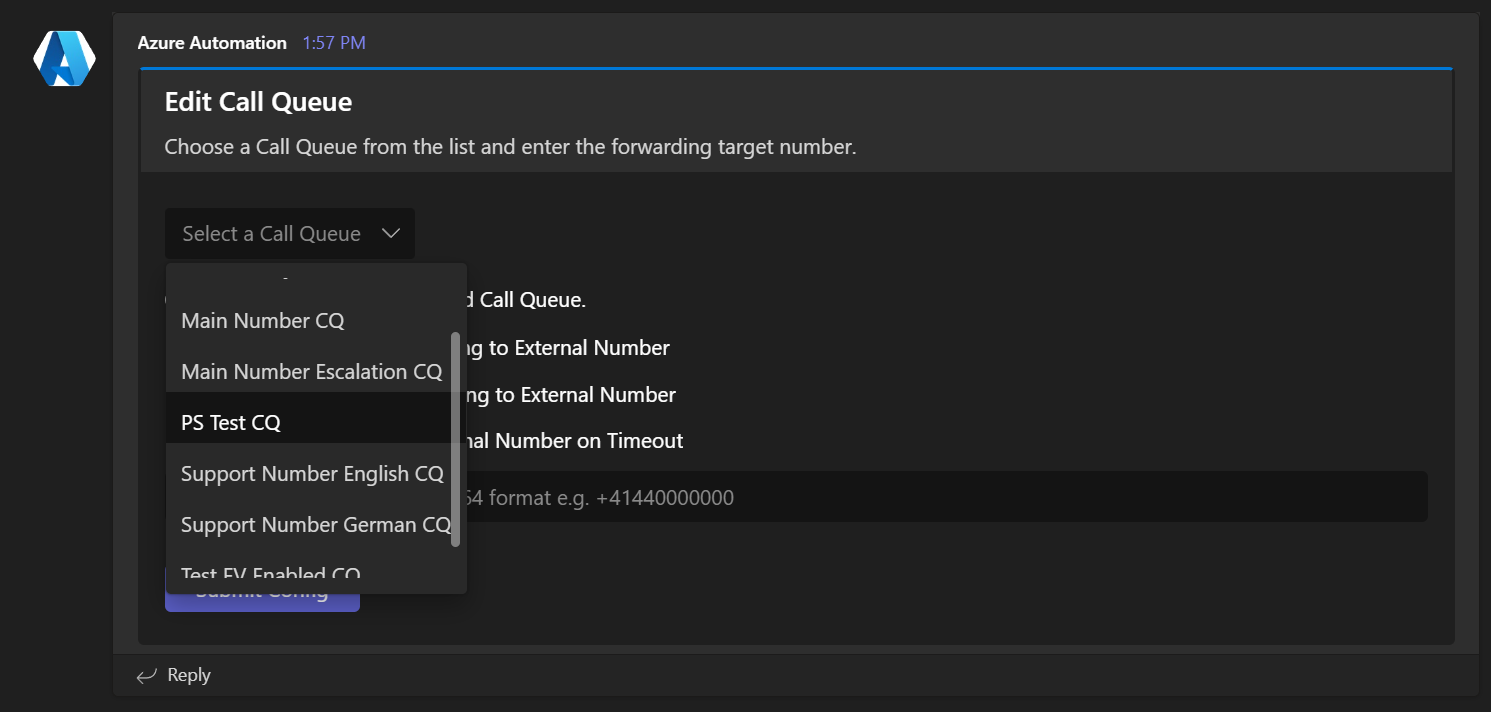
You can use the following code to create a list, which we’ll insert in our Function code later.
This will create part of the JSON code and put it in your clipboard. You’ll need it later. If you’re already using Windows Clipboard, you will be able to pull it up by pressing Windows + V.
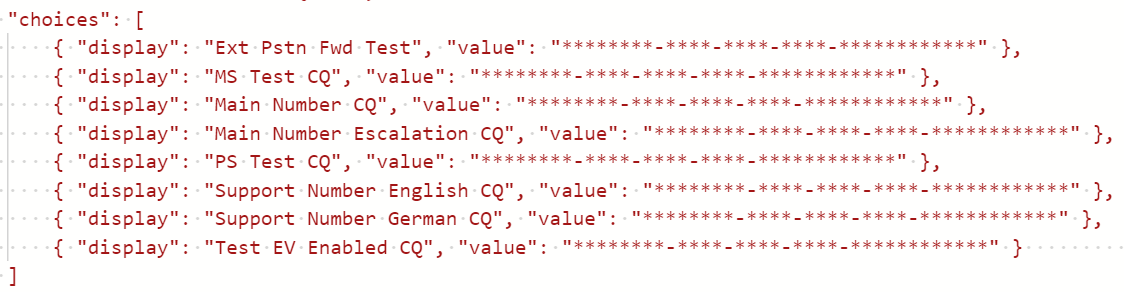
Here’s the code for the Azure Function which will send the Update Call Queue Config stuff. Insert your URLs on line 6 and 7 and make sure to paste your list of Call Queue choices on line 27.
After you’ve inserted your list, it should look like this. Yours will show real Ids of course.
That’s all. Now your users will be able to request a config change card. Let’s go through the process again.
First, the outgoing webhook is mentioned in a channel. The Function will then confirm that the request has been received.

The Function will also send the config change card.
Once the user has entered all the information, they will be able to submit the config. This will also update the card and confirm the settings.

It takes a while until the Runbook has finished. But one it has done its job, it will send us another card, confirming the settings.
Note: Setting a new number as the Queue’s Timeout Action will also reset the configured Overflow Threshold to 50. (If the Overflow Threshold would still be 0, the Timeout settings would have no effect at all.)
I hope that these code examples help you to build your own self-service solution for your users.