Did you know that you can create new Microsoft 365 Group in six and a new Microsoft Teams Team in four different places? And I’m not even counting PowerShell…
Today, I’m going to show you the differences in default settings when a Group/Team is created from a different place and what impact it could have.
Let’s start with all the different admin portals and clients a Microsoft 365 Group can be created in.
- Entra ID Admin Center
- M365 Admin Center
- Exchange Admin Center
- Teams Admin Center
- SharePoint Admin Center
- Teams Client
The bold ones are the ones where we can also create a Team alongside the Group.
As we all know, every Team includes a “surrounding” Microsoft 365 Group to manage access to the Team. You can have a Microsoft 365 Group without a Team, but you can’t have a Team without an associated Microsoft 365 Group.
Entra ID Admin Center
If you create a new M365 Group in Entra ID, you won’t have the option to add a Team to the group during the creation process. The only reason why you’d want to use Entra ID to add an M365 Group with a Team is if you want to use a dynamic group. Entra ID is the only GUI where you can create dynamic M365 Groups. Also, you can’t configure the group’s visibility upon creation of the group. It has to be manually changed in M365 Admin Center after the group has been created in Entra ID.

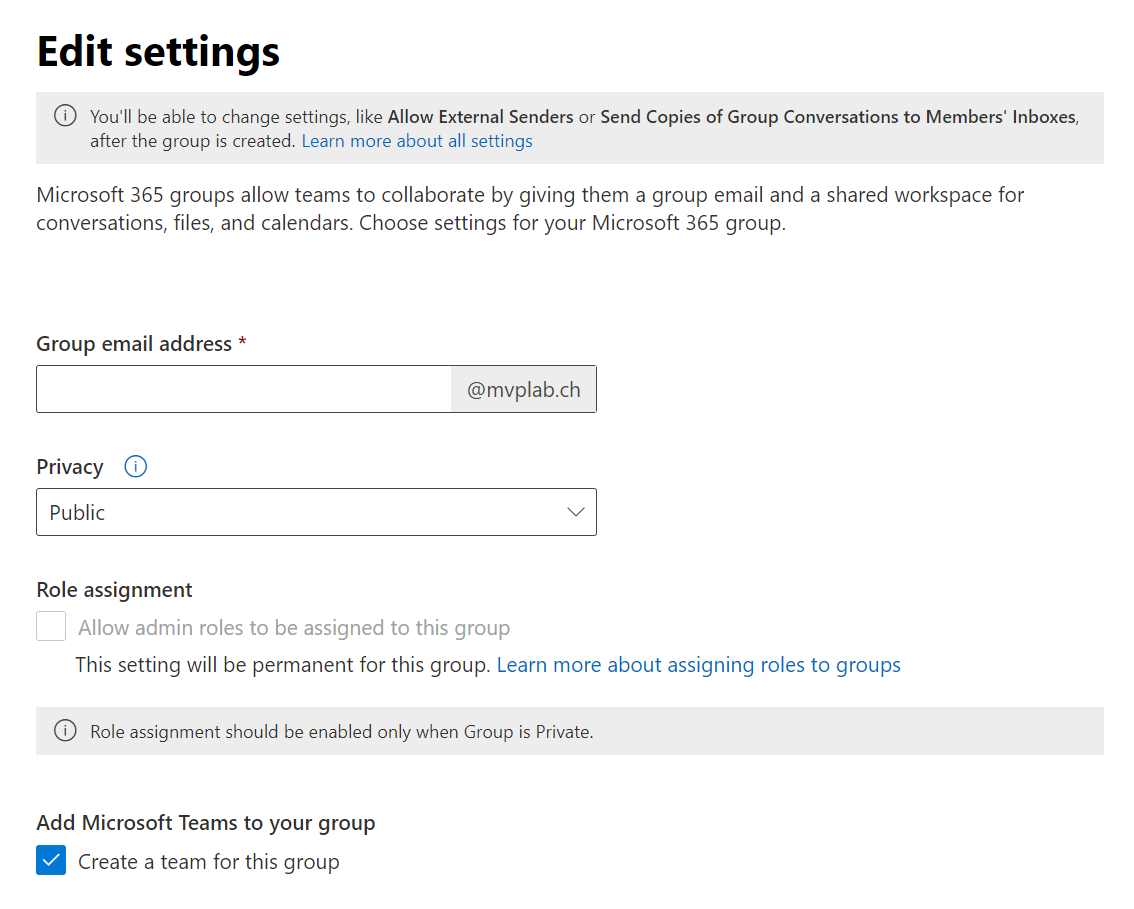
M365 Admin Center
If you create the M365 Group from the M365 Admin Center, the group’s visibility will default to PUBLIC, and you’ll need to provide the group’s email address manually. The checkbox for Create a team for this group is enabled by default.
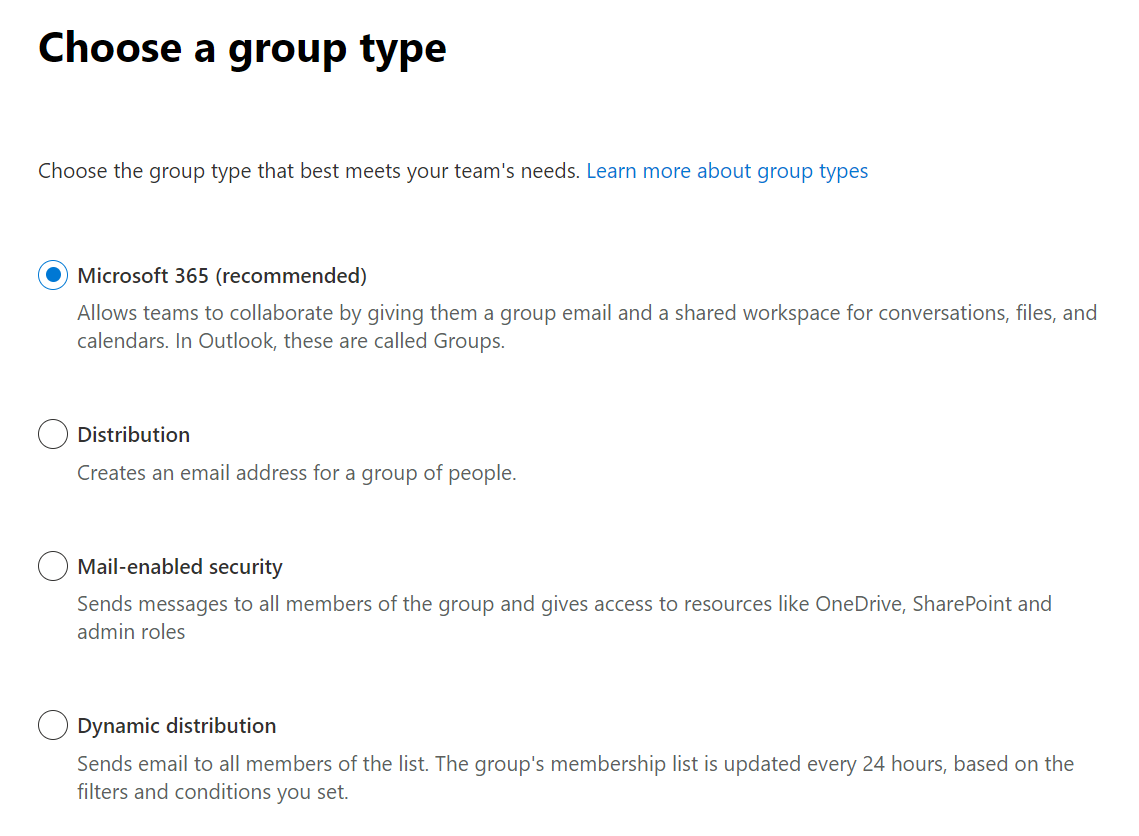
Exchange Admin Center
Creating the group from the Exchange Online Admin Center does essentially the same thing as creating it from the M365 Admin Center. The only difference is that you’ll be able to create a Dynamic distribution group from Exchange. This option is not available in M365 Admin. However, M365 Admin Center allows you to create Security groups while the Exchange Admin Center won’t.
Teams Admin Center
In Teams Admin Center, the default visibility/privacy is set to Private. Like in Entra ID, the email address of the M365 Group is also created for you with no option to change it during the creation process.

SharePoint Admin Center
When you create a new Team Site in SharePoint Admin Center, a new Microsoft 365 Group is created as well. The group’s email address is set automatically and the default option for the visibility is private. In this case, you can adjust the group’s email address, if you want to.

Creating the group from SharePoint Admin Center does not create a Team automatically. A Team can be added to the group in the Microsoft 365 Admin Center after the Team Site has been created.

Teams Client
In Teams Client, things look a little bit different. First, you need to decide whether you want to start from scratch or from another group or team. There are also some basic templates available.
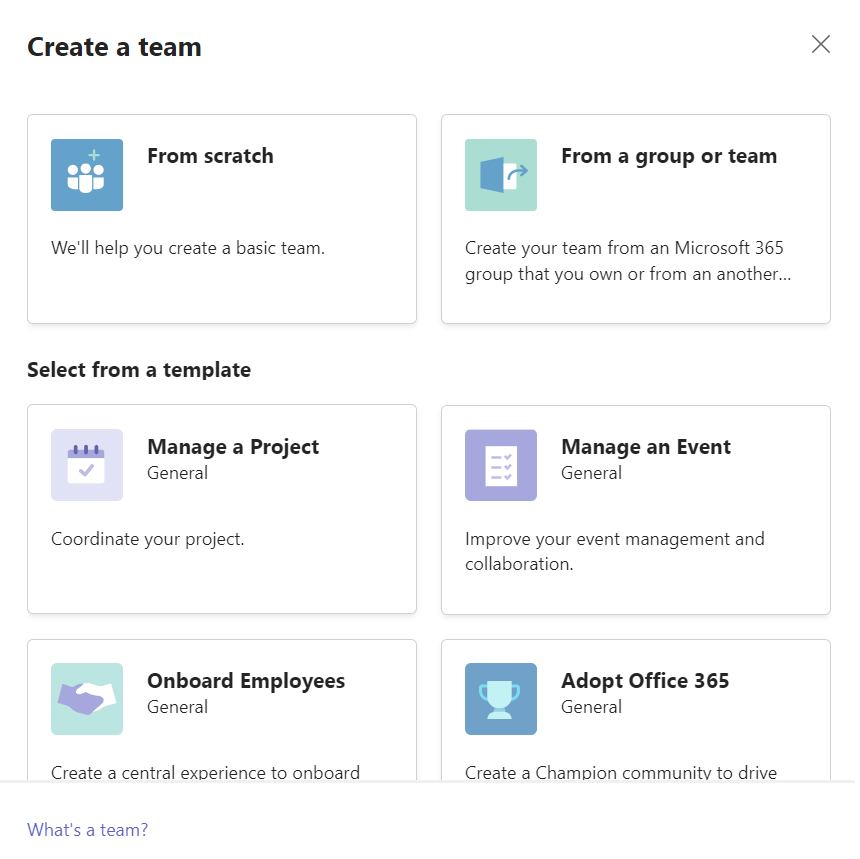
I chose From scratch for this blog post. Next, you’ll be asked if you want to create a Private, Public or Org-wide Team. I tested all 3 types and all of them created a new M365 Group with the same settings. The group is always assigned, not even the Org-wide Team is created as dynamic group. The email address is derived from the Team name too, without the option to customize it during the creation process. The most important thing to note here is that if you create a Team from Teams itself, the group will be hidden in Outlook clients by default.

Comparison Chart
I’ve created a table which tells you what settings/defaults are applied for Teams created in each location.

I think all the above except OwnerAddedAsMember and OwnerIsPartOfTeamWhileNotAMember should be self-explanatory.
Every group has owners and members. Owners are typically also members, but members don’t necessarily have to be owners as well.
If you add certain users only as an owner, they won’t be added to the group’s members unless you create the Team from Teams Admin Center or from the Teams Client. (OwnerAddedAsMember).
However, even if they’re just owners, they can still see the Team in Teams (OwnerIsPartOfTeamWhileNotAMember).
Example: Team Created in M365 Admin Center

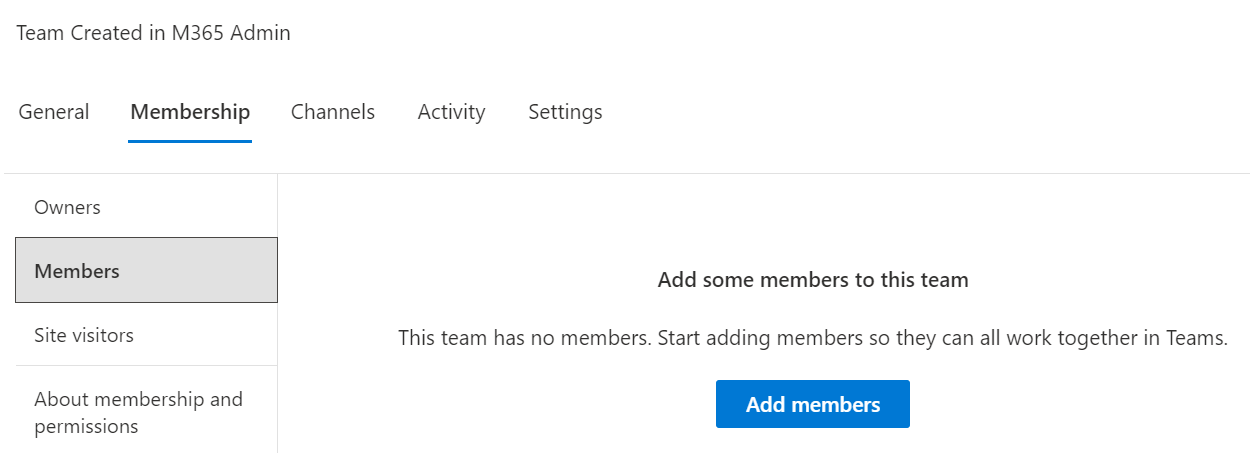
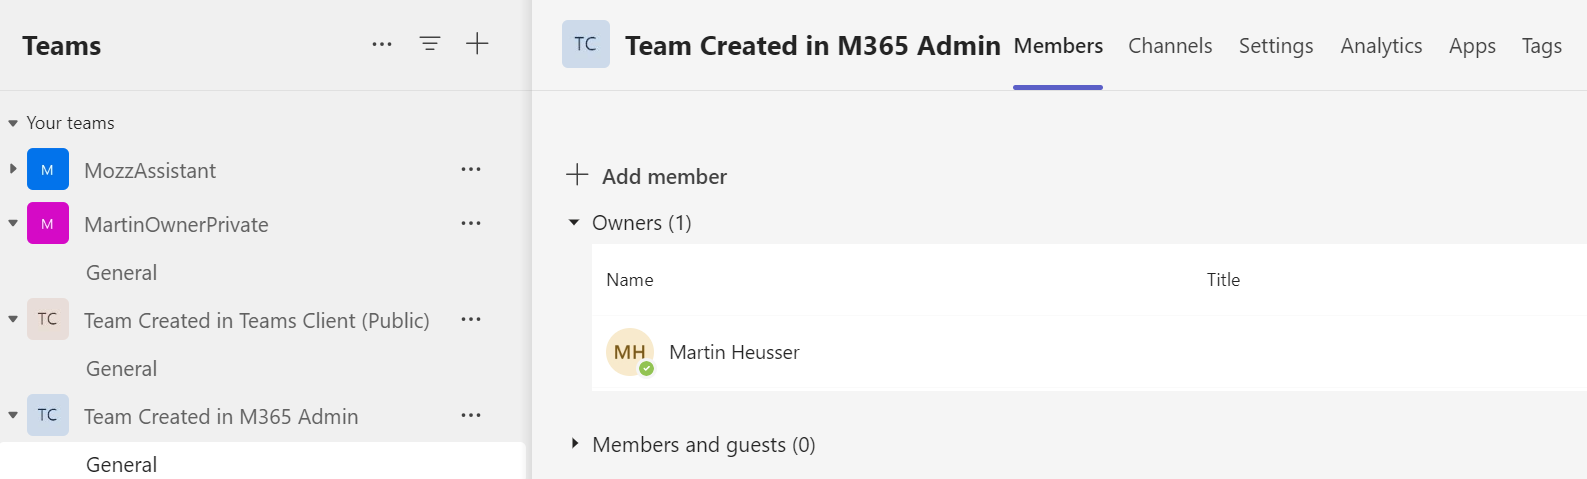
If we compare this Team to one created in Teams Admin Center, we can see that it looks exactly the same in Teams.

However, in M365 Admin Center we can see that the user is both an owner and a member of the group.

Teams will display each user only once, under the highest privilege a user has while M365 Groups list owners and members separately, even if it’s the same user account.

Voice Enabled Channels Caveat
For normal Teams usage, it shouldn’t be a problem if an owner is not also a member. However, there is one important thing to mention. If an owner is not also a member and the owner is part of a Team which is used for a Voice Enabled Channel in Teams, the owner won’t be added to the queue’s agent list, unless the owner is added explicitly as a member too.
I’ve linked a Team which I created from M365 Admin Center to this call queue. During the creation, I’ve only added 1 owner and no members.
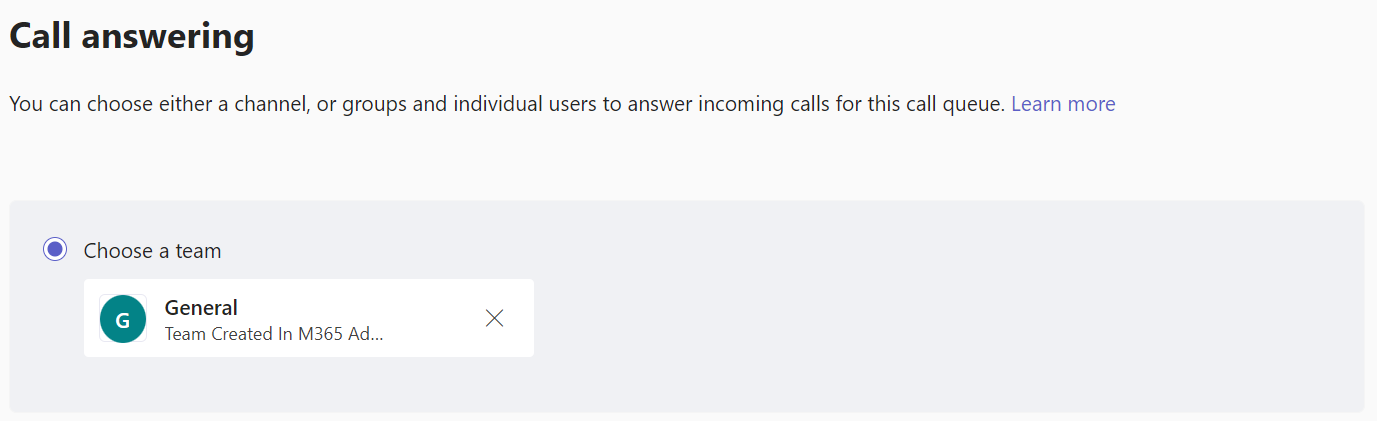
When we check the call agents of this queue, we can see that it says zero.

When I add the owner also as a member of the group in M365 Admin Center and save the queue again, we can see that it now has one call agent.

You can read more about Voice Enabled Channels and Call Queue Agent Lists here and here.
Where to Create New Teams?
So where is it best to create new Teams? Sadly, the answer is: It depends. The first question you should ask yourself is if the membership needs to be assigned or dynamic. If it should be dynamic, you must create it from Entra ID. Otherwise, there is no clear winner here. Each portal does it slightly different which creates unwanted and most likely also unnoticed differences in M365 Group settings. If you want to be consistent across all your Teams and Groups, I recommend defining one or multiple standards and then creating a PowerShell script which creates new Teams and Groups according to your needs.
PowerShell Cheat-Sheet for M365 Groups
Since we’ve now learned that creating Groups or Teams from different Admin Centers can have different effects, I put together a little PowerShell cheat-sheet containing some handy one-lineres to help you quickly adjust M365 Group settings. Since these settings are applied to the M365 Group and not to the Team, they all require the Exchange Online PowerShell Module which can be installed using this code.
| |
Note: This uses the Microsoft.Graph.Groups PowerShell module and not ExchangeOnlineManagement.
Closing Words
I hope that this article and the comparison chart help you to better understand why some groups might have different settings than others. I also recommend to always add all owners as explicit members too, whenever you assign owners to a group. Hopefully, the last code snippet will make things easier for you to accomplish this.