Have you ever wondered why you or some of your users can’t see all Auto Attendants or Call Queues when you search for them in Teams? Start following me on Medium and wonder no more.
The users who can find them are most likely agents of the queues which show up when they search for it or have previously received a call forwarded by an Auto Attendant. Based on my testing, Auto Attendants and Call Queues only show up in search, if there has been some form of interaction between the user and the resource account before.
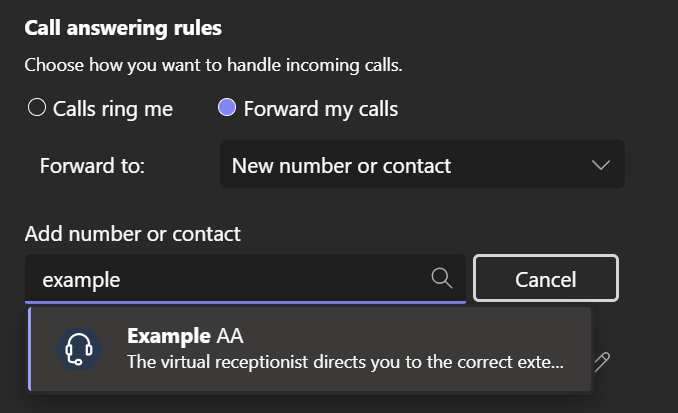
Here’s an example where the resource account “Example AA” which is associated with an Auto Attendant can’t be found by a user.

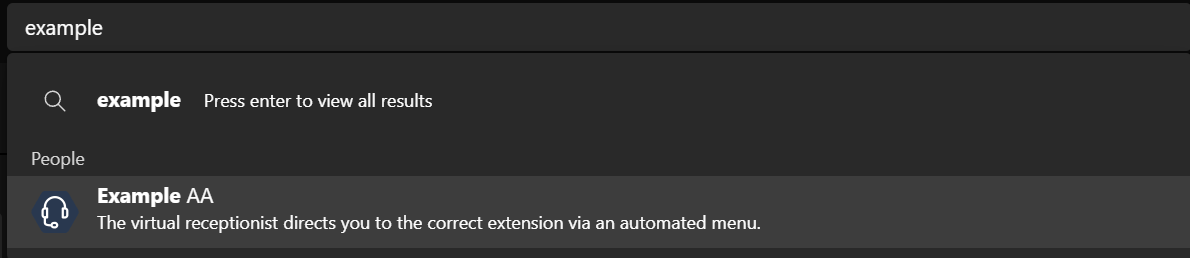
And here’s the same search query from a different user, which has interacted with “Example AA” before.
So, what can you do if you want your users to find Call Queues and Auto Attendants in Teams, if they’re not part of the queue or don’t get calls from an Auto Attendant?
Certainly, adding all users to a queue or configuring an Auto Attendant a hundred times over and making actual calls to its number so that the user receives a call from the attendant is no option.
Let’s explore other options.
Deep Links / User Self-Service
I’ve blogged about deep links in Teams before. If we create a deep link to call a resource account’s user principal name, the resource account will somehow magically be added to the user’s Teams contacts, once the user clicks on the link. This user will then be able to find this Auto Attendant or Call Queue from search.
Let’s call this a self-service approach. We as admins will provide our users a list with deep links and the users choose themselves, which accounts they want to add.
A deep link will look like this:
https://teams.microsoft.com/l/call/0/0?users=ra_aa_example@mozzism.onmicrosoft.com
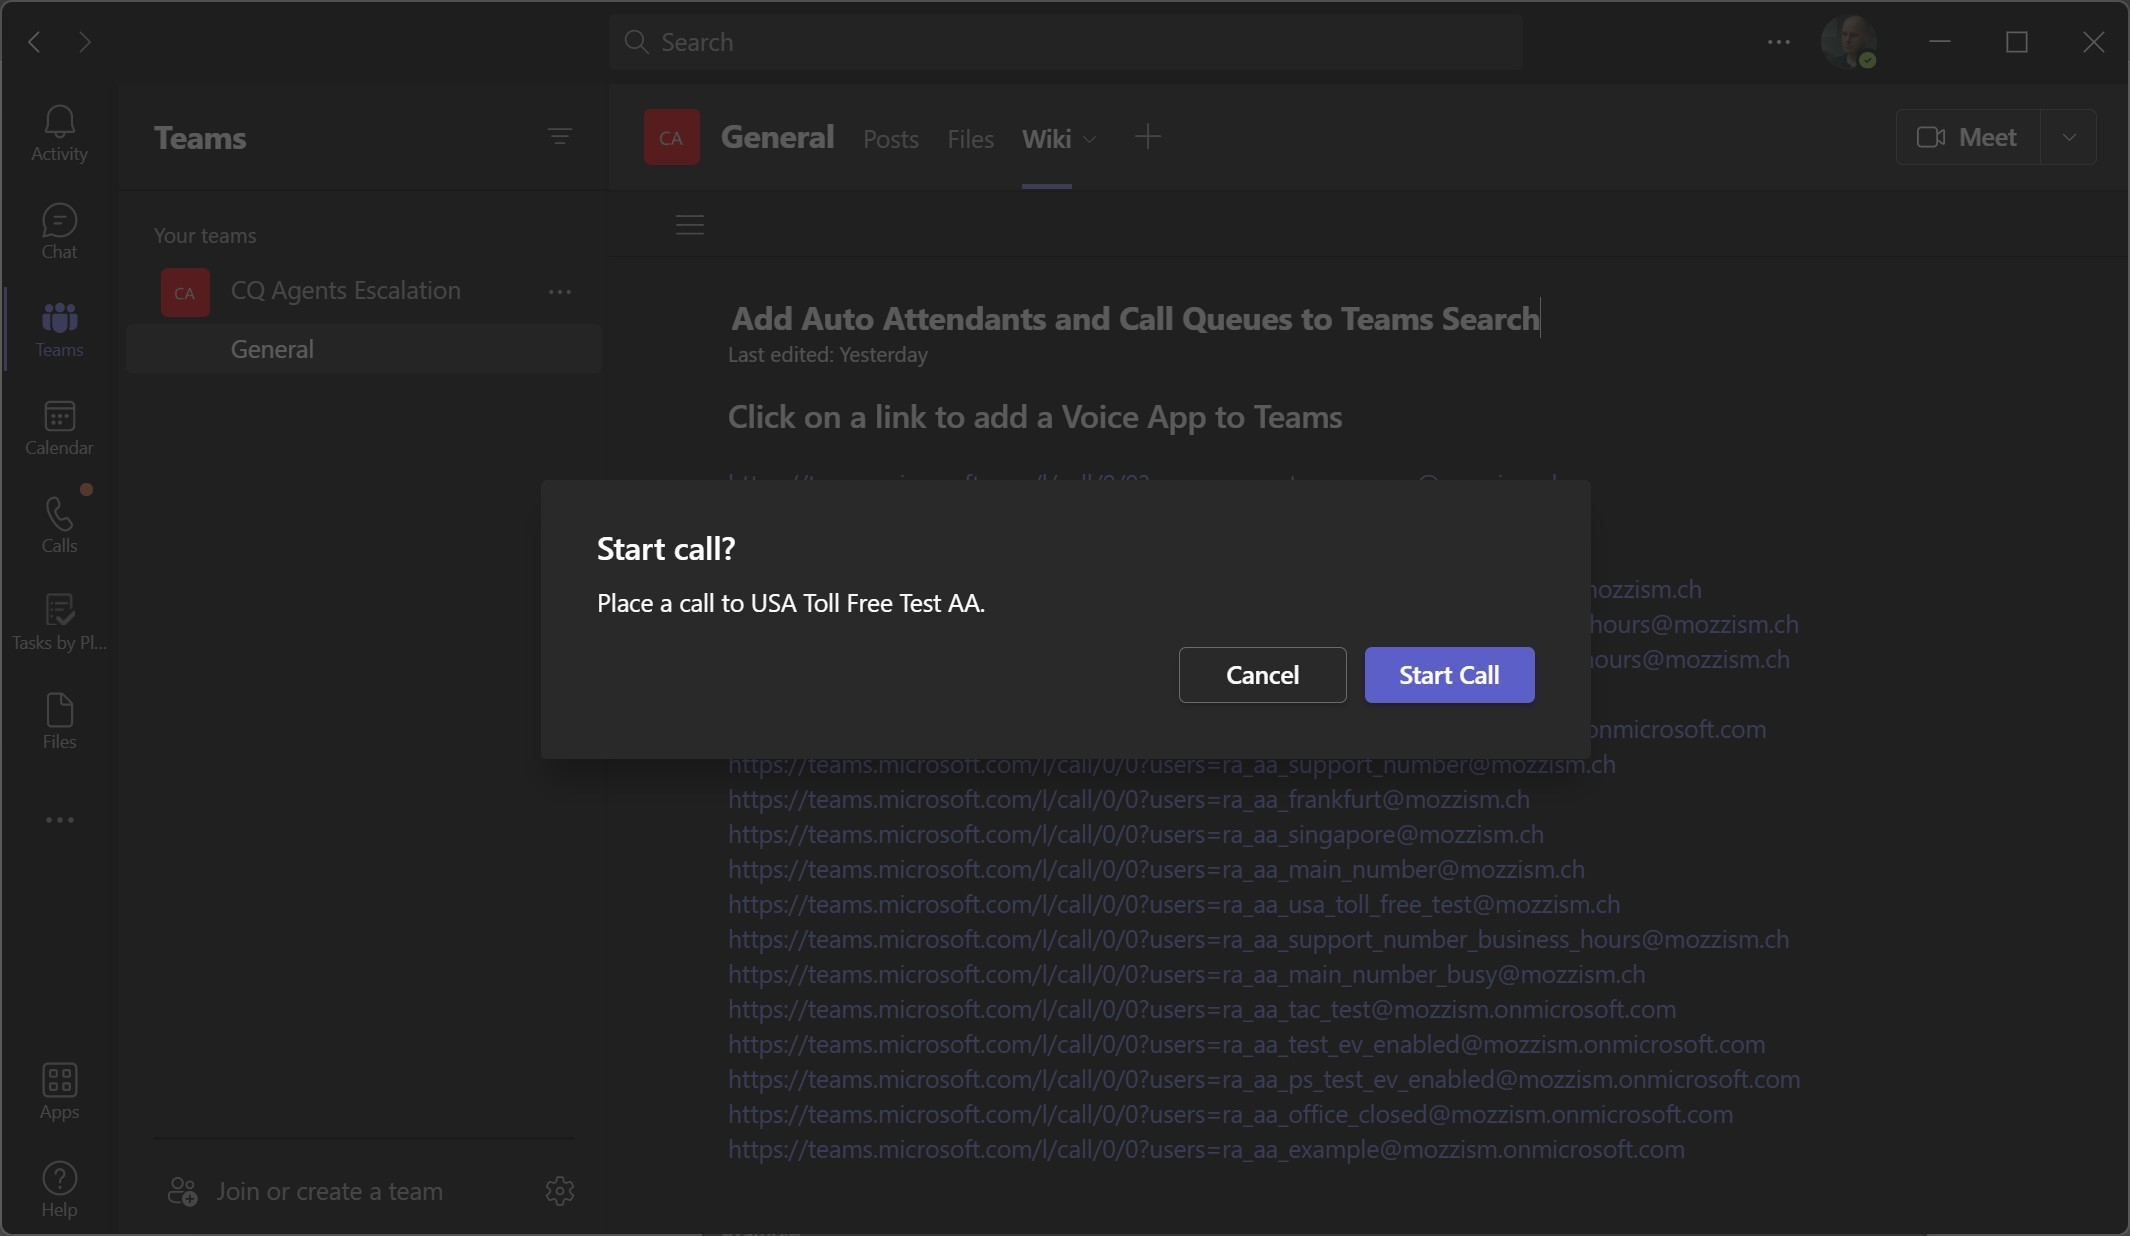
If we copy this link and paste it in our favorite browser (which should be Microsoft Edge of course) we will see the following pop-up.
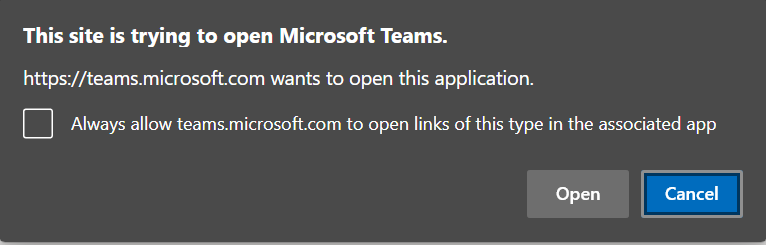
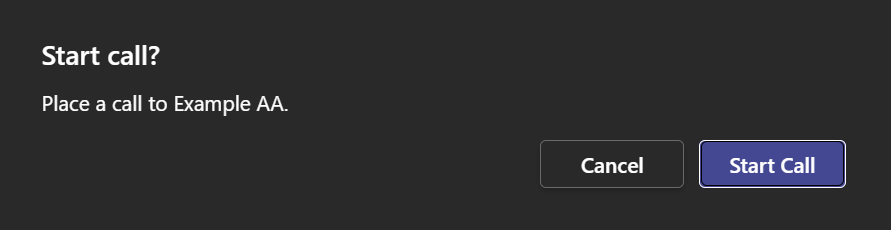
Next, we need to click “Open” in order to initiate the call in Teams. That’s all that’s needed already. We don’t actually need to call the Auto Attendant.
Note: This will only work if the resource account is in fact associated with a voice app.
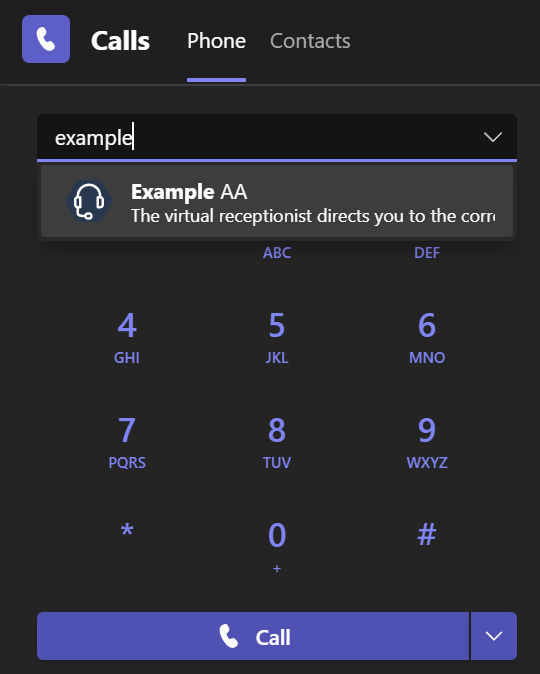
If we cancel and search for “example” again, the Auto Attendant / resource account now shows up, everywhere we could possibly search for it. This includes the search and action bar, the people picker on the dial pad and the new number or contact search field in call answering rules.
What if we’ve got hundreds of resource accounts? I’ve got you covered here as well. Just use this code to generate a deep link for each resource account in your tenant.
This will read all first party resource accounts (Auto Attendants and Call Queues, other 3rd party resource accounts, such as Landis or Luware won’t be included) from your tenant, create a deep link for each account and put them in your clipboard.
Now we can publish these links anywhere we want. I put mine in a Teams Wiki for example.
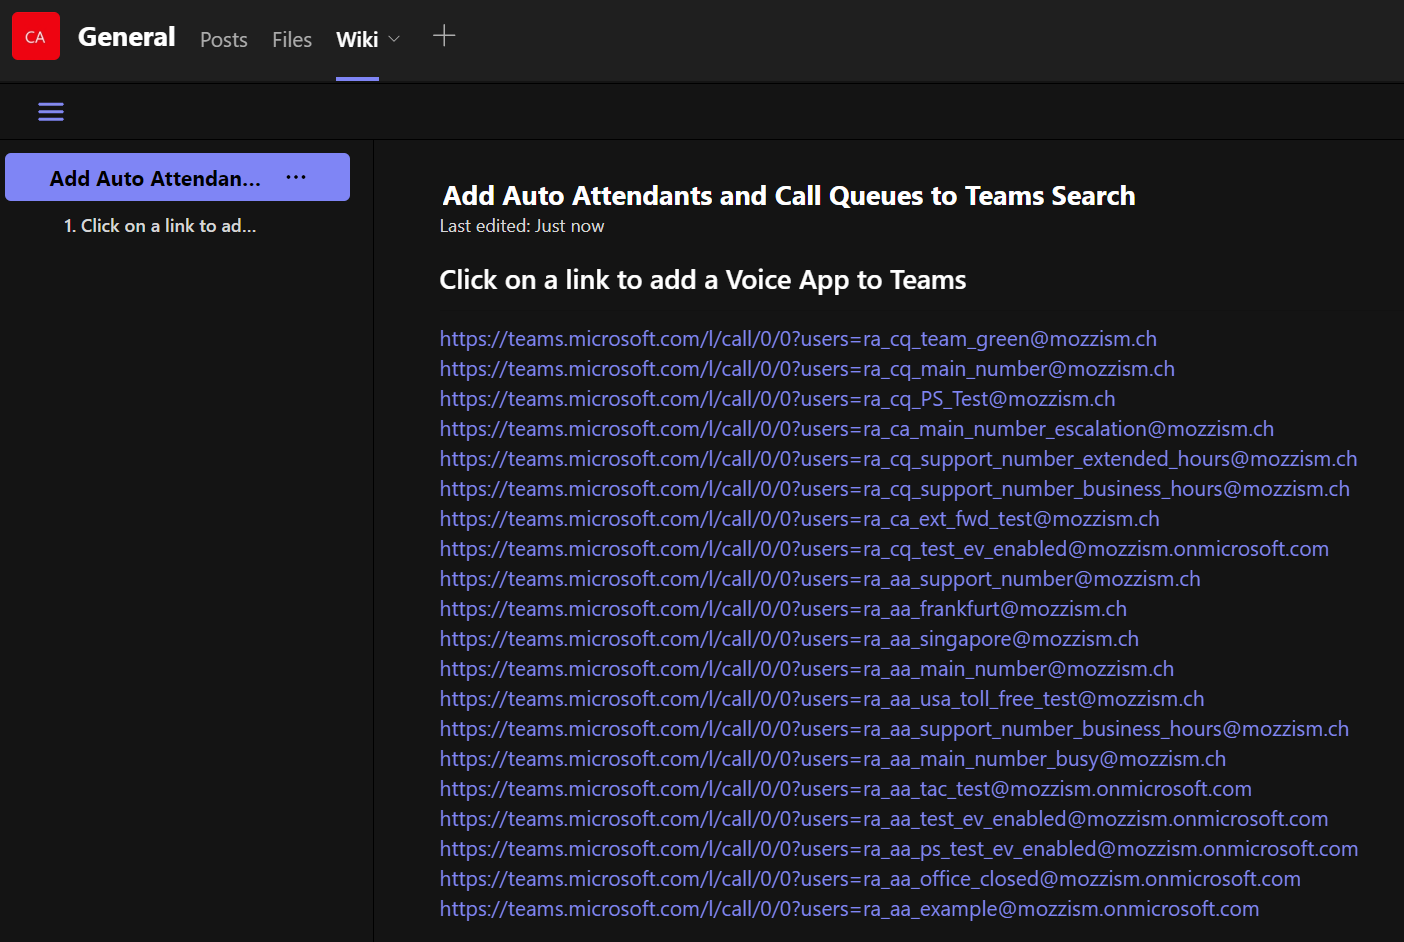
All that’s left to do for the users is to click on a link and then cancel or make the call.
That’s one way to do it. But what if you want to go the extra mile for your users and automatically make all your Attendants and Queues available for all your users?
The PowerShell Way / Going the Extra Mile
Although it’s possible to do this at scale, this method does come with a caveat. We’ll see what that is later. Instead of launching a deep link to a call, we’re going to create a chat between the user and the resource account. But how can we create a chat with the resource account, if we can’t search for it in the first place?
I have found that it’s possible to use Microsoft Graph to create a chat between a user and a resource account.
Here’s an example script. Use it at your own risk. As I already stated in this article, the function to authenticate against MS Graph is baes on the work of Alex Asplund from this article. You will need an Azure App Registration with at least the following Application permissions: “profile”, “openid”, “User.Read.All”, “Chat.Create”.
Fill in $AppId ,$AppSecret and $TenantName with your own credentials and domain name on lines 4–6. Once you run the script, it will retrieve all your resource accounts and all users which have a Teams Phone Standard License assigned. This serves merely as an example. Of course, you can create your own filter for the variable $allTeamsPhoneUsers or import a CSV file etc.
Next, the script will loop through all users, and create an empty chat with each resource account, which will ultimately make the resource accounts discoverable for the user.
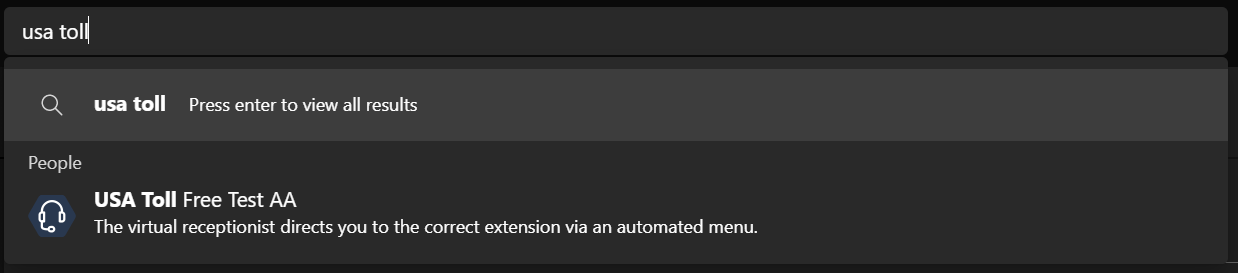
Let’s see the result. Again, before the script was executed, the account “USA Toll Free Test AA” does not show up in this user’s search box.

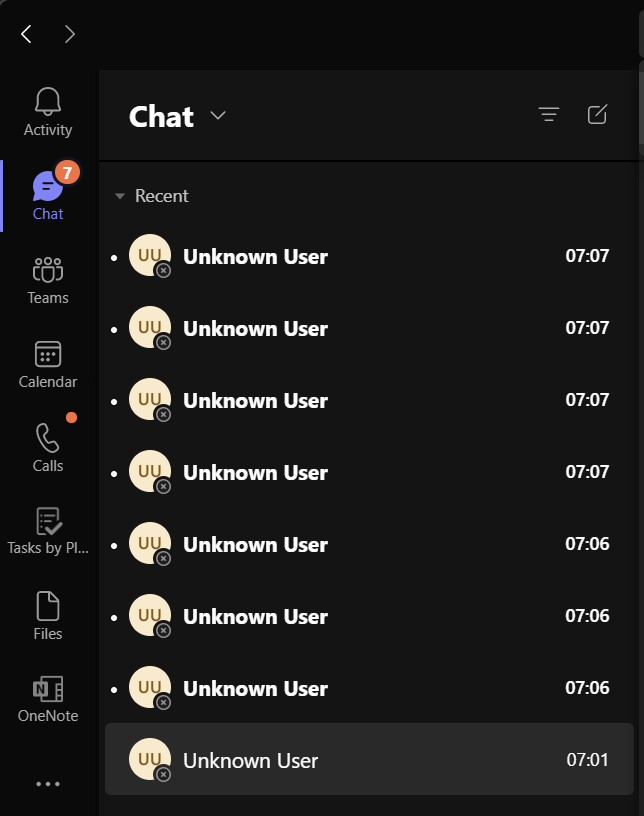
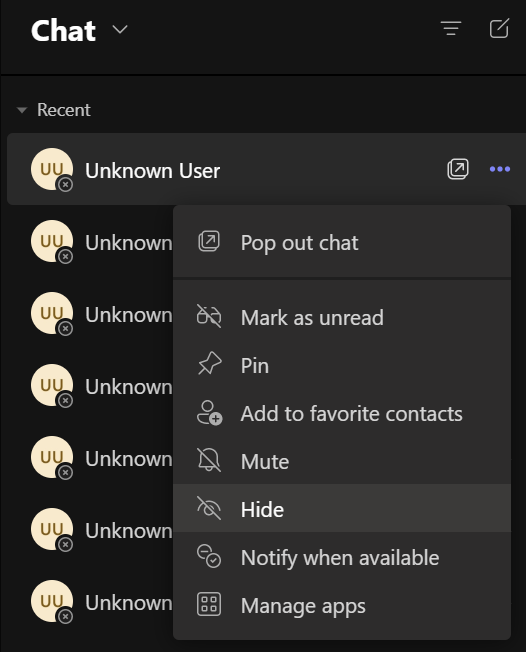
Once the script has run for any Teams user, they will see a bunch of new, empty chats in their Teams chats. Unfortunately, I don’t know why Teams won’t show the Display Name here.
Funny enough, the Display Name will show up if we switch to the Organization Tab in the chat.
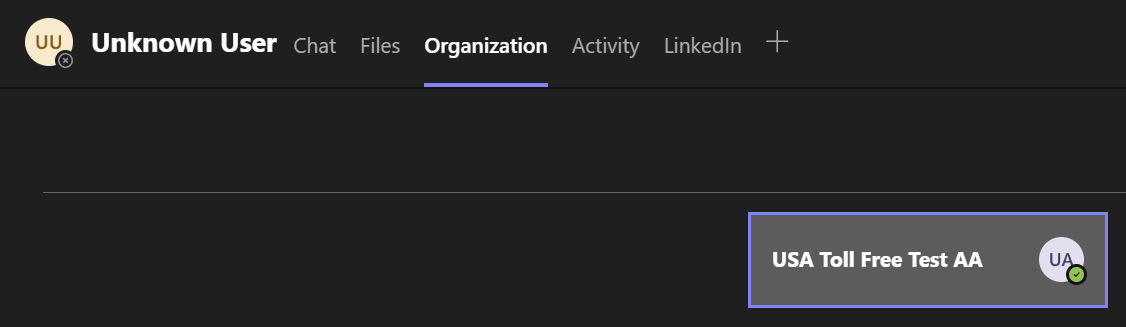
And of course, the account now shows up in search, which is what we want.
So, there you have it. Something which could be used to make all Auto Attendants and Call Queues discoverable in Teams for all your users. Because we’re only using the Graph permission “Create.Chat” we can use Application permissions and don’t need to worry about delegation and user tokens. The only downside is that depending on the amount of voice apps you add, the users will see a boatload of new, unread chats, all titled with “Unkown User”. Depending on user activity in Teams, these could get moved down the list pretty quickly though. Or users can just choose to hide them if they don’t want a messy chats section.
I hope that this article helps lighten some confusion around why only some users can search for voice apps. Furthermore, I hope that my script to programmatically add all resource accounts to Teams will help you make your users happy.